views
Using Mobile
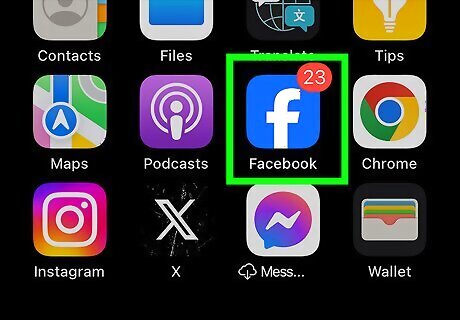
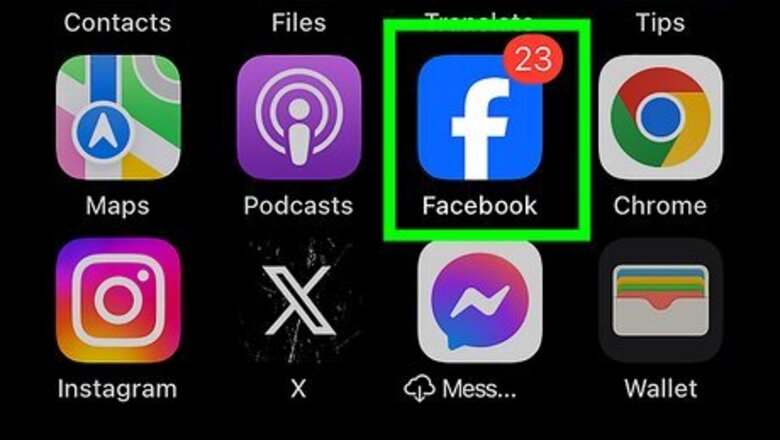
Open the Facebook app. This looks like a white f with a blue background. If you aren't already logged in, enter your email address or phone number and password to do so now. Facebook is available for iOS in the App Store and for Android in the Google Play Store.
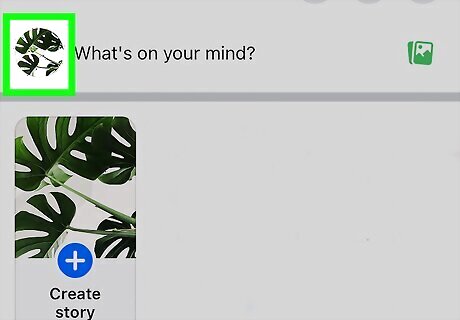
Navigate to your profile. Tap ☰ in the bottom-right (iPhone) or top-right (Android), and then tap your name. On iPads, you can tap your profile picture at the top.
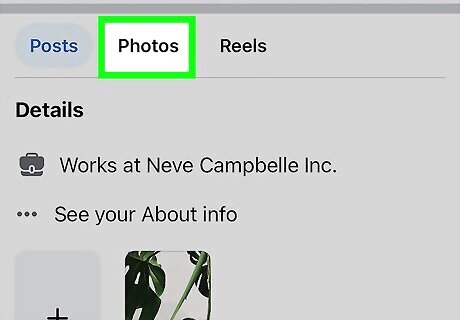
Tap Photos. You may need to scroll down to find this option.
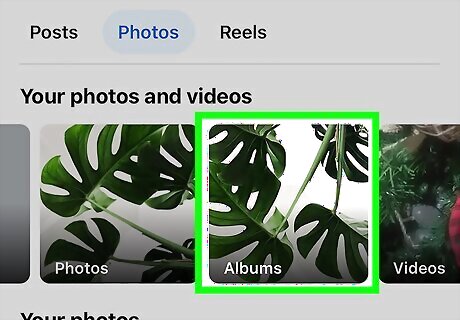
Tap Albums. If you want to change the privacy settings for a single photo, tap Uploads instead.
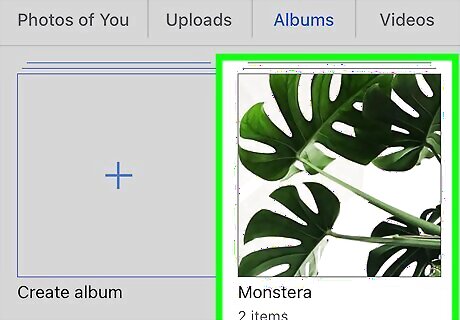
Select an album. If you're changing the privacy settings for a single photo, tap a photo. Make sure that your selected photo is one that you uploaded, not just one in which you're tagged. You can't adjust the privacy options for photos that aren't yours.
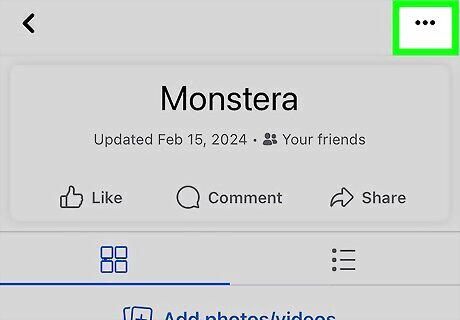
Tap ••• in the top-right corner. This will open a pop-up menu.
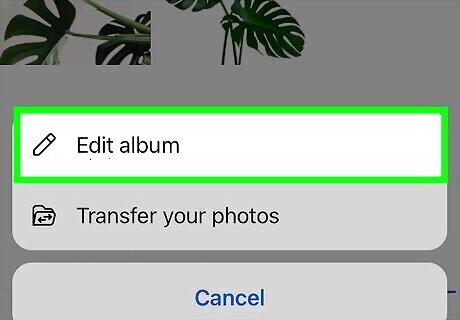
Tap Edit album. A new page will open. If you're changing the privacy settings for a single photo, tap Edit post audience instead.
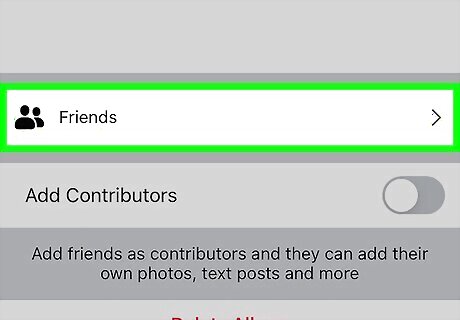
Select the current privacy setting. This may be set to Friends or Public.
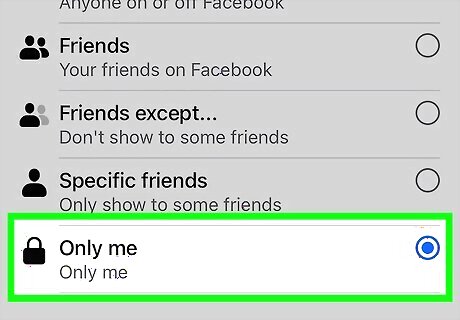
Select Only Me. With this privacy setting, only you will be able to view the album or photo.
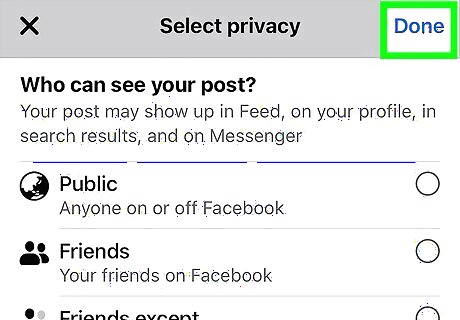
Tap Done, and then Save. Your new privacy settings will be saved.
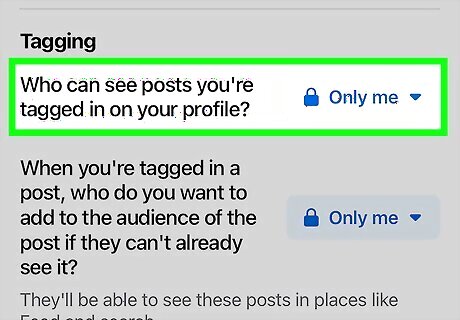
Change who can see your tagged photos (optional). If you don't want other users to see the posts you've been tagged in, do the following: Tap ☰. Tap Settings & Privacy and then Settings. Tap Profile and Tagging. Tap Who can see posts you're tagged in on your profile? Set the audience as Only Me.
Using Desktop
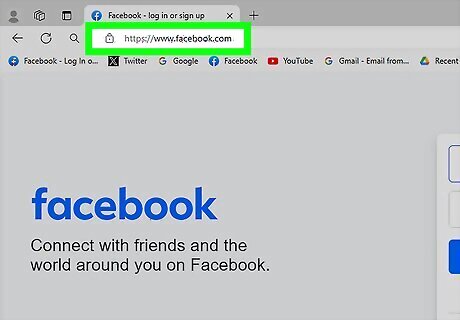
Go to https://www.facebook.com in your web browser. This will open your Facebook Feed if you're already logged in. If you aren't logged in, enter your email address (or phone number) and password, then click Log in.
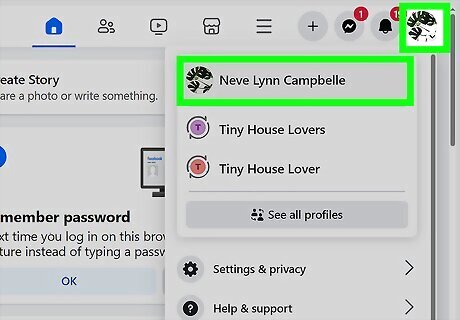
Navigate to your profile. Click your profile picture in the top-right corner, and then click your name.
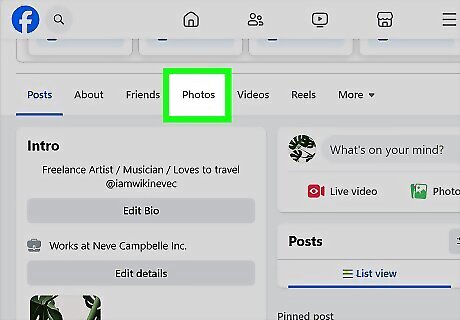
Click Photos. You may need to scroll down to find this option.
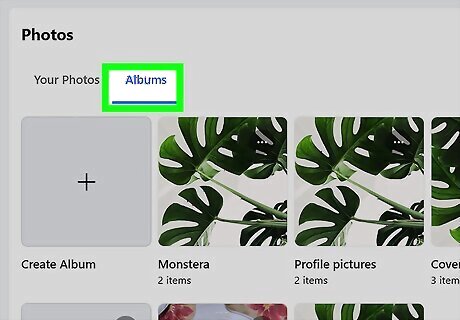
Click Albums. If you want to change the privacy settings for a single photo, click Your Photos instead.
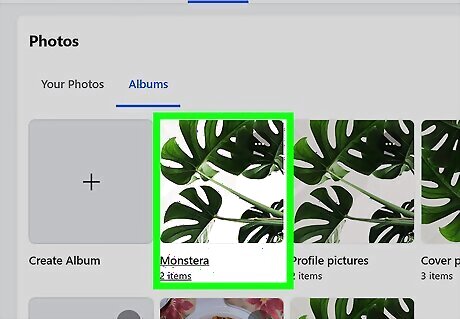
Select an album. If you're changing the privacy settings for a single photo, click on a photo. Make sure that your selected photo is one that you uploaded, not just one in which you're tagged. You can't adjust the privacy options for photos that aren't yours.
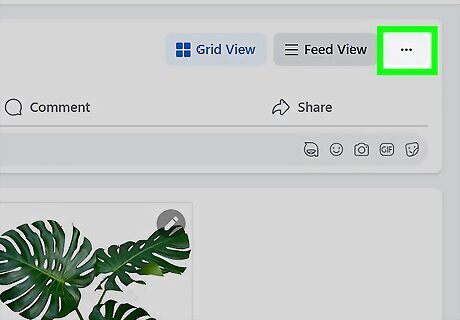
Click ••• in the top-right corner. This will open a pop-up menu.
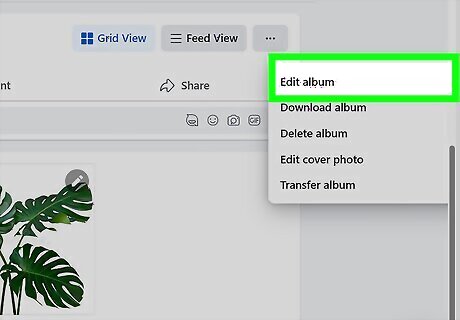
Click Edit album. A new page will open. If you're changing the privacy settings for a single photo, click Edit post audience instead.
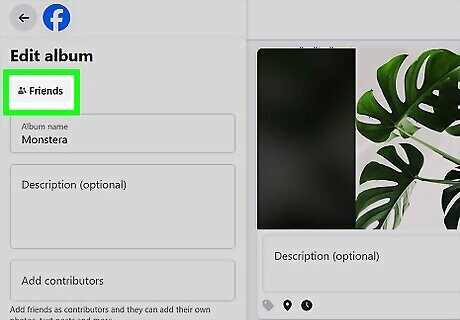
Select the current privacy setting. This may be set to Friends or Public.
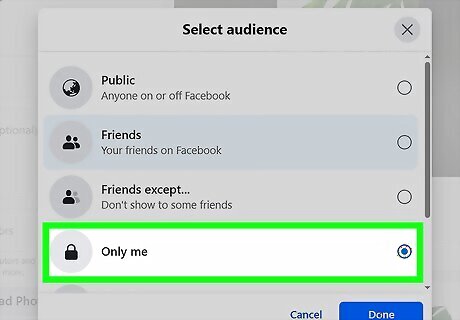
Select Only Me. With this privacy setting, only you will be able to view the album or photo.
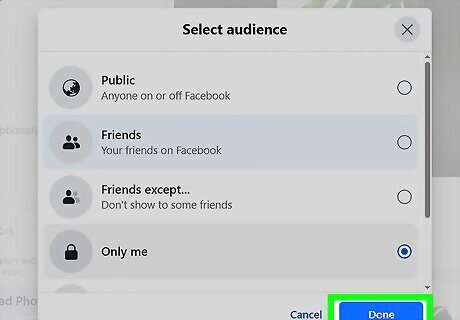
Click Save. Your new privacy settings will be saved.
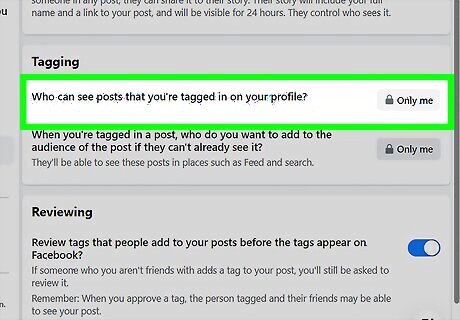
Change who can see your tagged photos (optional). If you don't want other users to see the posts you've been tagged in, do the following: Click your profile picture in the top-right corner. Click Settings & privacy and then Settings. Click Profile and Tagging in the left column. Click Edit next to Who can see posts you're tagged in on your profile? Set the audience as Only Me.




Comments
0 comment