views
- Use CloudConvert, Adobe Express, or other converters online in your phone or tablet's web browser if you need to turn an MOV into an MP4 on the go from your Android, iPhone, or iPad.
- For most online converters, just upload your MOV and click or tap "Convert" to get an MP4!
- If you rather download software, HandBrake is free and supports Mac, Linux, Windows 10, and Windows 11.
Using Adobe Express
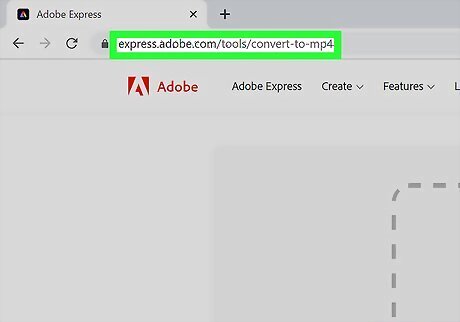
Go to https://express.adobe.com/tools/convert-to-mp4 in a web browser. You can use either a desktop or mobile browser on your phone or tablet to convert MOVs to MP4 files on the go! This is a free service offered by Adobe that allows you to edit (with basic tools) your final product. Pay for Premium if you want more editing tools and more benefits.
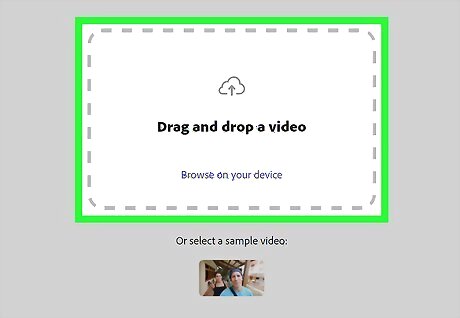
Upload your MOV. Click or tap Browse on your device or drag and drop your MOV file to the box. As soon as you upload the MOV, it will begin converting to MP4.
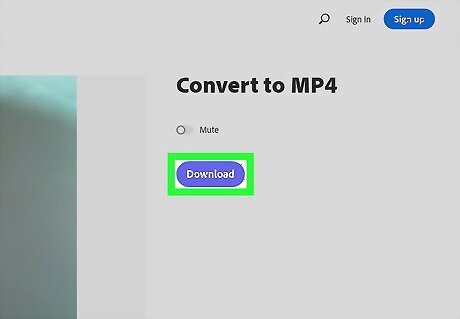
Click or tap Download. You can preview your MP4 video before you download it. You will be prompted to create an account or sign in. An account is free!
Using CloudConvert and Other Online Services
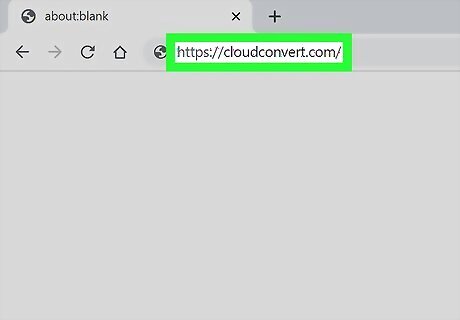
Open the CloudConvert website. Go to https://cloudconvert.com/ in your browser. This site works for Windows and Mac computers. You can even use this site from your Android, iPhone, or iPad, to turn MOV files into MP4s! If this site isn't working for you, there are plenty of other online services that offer conversions for free.
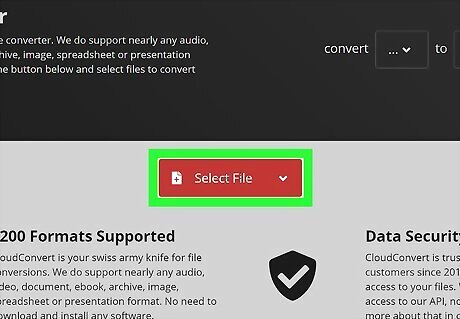
Click Select Files. It's a red button near the top of the page.
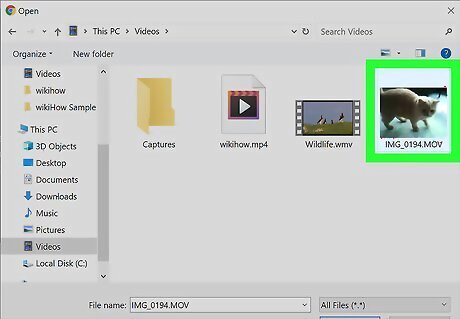
Select your MOV file. Click the MOV file that you want to convert into an MP4. If the MOV file is in a different folder than the one that opens, select the MOV file's folder on the left side of the window.
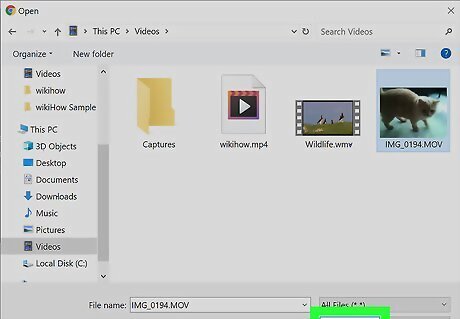
Click Open. It's in the bottom-right side of the window. Alternatively, double-click the MOV file and it will open.
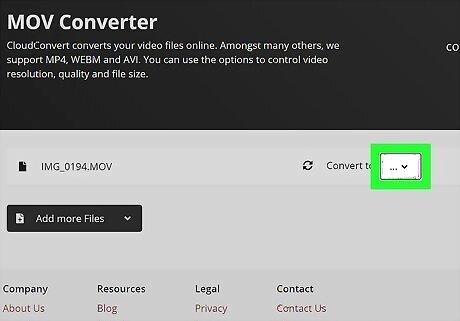
Click the …⏷ box. You should see this option at the top of the page, just right of the file's name. A drop-down menu will appear.
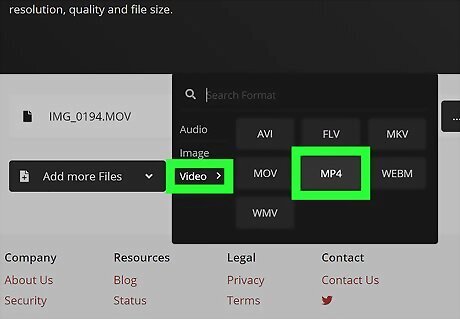
Click MP4. This option is near the bottom of the pop-out menu. Doing so selects mp4 as your file's conversion goal. If you don't see MP4 as one of the options in the drop-down menu, click Video in the menu to the left.
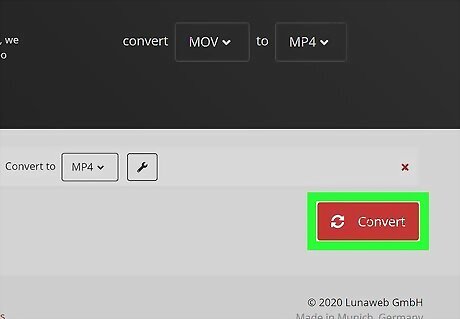
Click Convert. It's a red button on the right side of the page. This will upload the video file and convert it. This can take several minutes since the video must first upload to the CloudConvert website before it can begin converting.
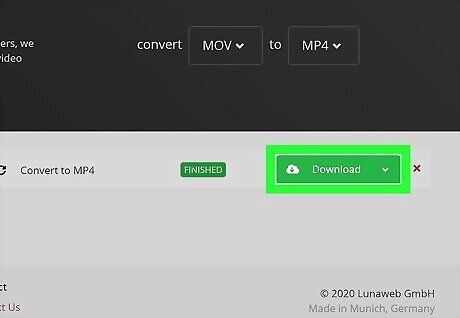
Click Download. It's a green button on the far-right side of the page. Your converted file will begin downloading onto your computer. By default, you can find your downloaded files in your "Downloads" folder on PC and Mac. On some browsers, you'll need to confirm the download by selecting a download location and clicking Save when prompted. You can also use CloudConvert or other online services to turn MP4s into MOV files.
Using HandBrake
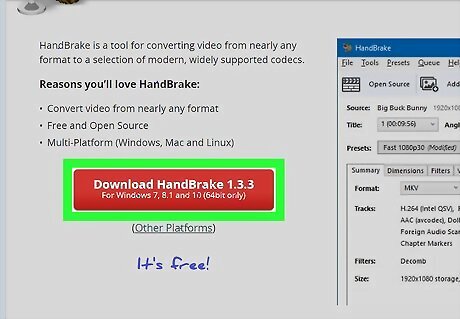
Download and install HandBrake. Go to https://handbrake.fr/ in your browser and click the red Download HandBrake button, then do the following: Windows - Double-click the HandBrake installation file, click Yes when prompted, click Next, click I Agree, and click Install. Mac - Double-click the HandBrake DMG file, verify the download if prompted and click and drag the HandBrake icon onto the Applications folder. HandBrake is available free for Mac, Windows 10, and Windows 11.
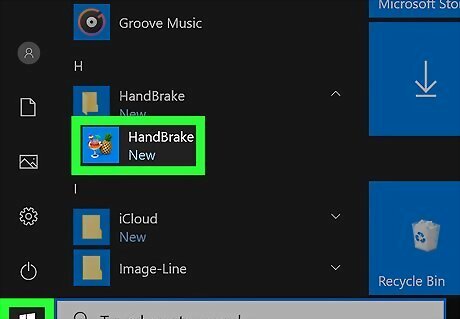
Open HandBrake. The HandBrake app icon resembles a pineapple next to a cocktail glass.
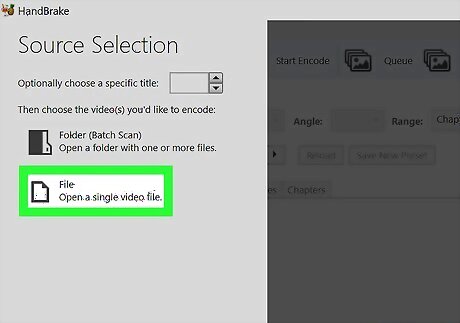
Click File. It's a folder-shaped icon on the left side of the HandBrake window. On Mac, you'll be prompted to open a new video file when the HandBrake app first runs. If not, click "Open Source" in the top-left corner.
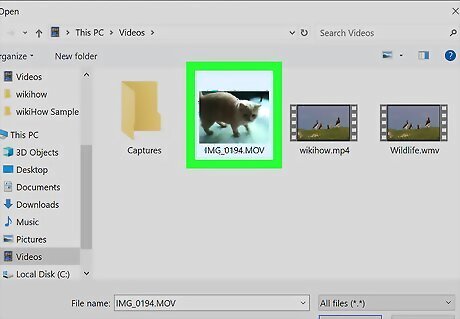
Select your MOV file. Click on the left side of the window the folder in which the MOV file is stored, then click the MOV file itself to select it. On Windows, you may have to scroll up or down the left side of the File Explorer to find the correct folder.
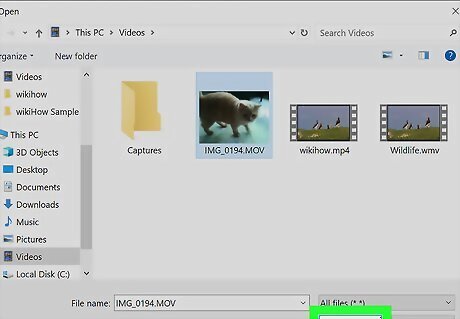
Click Open. It's in the bottom-right side of the HandBrake window. Alternatively, you can drag and drop the file in the box that says "Drag and drop file or folder here" on the right.

Select a save location. Use the following steps to select a save location: Click Browse in the lower-right corner. Type a name for the converted MP4 next to "File name". Click a folder in which you want to save the MP4 file. Click Save.
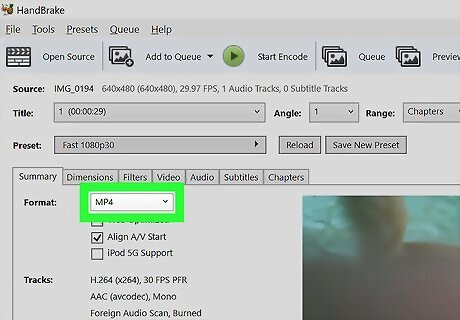
Click the "Format" drop-down box. This option is directly below the "Summary" tab. A drop-down menu will appear. Skip this step and the next step if the drop-down box has "MP4" in it.
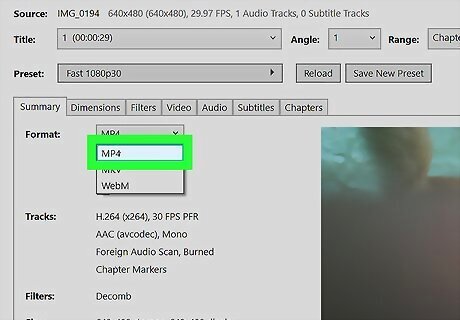
Click MP4. It's in the drop-down menu. Doing so sets your file conversion type to MP4.
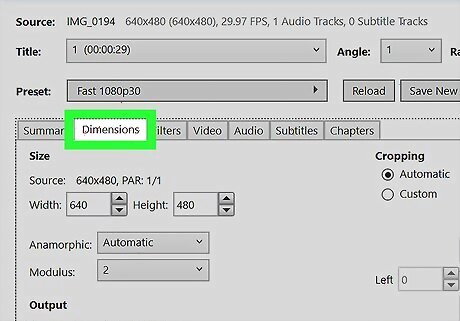
Click the Dimensions tab (optional). It's the second tab at the top of the Settings window.
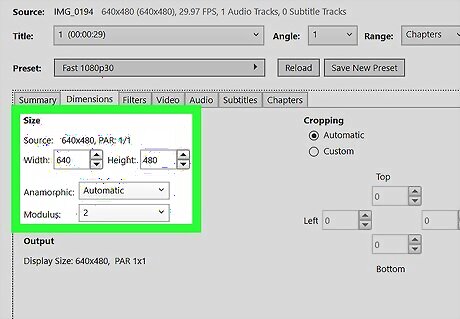
Enter the desired dimensions for the video next to "Height" and "Width" (optional). If you want to adjust the dimensions of the video, you can do so under the "Dimensions" tab. Be aware that increasing the dimensions of a video will not increase the video quality. However, you can lower the dimensions of a high-resolution video to reduce the video file size. The following are some common video formats. Widescreen: Width: 1280, Height: 720 Widescreen HD: Width: 1920, Height: 1080 Widescreen 4K Ultra HD: Width: 3840, Height: 2160
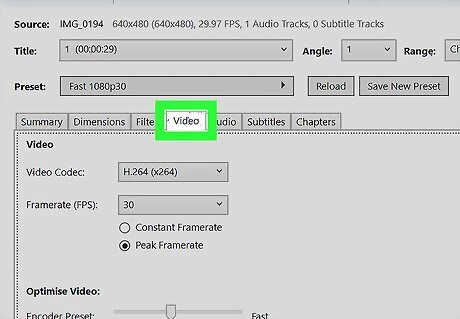
Click the Video tab (optional). It's the fourth tab at the top of the Settings menu. This tab allows you to select a video codec, adjust the frame rate, and image quality.
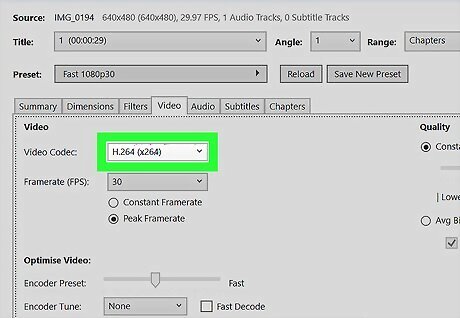
Select a video codec (optional). To select a video codec, click the drop-down menu next to Video codec and select a video codec you want to use. "H.264 (x264)" is the standard for most high-definition videos. "H.265 (x265)" allows for greater compression and can produce higher quality videos at lower file sizes. This codec is good for 4K Ultra HD videos. However, this format may not be supported by some video applications. For videos that have higher color depth (such as videos with HDR), you can select "H.264 10-Bit" or "H.265 10-Bit". "MPEG-4" is an older codec format, but still works.
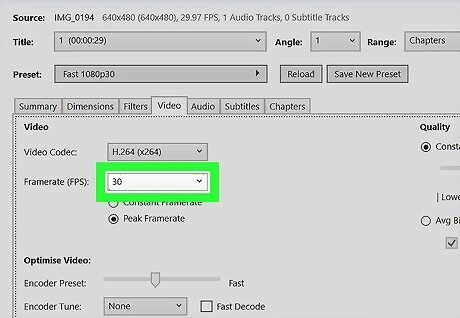
Select a framerate (optional). If you want to change the number of frames per second (FPS), you can do so using the drop-down menu next to "Framerate" under the "Video" tab. 30 FPS is the standard for most movies. 29.97 FPS is the standard for YouTube. 60 FPS (or 59.97 on YouTube) or higher is used to capture more fluid motion. This is most often used in sports footage and video games. Note that you cannot add more frames to a video that didn't already have a high frame rate.
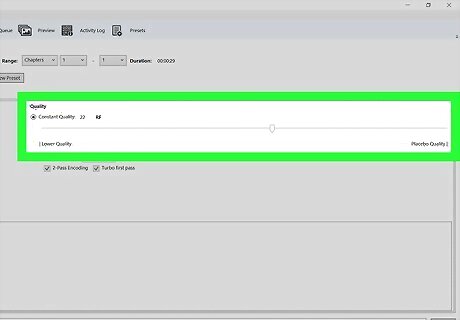
Adjust the video quality (optional). Use the slider bar under "Quality" to adjust the image quality that HandBrake will render the video output to. It is suggested that you set the quality to 18-20 for videos with lower resolution and 20-23 for higher-resolution videos.
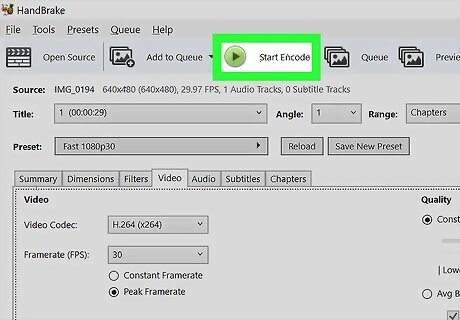
Click Start Encode. This is a green and black "Play" triangle at the top of the HandBrake window. The MOV file will be converted into an MP4 file and saved in your selected file location. On Mac, just click Start at the top of the video. If you're trying to upload MOV videos to Instagram and getting a "Try again" error, you might want to convert the file before trying again.


Comments
0 comment