views
Downloading Custom Sounds
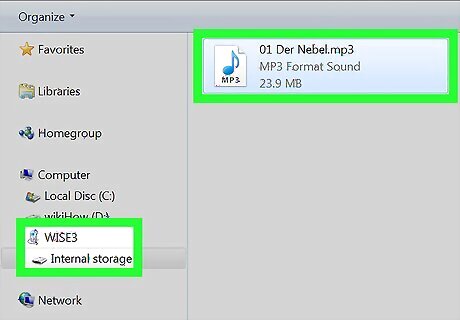
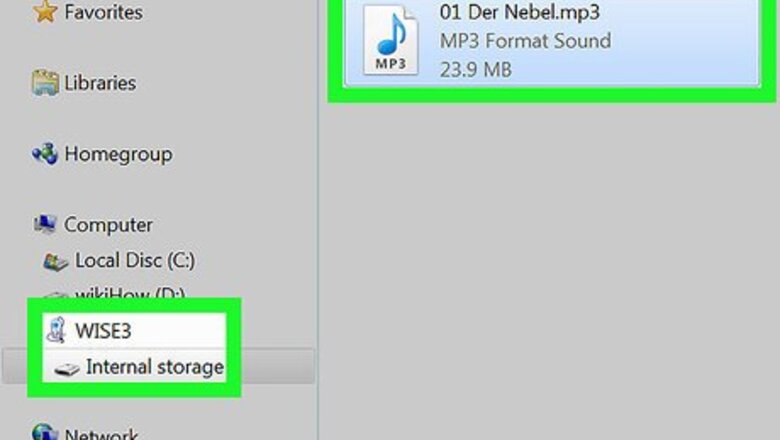
Save a custom sound to your Android. There's a variety of ways to find and save custom sounds. You can download them from a website like notificationsounds.com or you can use an app like Zedge: You can download Zedge for free from the Google Play Store. Although Zedge lets you assign sounds from right in the app, you'll want to download the audio file instead so you can keep using the tones regardless of whether you have Zedge installed. When you find a sound, tap the menu icon that resembles three dots (⋮) at the top-right corner in Zedge. The tap Download. If you have an audio file (MP3, M4A, WAV, or OGG format) on your computer, transfer it to your Android. One of the easiest ways to do this is to attach the file to an email to yourself and download the attachment on your Android. You can also use a USB cable to transfer the file to your Android device. Some Android phone models only allow you to use WAV or OGG files for notifications and ringtones.
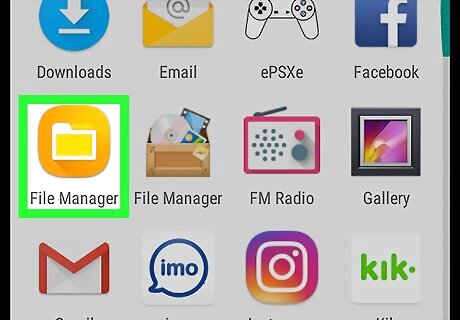
Open your file manager app. It usually has an icon that resembles a folder. If you're using a Samsung, it's called My Files. On a Pixel (and many other models), it's called Files. Alternatively, you can download a third-party file manager, such as Cx File Explorer from the Google Play Store.
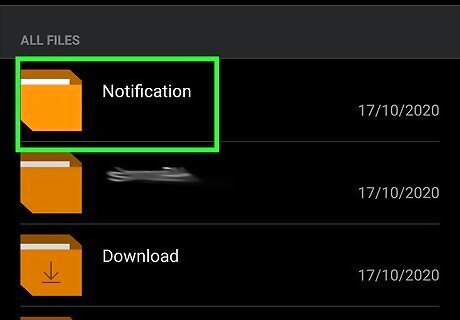
Create a Notifications folder if you don't already have one. Use the file manager to navigate to your Internal Storage and scroll through its contents. Do you see a folder called "Notifications?" If not, tap the menu icon (⋮) and tap Create folder. Rename the new folder "Notifications."
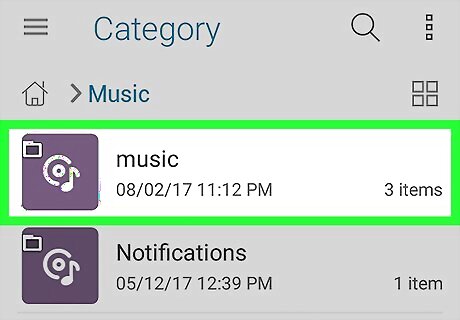
Navigate to your downloaded audio files. If you downloaded the file, it's likely in your Download folder, but you may have saved it elsewhere. If the file was already on your Android, it may be in the Music folder. To find audio files downloaded from Zedge, open the Files or My Files app. Then open the following folders: Android, Data, net.zedge.android, files, and zedge.
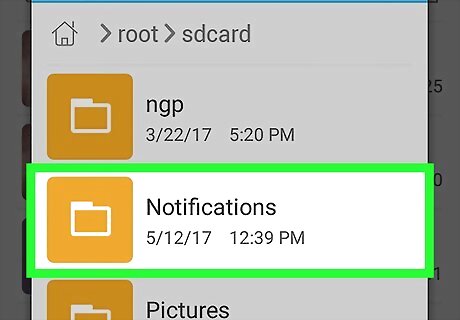
Copy or move the audio files to your Notifications folder. Your file manager app will let you move or copy this sound file to any directory you want. To do this on a Samsung, tap and hold the audio file, select Move, navigate back to the Notifications folder, and tap Paste. Most other apps work similarly, though you may need to tap a menu after long-tapping the file.
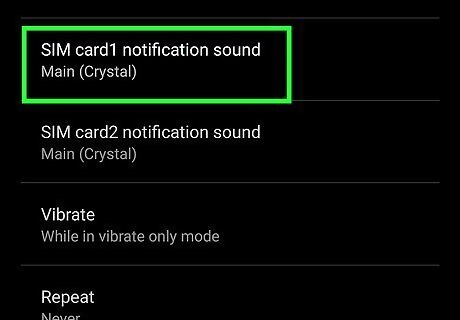
Use your new audio file as a notification. Now that you've added your audio file to the correct location, you can use it as your default notification sound, for a specific app, or as a custom text alert.
Changing the Default Notification Sound
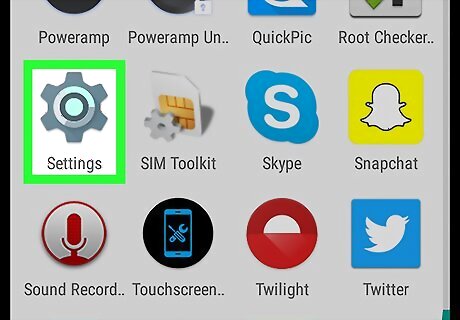
Open your Android's Settings Android 7 Settings. The easiest way to do this on most Androids is to swipe down from the top of the screen and tap the gear at the top-right corner. You can also tap the Settings gear icon in your apps menu.
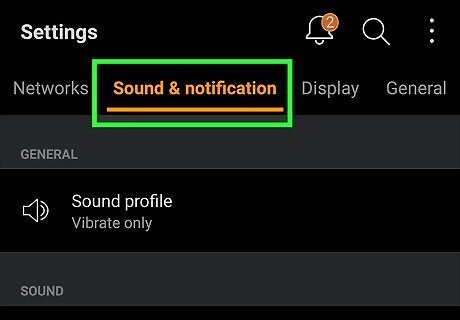
Tap Sound & vibration or Sound. The Settings is different for each phone make and model, but it'll be something sound-related. This menu lets you customize all sounds on your device, including alarms, notifications, and ringtones.
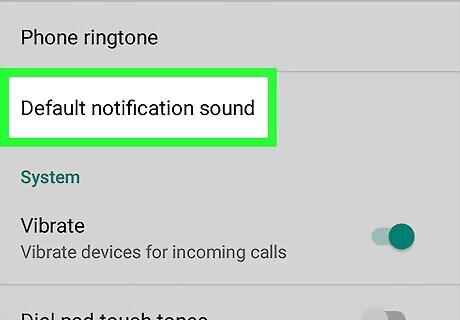
Tap Notification sound or Default notification sound. This menu allows you to select a new notification sound. If you're not able to find this menu, tap the magnifying glass icon in the upper-right corner and use the search bar to search "Notification sound."
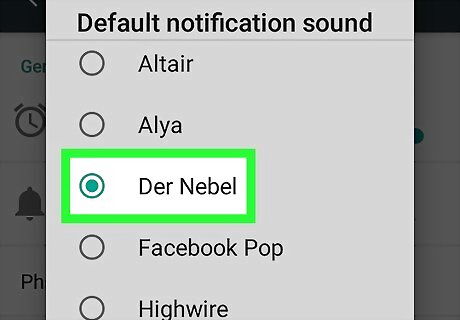
Tap a sound. Scroll through the list to see what's available, and tap any sound to hear a preview. If you don't see any sound files in the folder, check to make sure you are in the "Notifications" folder. If you are not in the "Notifications" folder, tap the back arrow in the upper-right corner to back out to "Internal Storage". Then tap the Notifications folder. Some phone models only allow you to use WAV and OGG file formats for ringtones and notifications. If your phone doesn't allow you to select MP3 files as notifications and ringtones, you can convert them to WAV files using a computer or use an online converter to convert the files to an OGG or WAV files.
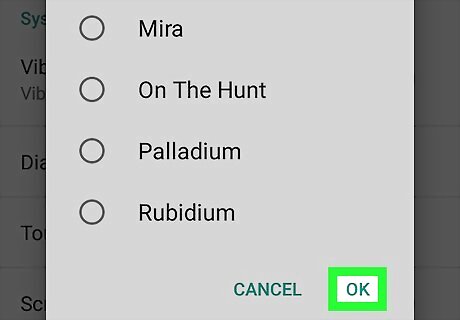
Tap Save or OK. This is only necessary on some Androids—others automatically change the notification tone as soon as you tap it.
Changing Notification Sounds for Individual Apps
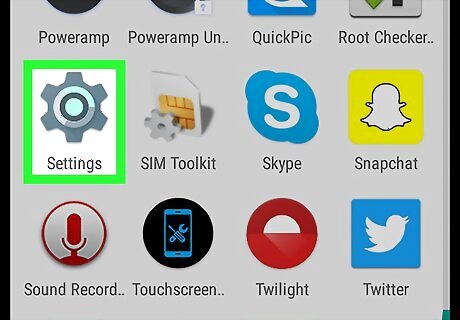
Open your Android's Settings Android 7 Settings. The easiest way to do this on most Androids is to swipe down from the top of the screen and tap the gear at the top-right corner. You can also tap the Settings gear icon in your app menu. Not all Android models allow you to customize notification sounds for individual apps. Depending on the app, you might be able to use its built-in settings to change its notification sound. Facebook Messenger, WhatsApp, and many other messaging and email apps contain this feature.
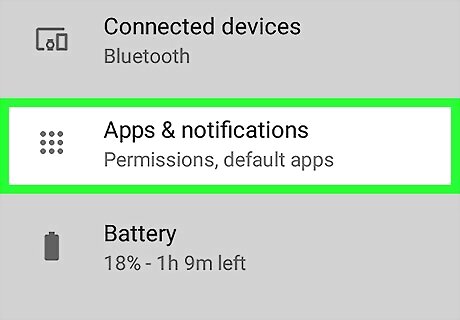
Tap Apps & notifications, Notifications, or Apps. One of these options will display a list of apps on your Android. If you see a "Notifications" option in the Settings menu, tap that option first. If you don't see that option, tap Apps instead.
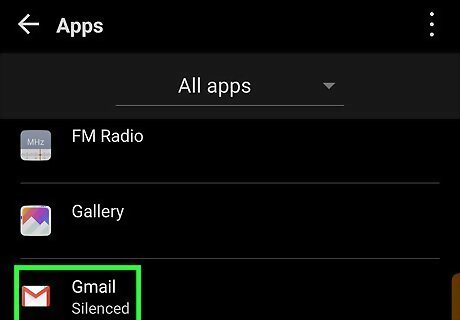
Tap the name of the app you want to edit. This opens an information page about the app. If you only see a few apps listed, tap See all below the apps list.
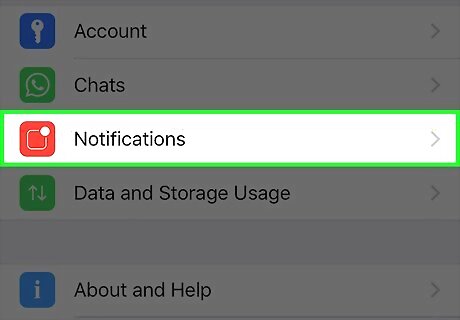
Tap Notifications. If notifications can be changed for this app, this option will be under the "Notifications" option.
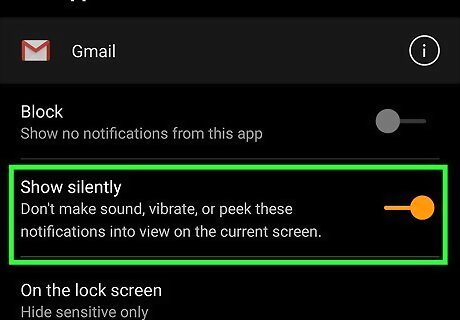
Tap a notification category. Depending on the app, you may be able to set different notification sounds for different functions of the app. For example, if you're editing Samsung Notes, you can set different sounds for syncing, importing data, and other features.
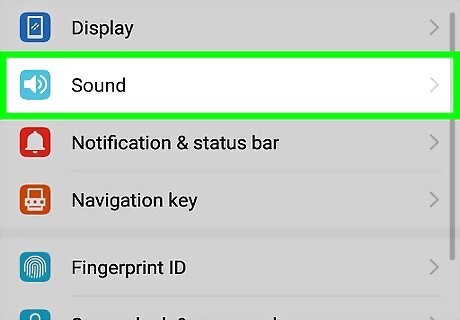
Tap Sound. You may have to tap Alert or Advanced first. A list of sounds will appear.
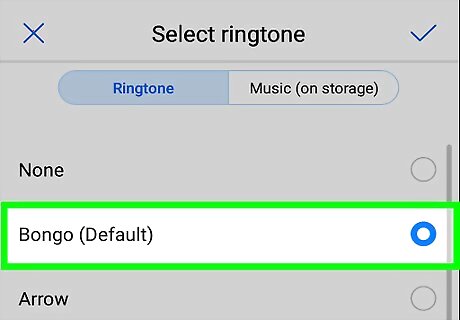
Tap a sound. Tapping a sound will both select it and play a preview.
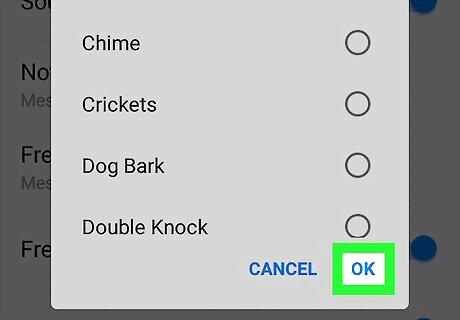
Tap OK or Save when you're satisfied. If no such option appears, just tap the back button and you're good to go.
Setting Custom Text Sounds
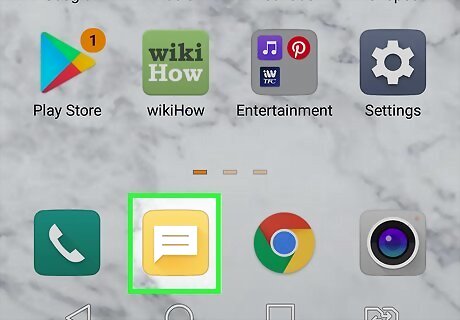
Open your text messaging app. The steps to assign different notification sounds to different contacts are a little different depending on the app you're using. We'll cover two of the most popular texting options: Google Messages and Samsung Messages. Other platforms should be similar.

Tap a conversation. The message exchange between you and the other person will appear.
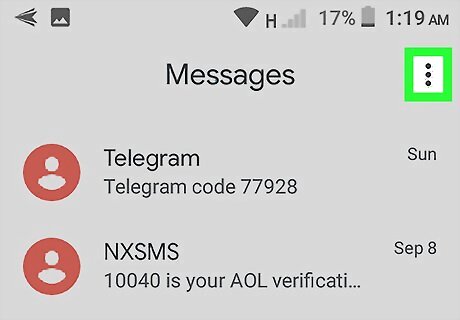
Tap the ⋮ menu. It's the icon with three vertical dots in the top-right corner of the screen in most apps.
Tap Details (Google Messages only). This displays the Details page on Google Messages. Other apps like Signal may have an option similar to "Conversation Settings".
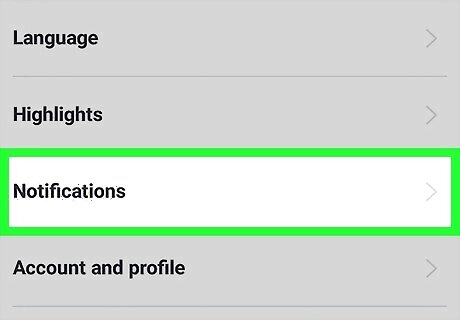
Tap the Notifications or Custom Notifications option. If you are using Samsung Galaxy, tap Set Custom Notification. If you are using Google Messages, tap Notifications.
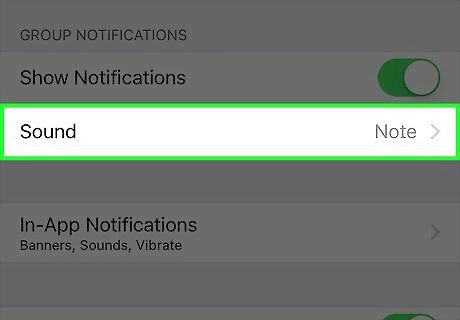
Tap Sound. This should open a list of available tones on most Androids.
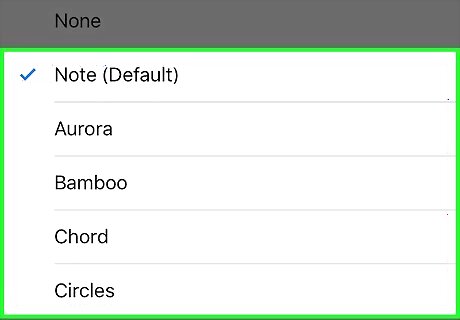
Select a sound. Tapping a sound will both select it and play a preview.
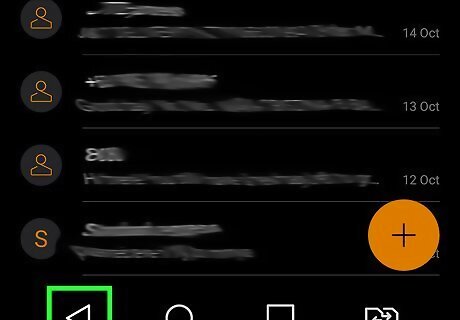
Tap OK or Save when you're satisfied. If you don't see an option like this, just tap the back button to return to the previous screen. The next time the selected contact sends you a text message, you'll hear their new custom sound.


Comments
0 comment