views
Alphabetizing in Two Clicks
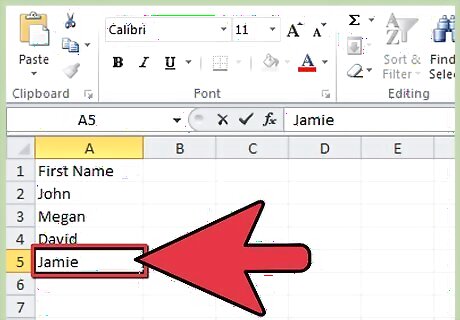
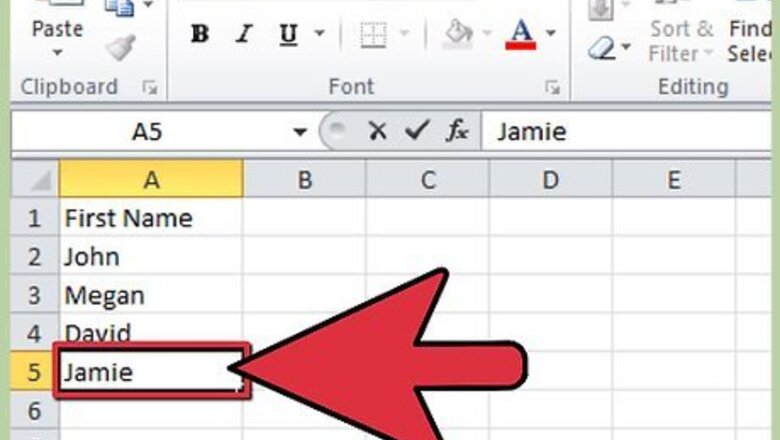
Type the text you wish to alphabetize into the cells of one column.
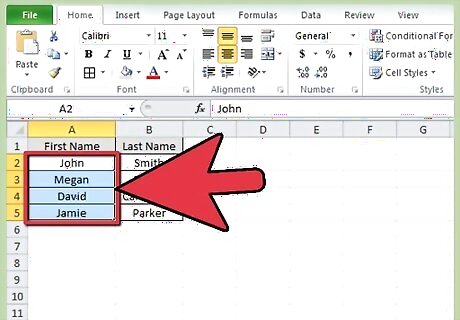
Highlight the text you want to alphabetize. To highlight, click on the first cell and drag down to the last cell you want to alphabetize. You can highlight an entire column by clicking on the lettered column heading.
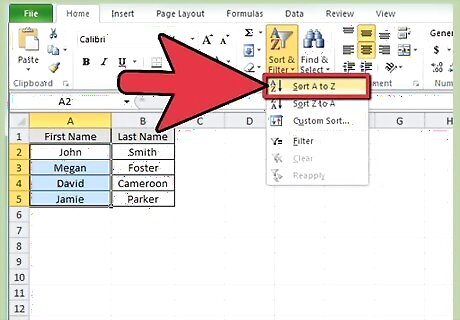
Find the "AZ sort" or "ZA sort" icon found on the standard tool bar, under the Data tab. Click the "AZ sort" icon to sort in ascending alphabetical order. Click the "ZA sort" icon to sort in descending order. Your highlighted cells will now be sorted. If you cannot locate the "AZ sort" icon you can add the standard toolbar by opening the "View" menu on menu bar then select "Toolbars" and check "Standard." The standard toolbar will now be visible and will include the "AZ sort" icon.
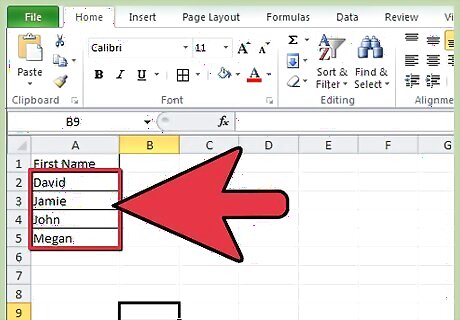
Finished.
Alphabetizing with Sort
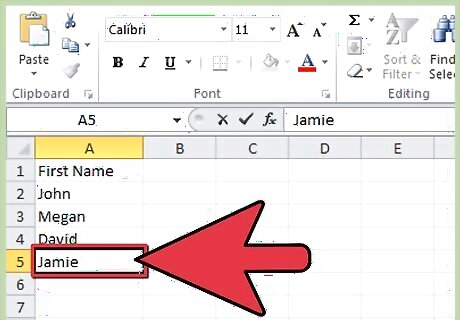
Fill the Excel sheet with your text.
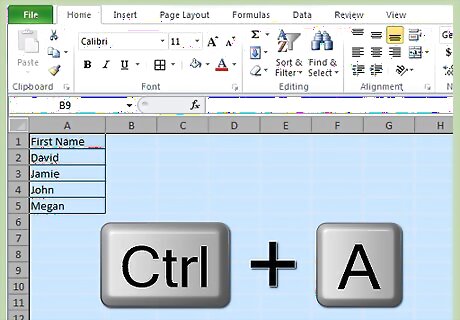
Highlight the entire worksheet. To do this use the shortcut keys "Control + A" or "Command + A." You can also highlight by clicking the blank box in between the row and column headings on the top left.
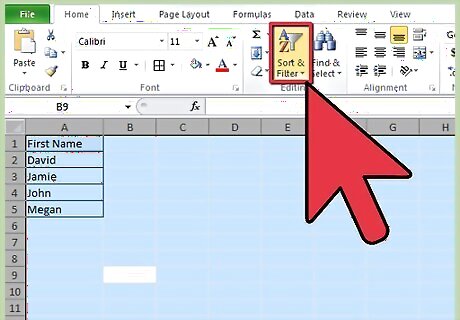
Open the "Data" menu on the toolbar, then click the "Sort" option. A "Sort" box will appear. If you have labeled the columns, select the "Header row" option under "My list has." If you have not labeled the columns, select the "No header row."

Choose the column you want to alphabetize by selecting it under "Sort by." If you selected the "Header row" option, the options under "Sort by" will be your column headings. If you have selected "No header row," the options will be the standard letter column headings.
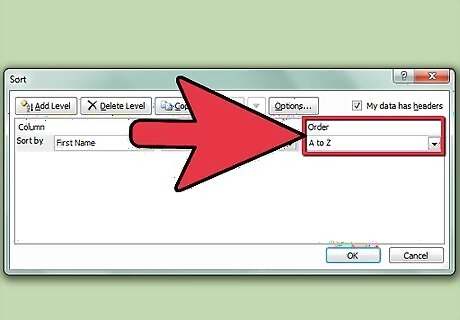
Select "Ascending" to sort the chosen column in ascending order. Or select "Descending" to sort the chosen column in descending order.
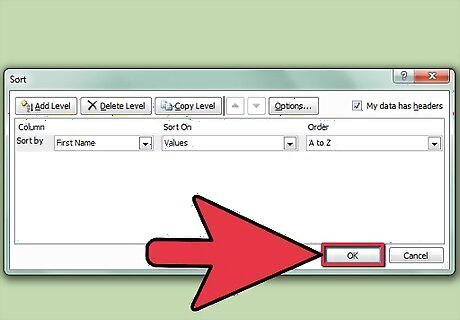
Click "ok." Your cells will now be alphabetized.




Comments
0 comment