views
Design
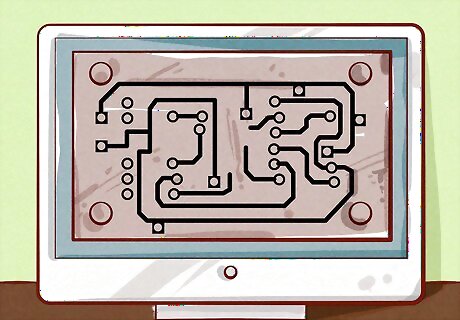
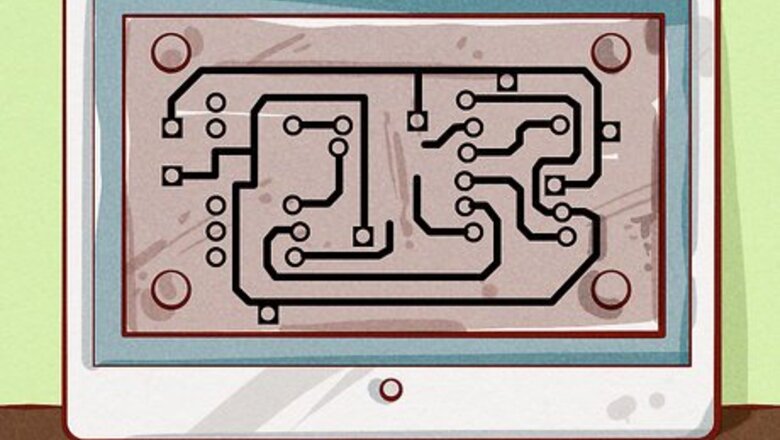
Select your method of imprinting the circuit schematic on the copper board. You can do this either using a Sharpie for a simple circuit or a printed out version from a computer program. Only one of these is needed, so select according to your preference.

Draw the circuit schematic on either graph paper or a simulation programs such as MultiSim or Eagle CAD. The schematic should contain a detailed description of all parts, as well as easy to follow connections.
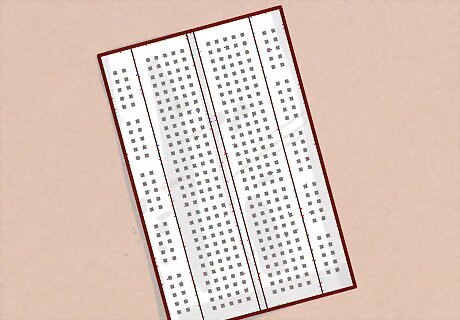
If a simulation program is being used, test the circuit thoroughly in the simulated environment. If no simulation program is used, assemble and test one or more prototypes of the circuit on a breadboard. Breadboards are very easy to use, and allow one to view the results of a circuit in real time without the need for solder or permanent etches.
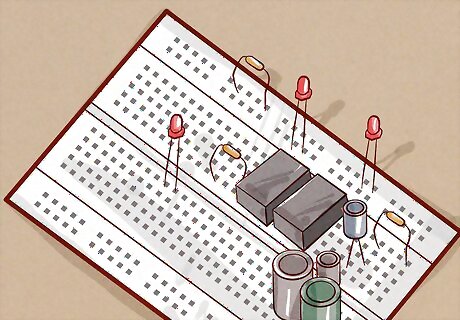
Make sure the circuit functions on the breadboard, or in the simulation software.
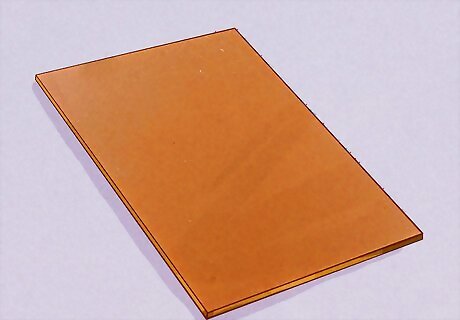
Acquire a circuit board. Circuit boards are about a dollar apiece, and are simply a layer of copper over an insulator. The typical size is usually 3.5 inches (8.9 cm) by 5 inches (12.7 cm). Drawing is simple; all that is required is an indelible marker, such as a Sharpie. A ruler is also helpful.

Apply a printed design. (Skip this step if you aren’t using the computer program and are using the Sharpie method.) Print the design out from the software's print menu. Make sure the print is on a glossy paper (like those in magazines or separate glossy paper). Turn on the electric iron (the same one used for clothes). Carefully cut out the design and position it on the circuit board. Put the hot iron directly on top of the circuit board for about 45 seconds. Take the circuit board (careful it's hot). Wash the paper out such that the black ink is stuck to the copper circuit board.
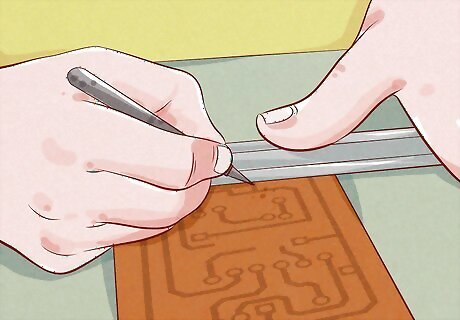
Alternatively: Draw out your circuit on your board with the Sharpie. Note that it's really difficult to draw out a circuit design in real life, unless it's as simple as a led and a battery. Keep in mind that copper cannot be between components, for example, if connecting an LED, there must be a gap in the copper between the positive and negative points of connectivity. Without a gap, the electricity would flow around the LED, as opposed to through it. Remember laws of electricity, all circuits must end at either a negative or ground, or no current will flow. Use thin lines, but lay the ink on thick, it is important that the copper is dissolved before the ink, and that there are no thin patches in the ink exposing copper.
Etching

Put on old clothes, gloves and safety goggles.

Warm the ferric chloride, stored in a non-corrosive jar and sealed with a non-corrosive lid, in a bucket of warm water. Do not heat it above 115 F (46 C) to prevent toxic fumes from being released.
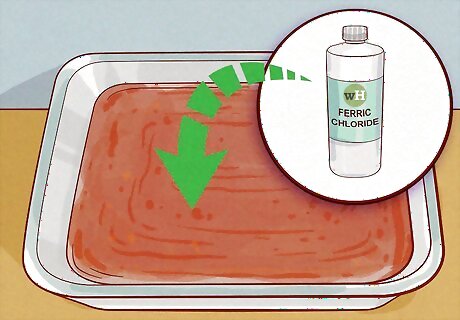
Pour only enough ferric chloride to fill a plastic tray that has plastic risers in it to rest the circuit board on. Be sure to do this in a well-ventilated space.
Use plastic tongs to lay the circuit board face down on the risers in the tray. Allow 5 to 20 minutes, depending on the size of your circuit board, for the exposed copper to drop off the board as it etches away. Use the plastic tongs to agitate the board and tray to allow for faster etching if necessary.
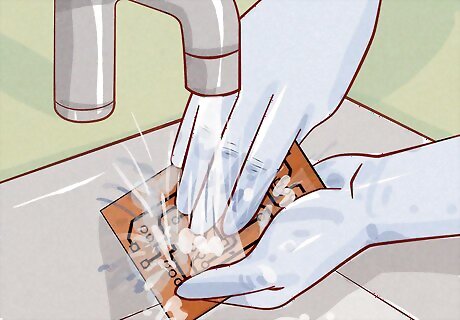
Wash all the etching equipment and the circuit board thoroughly with plenty of running water.
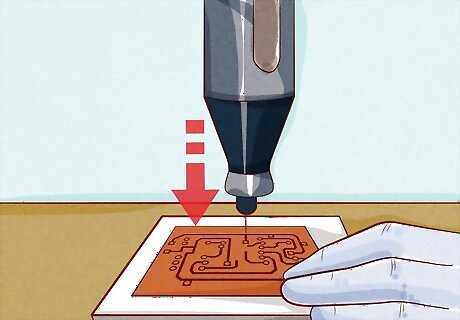
Drill 0.03 inch (0.8 mm) lead component holes into your circuit board with high-speed steel or carbide drill bits. Wear safety goggles and a protective mask to protect your eyes and lungs while you drill.
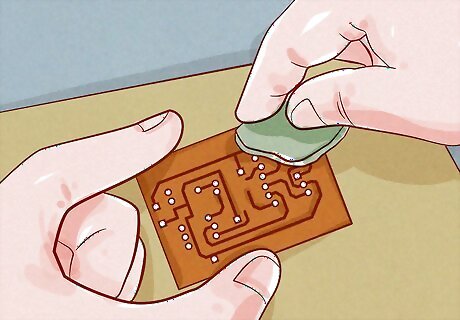
Scrub the board clean with a scouring pad and running water. Add your board's electrical components and solder them into place.
Assembly
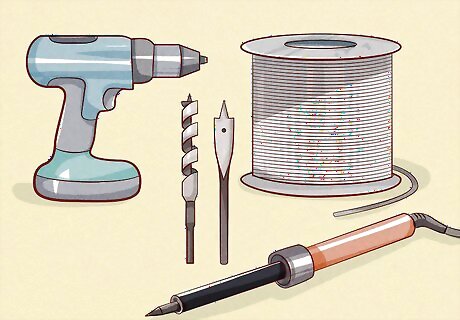
Gather the following tools: Hand-held Drill or Drill Press Various drill bits Soldering iron Solder
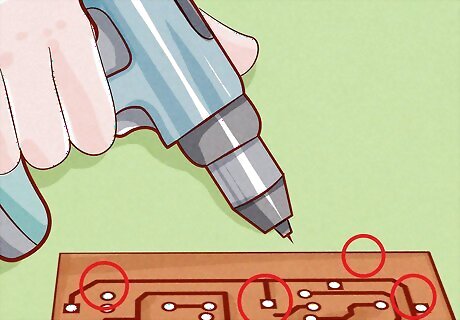
Before drilling, locate all the positions of the through-hole components. Copper dust is toxic, wear a dust mask.
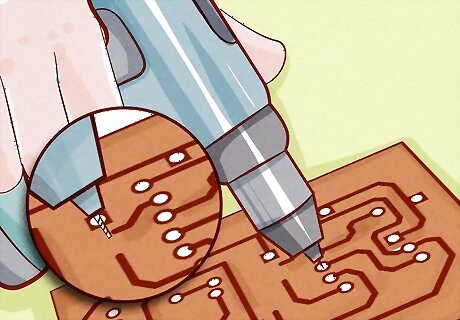
Drill through the board with a bit wide enough to accommodate whatever part must be placed at that location. Remember not to make the hole to wide, or soldering will be very difficult. There are two types of components: Through hole components (have long legs) and SMDs (surface mount devices). For SMDs you don't need to drill because they are surface mounted, but through holes need holes in order for them to be soldered on. Through hole components enter the board from the opposite side of the copper.
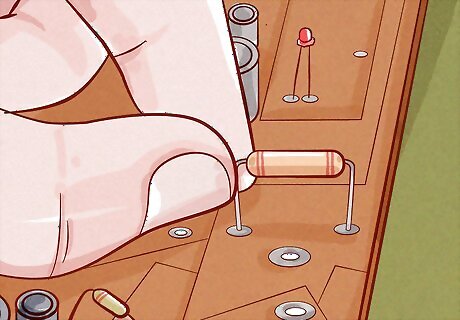
Place the components on to the circuit board at their designated locations. Gently bend the legs of the component against the underside of the board, to hold the part in place. Make sure parts with polarity are lined up correctly with the corresponding positive and negative. Check and double-check the location of all parts before soldering.
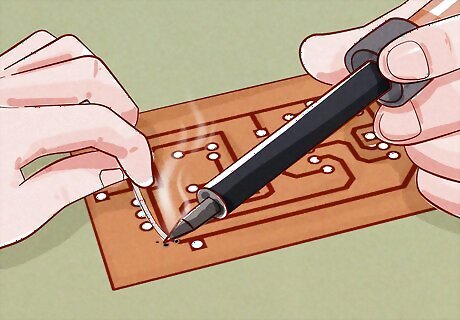
Soldering is a skill that requires practice, although it is not inherently difficult. Please see Soldering Electronics for help.
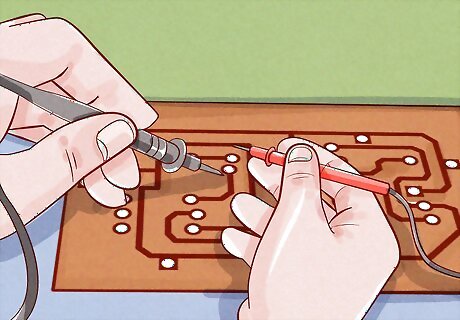
Test your circuit board before installing it into its permanent location. Use a multimeter, if possible, to diagnose connection problems. A De-soldering gun can be used to make minor switches and repairs.







Comments
0 comment