
Using Paint
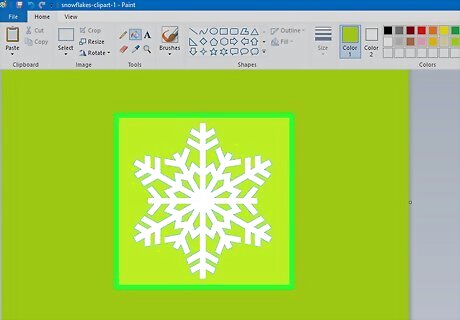
Find the image for which you want to change the background. Go to the image that you want to use for this project. You can use any image, but keep in mind that a higher-resolution image will be easier to work with.
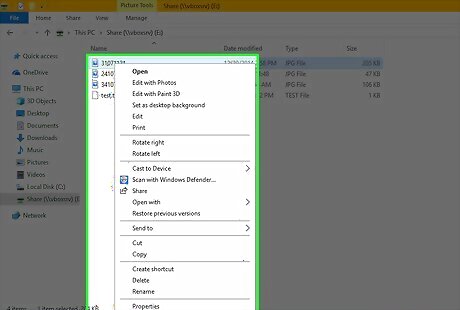
Right-click the image. Doing so prompts a drop-down menu.
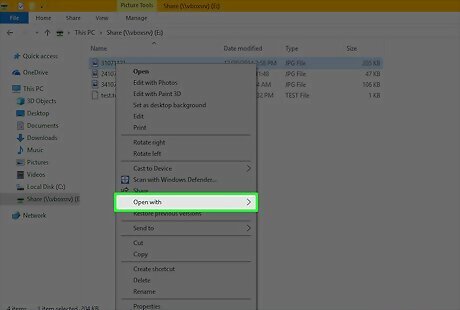
Select Open with. It's near the middle of the drop-down menu. A pop-out window will appear.
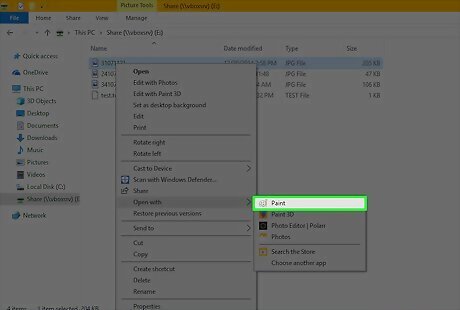
Click Paint. This option is in the pop-out menu. Doing this will open your photo in Paint.
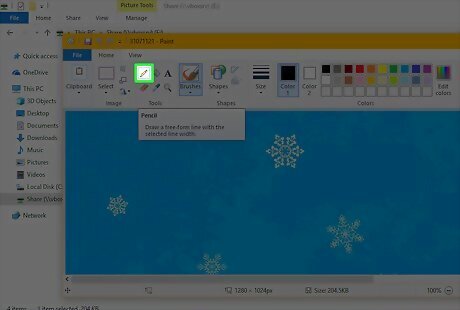
Select the drawing tool. Click the pencil-shaped icon in the "Tools" section of the Paint toolbar to do so.
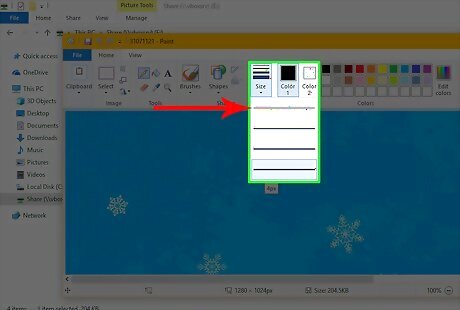
Change the drawing tool's width. Click the Size drop-down box, then click the thickest line in the resulting drop-down menu.
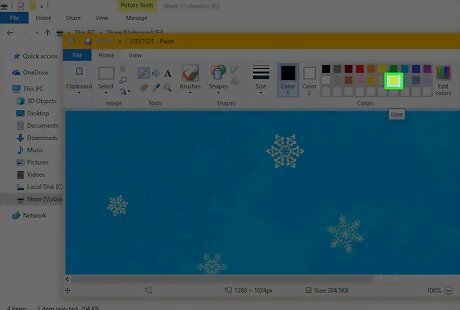
Double-click the light green box. It's in the upper-right side of the Paint window.
Draw carefully around the part of the image you want to save. This will help create a boundary between the image for which you want to change the background and the section of the photo that you'll replace with a green screen. You can zoom in by clicking the + icon in the lower-right corner of the window.
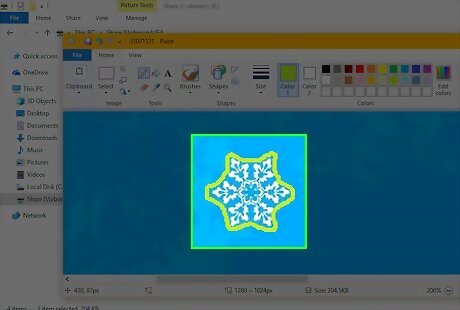
Use the light green color to fill in the surrounding space. The best manner for doing this will vary depending on your image; for example, if the left side of your image is mostly background that you want to delete later, you can select the rectangle drawing icon, click Fill, click Solid color, and then click the Color 2 box and double-click the light-green option. You can then click and drag across the section you want to remove to block it out with a large green box. When you're done, you should have a green background surrounding your subject.
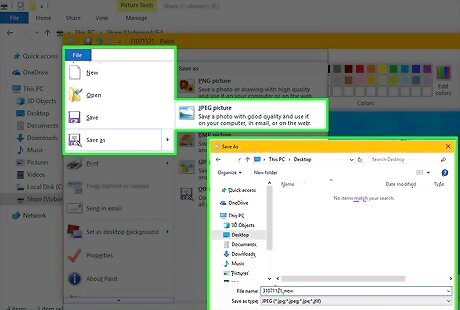
Save the image. Once you've added the green screen background to your image, save the image as a new file by doing the following: Click File. Select Save as. Click JPEG picture. Enter a file name, then click a save location (e.g., Desktop). Click Save.
Use a different program to replace the green screen. Unfortunately, MS Paint can't replace your green screen with a different image; you'll have to use your preferred photo manipulation option (e.g., Photoshop) or video editor to do this. Since the whole background is the same color, any green screen editing should leave you with only your initial subject on whatever background you select.
Using Paint 3D
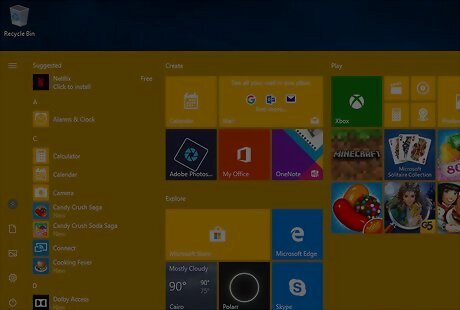
Open Start Windows Start. Click the Windows logo in the bottom-left corner of the screen.
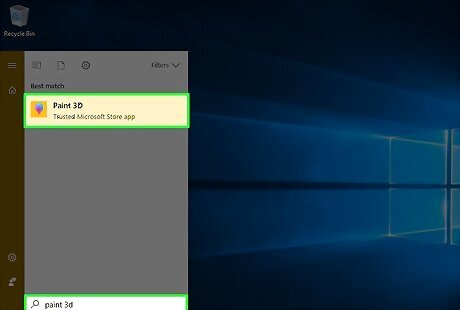
Open Paint 3D. Type paint 3d into Start, then click the Paint 3D option at the top of the Start window.
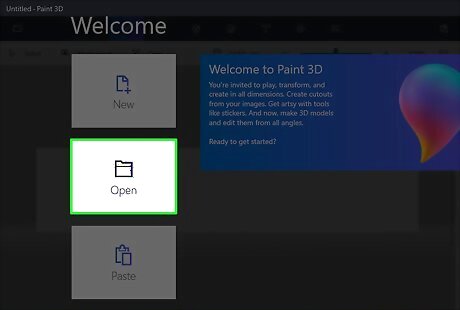
Click Open. It's in the middle of the Paint 3D window.
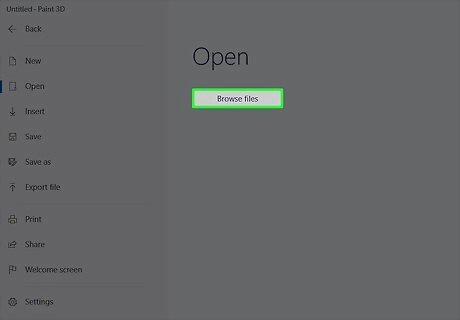
Click Browse files. This option is near the middle of the window. Doing so opens a new window.
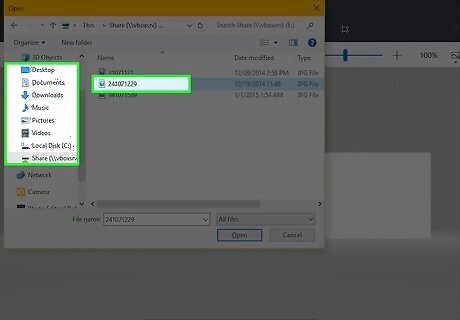
Select a photo. Go to the location of the photo for which you want to replace the background, then click the photo once to select it.
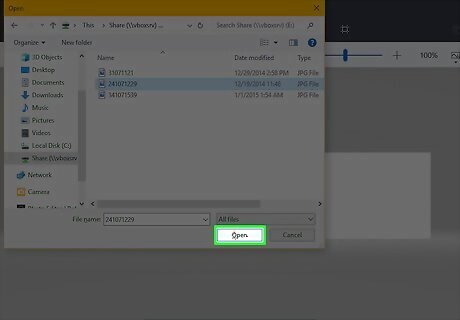
Click Open. It's in the bottom-right corner of the window. Your image will be opened in Paint 3D.
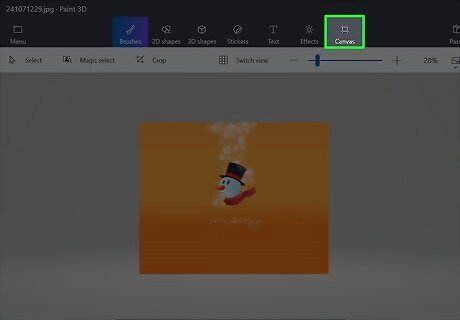
Click the Canvas tab. This three-by-three grid icon is in the upper-right side of the Paint 3D window. Doing so opens a new column on the right side of the window.
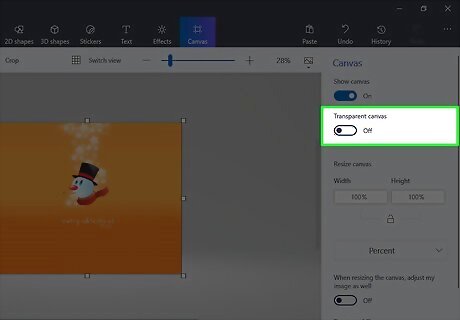
Click the grey "Transparent canvas" switch Windows Switch Off. It's in the right-hand column. The switch will turn blue Windows Switch On.
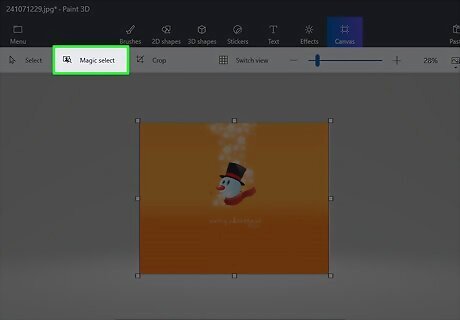
Click Magic Select. You'll find this tab near the left-hand side of the Paint 3D window.
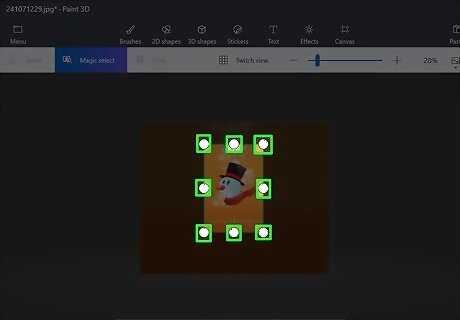
Drag the edges of the canvas in to surround your subject. This will ensure that your final image requires as little editing as possible. Try to get the edges as close to the part of the image that you want to keep as possible without being inside of it.
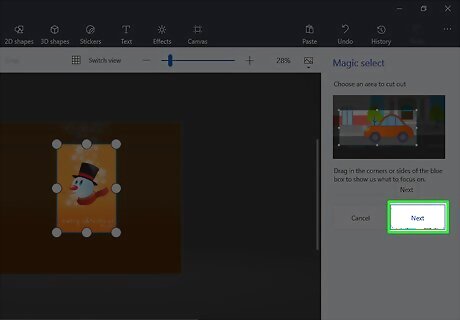
Click Next. It's on the right side of the page.
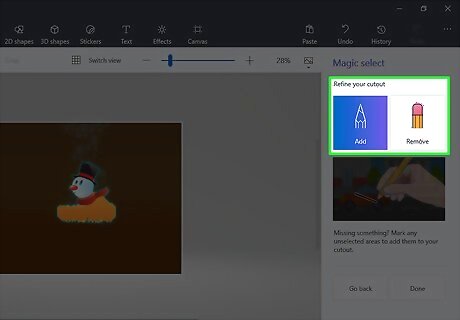
Add or remove any sections you want to keep or delete. Anything that is both outlined in blue and fully colored (e.g., not greyed out) will be saved when you crop the photo. If parts of the section you want to save aren't included, or if parts that you don't want to save are included, you can add or remove sections by doing the following: Add — Click the Add icon at the top of the right-hand column, then draw an outline around the section of the image that you want to include. Remove — Click the Remove icon at the top of the right-hand column, then draw an outline around the section of the image that you want to remove.
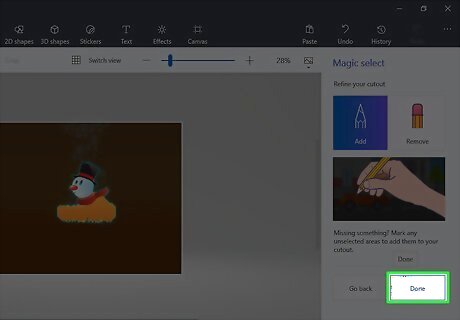
Click Done. It's on the right side of the page.
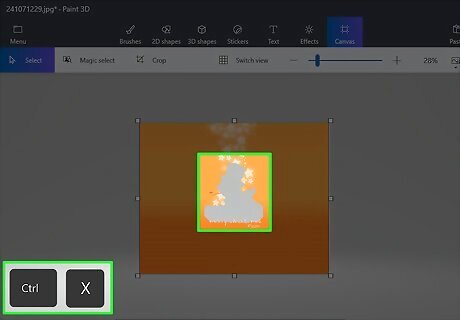
Copy the selection to your clipboard. Press Ctrl+X to do so. You should see the selected portion of your image disappear from the Paint 3D window.
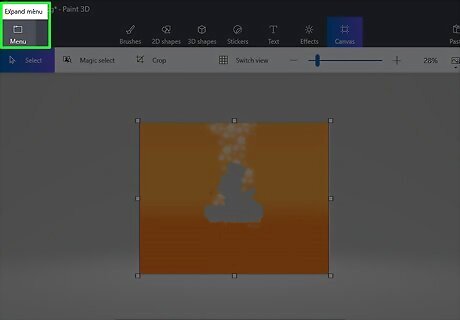
Click Menu. It's a folder-shaped icon in the top-left corner of the window.
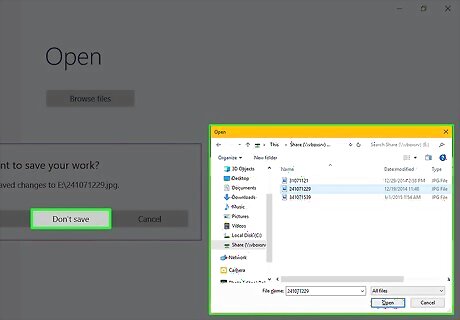
Open your background image. Do the following: Click Open. Click Browse files. Click Don't save when prompted. Select the image you want to use as a background. Click Open.
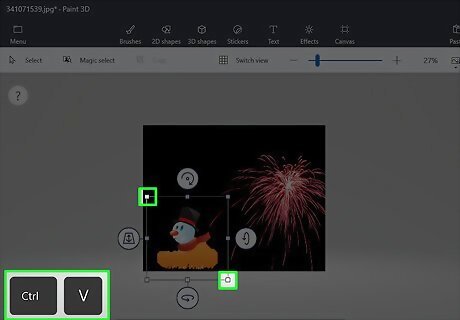
Add the original image to the background. Once the background image opens, press Ctrl+V to paste the copied section of your original image onto the background. If necessary, you can resize the original image by clicking and dragging one of its corners inward or outward.
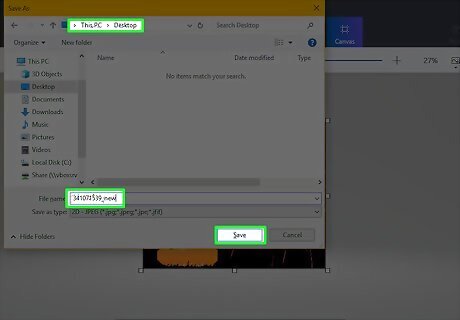
Save your image. To save your project as one image, do the following: Click the folder-shaped Menu icon in the top-left corner of the window. Click Save as. Click Image. Enter a name for your image, then click a save location (e.g., Desktop). Click Save.


Comments
0 comment