

- Before removing the keys from your keyboard, snap a quick photo so you remember their placement.
- Remove the keycaps before cleaning them to avoid getting the keyboard assembly wet.
- While soaking the keycaps in warm water, use a can of compressed air and/or a cotton swab with rubbing alcohol to remove dirt and debris from the main keyboard assembly.
Removing the Keycaps
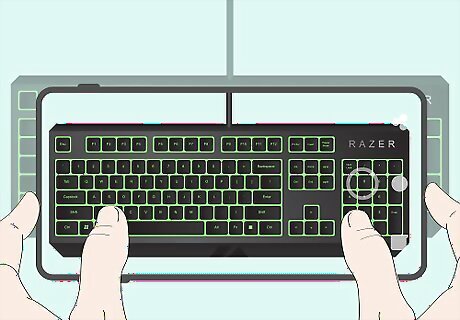
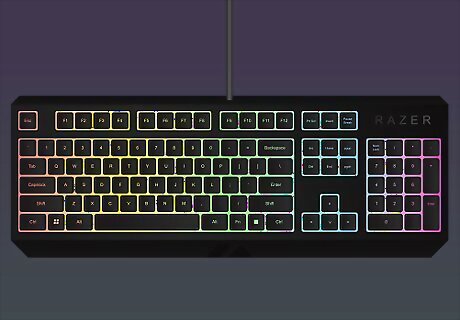
Take a picture of your keyboard to see where each key is placed. Later on, you will have to take out each individual key cap and put them back in the correct spot. Take a picture of your keyboard before you begin so you know the proper location for each key. While you can reference photos online or consult your user manual to figure out the correct locations, a picture lets you can see the difference before and after cleaning.
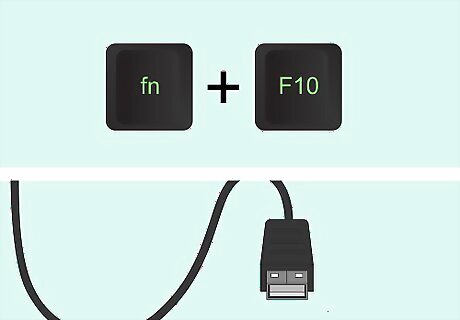
Unplug the keyboard and turn off any lights before you begin cleaning. Blackwidow keyboards have dazzling light displays, but these can be damaged if you leave the power on as you clean. Turn off all the settings on your keyboard and unplug it from your computer to prevent shorting or damaging your keyboard's lights.

Remove letter and number keycaps by pulling them off their base. All square-shaped keys on your Blackwidow can be removed simply by pulling the cover directly upwards to dislodge them from their bases. You may need to wiggle the key covers a little bit to get them off, but simply pulling upwards should do the trick. Don't bend the keys as you pull them, as this can damage the connection. Pull the keys straight up to dislodge them, revealing plus-sign-shaped holdings.
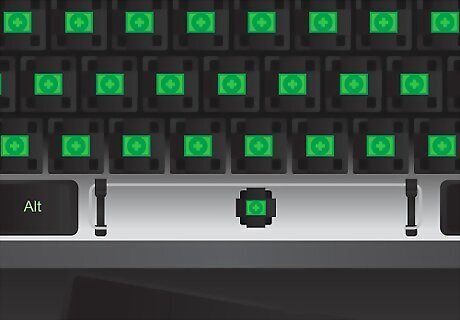
Remove any hinged keys, such as the spacebar, shift and enter keys. These hinges clip keys to the board, and usually are only used on larger keys. Pinch the white stubs at the bottom of the clips together and pull them out of their socket. Use careful and slight movements to prevent breaking these fragile pieces. You can identify hinged keys by looking for white hinges on the bottom of any keycaps you couldn't pull off. Usually, the spacebar, shift key, enter key, and tab key will have hinges. The hinges are slotted at the bottom of the keyboard and are more easily seen once all other keys are removed.
Cleaning the Keys

Place every keycap and hinged key into a plastic container. Choose a plastic container just large enough to fit all of your keys — a sandwich or a leftover container should suffice. Don't use a plastic bag or run the keys under water individually or you won't be able to loosen all the gunk and dust from them. Put a lid on the container to prevent leaks, and store it in the sink or in a draining area to avoid getting gunk on your floor.
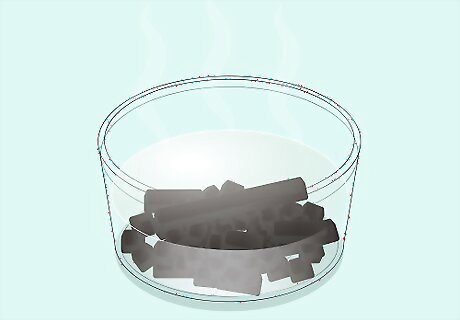
Fill the plastic container completely with water and let the keys soak. Fill the plastic tub of keycaps with warm water all the way to the top, or at least enough to cover the top of the pile of caps. Let the keys soak for at least 5 minutes to loosen anything that dirtied them. Let the keys soak for longer if there are particularly bad stains on them, up to 30 minutes at most, as water could loosen the surface layer of paint if left for too long to soak. You can also add some mild soap to the water to help remove buildup.

Empty the water and dry off the keycaps individually. Empty the water into the sink with one hand holding the caps in place to let the dirty water drain out. Then, place a towel over the counter, and dry off each key individually with a cotton swab. When you've finished with a key, place it symbol-side-up on the towel to let it sit until there is no more water — this can take up to an hour. Let your keys sit on the towel until they are completely dry, even if it takes longer than an hour. Any water in your keyboard could damage the internal electronics, so be absolutely certain there are no drops left before you reattach them.
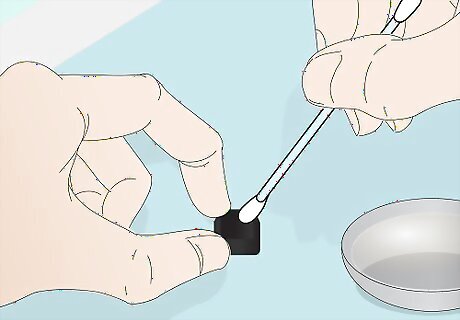
Dab any stained or persistent gunk with a rubbing alcohol soaked swab. If there are any keys that aren't cleaned by a simple soak and dry, you will have to use a cotton swab with alcohol to fully loosen the material. Dip the end of a cotton swab into 70 percent rubbing alcohol and gently yet firmly rub the persistent gunk until it's removed or loosened. While rubbing alcohol evaporates on its own, it's still best to run these keys under water and dry them again so your keyboard doesn't smell like alcohol. Place them symbol-side-up on the towel when you've cleaned the persistent gunk.
Cleaning the Keyboard

Use dusting spray on the empty keyboard to remove hair and big pieces. Compressed air spray, or keyboard duster spray, sprays a highly pressurized stream of air that is perfect for cleaning delicate electronics. Once the keycaps are removed from the keyboard, spray along each line, row, and in the cracks and slots of the keyboard to loosen and remove big chunks of gunk and loose hair. If you don't have access to keyboard duster spray, you can use a leaf blower or similar high-pressure air blowing tool. Just lay it flat on the ground, hold it steady with heavy objects, and let the leaf blower loose. This will spray lots of gunk, dust, hair, and other particles all over the place. If you want to keep your floor and desk space clean, take the keyboard outside to spray it off.
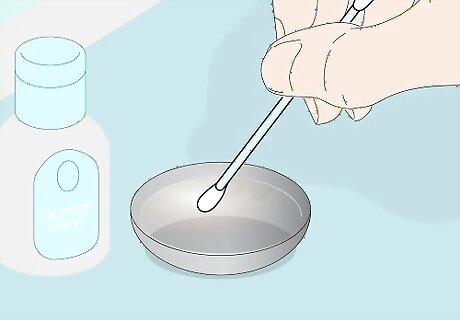
Pour rubbing alcohol into a small dish and dip your cotton swabs. It's difficult to get the right amount of rubbing alcohol on a cotton swab from the bottle, so pour out just enough to barely cover the bottom of a shallow dish, such as a small bowl or a clean ashtray. Dip your cotton swabs in the alcohol for just a moment. If you leave your cotton swabs in the alcohol for too long the cotton will unravel from the stick and become unusable. Instead, just dip it in for a brief second, and let any excess alcohol drip off.
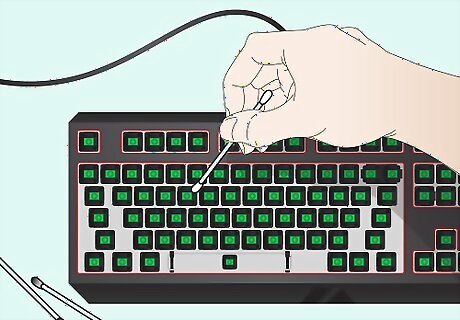
Scrub the key areas of the keyboard with the alcohol cotton swabs. Firmly grip a cotton swab and rub each individual key holder and in the grooves between them. It will take more than a few cotton swabs to get the job done. Be sure to apply pressure as needed to clean heavy stains. Let the keyboard fully dry for about an hour before continuing. If you find any gunk that is particularly stuck, try using more pressure, or use a small sharp object like a pocket knife to gently chip away the outer part of the gunk and then rub it with alcohol again. Be careful around the LEDs and consider using a cotton swab that has barely any rubbing alcohol on these parts to prevent electrical damage.
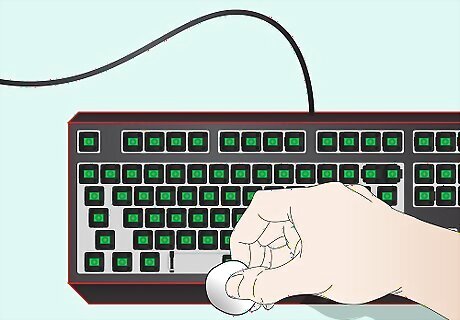
Clean the outside of the keyboard with cotton balls soaked in alcohol. Dip a cotton ball in your rubbing alcohol dish and wipe the outside of the keyboard with it — the black portion between the key areas. Be careful not to soak your cotton balls too much or you will drip excess alcohol into the key area and possibly cause electronic damage. Let the keyboard fully dry before continuing, and dab away excess alcohol with a dry cloth if necessary. You can also use regular cleaning wipes for this step, as they don't drip and are less likely to cause electronic damage. Opt for alcohol-infused cleaning wipes to get the best clean.
Reattaching Keycaps

Attach hinged keys by aligning the metal bar and slotting the hinges. On Razer Blackwidow keyboards, the metal bar at the bottom of the key goes behind the LED. Lay the metal bar behind this, then pinch the white stubs together on each side and slot them into the keyboard's base. You should hear a click.

Push the keycaps back into their proper place on the keyboard. Reference the photo you took earlier to find the proper place for each keycap. Starting from the left of the keyboard, push the keycap gently onto its proper spot until it snaps into place. You won't hear a click, but the plus-sign-shaped hole should fit snugly over the plus-sign-shaped attachment on the keyboard. Do not reattach any keys that have not yet fully dried, as this could cause damage to your LEDs or render the key unusable.
Turn on the LEDs to see if there are any spots that you missed. Once all keys are back in place, plug in your keyboard and turn it on. Enable the LED setting to check for any spots you missed — the light will highlight any obvious places you missed. If you see gunk that you missed, just remove keycaps from the area and clean it with a cotton swab again. You don't need to go through the entire cleaning process again for one mark.


Comments
0 comment