views
Cleaning Your Computer's Software
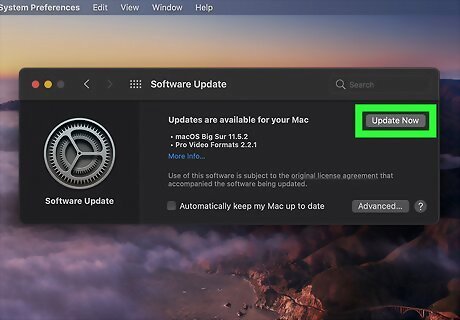
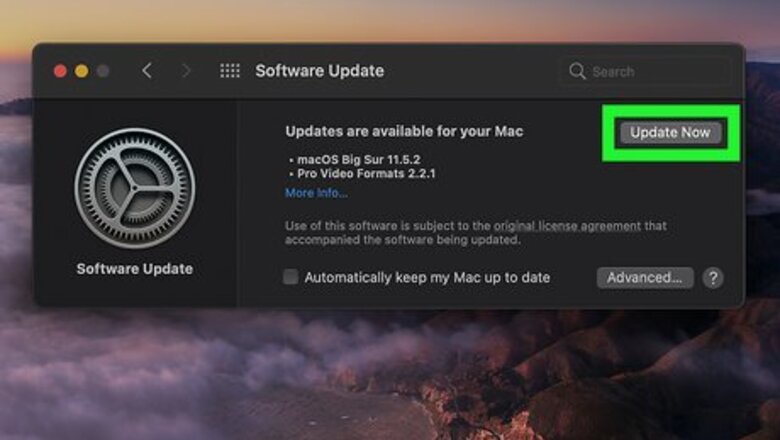
Get the latest updates. An out-of-date operating system can cause all kinds of problems and leave you susceptible to viruses and other malware. Installing the latest updates for Windows and macOS ensures you have the latest security patches and the newest features. If you've disabled updates, or you aren't sure whether your computer is being updated, follow the steps given below to check: Windows: In the Start menu, click the Settings gear icon, and then click Update & Security. If any updates are pending, click Install now in the right panel to get them. If not, click Check for updates, and then follow any on-screen instructions. Windows updates automatically in the background during normal use. Sometimes you'll be prompted to restart your computer to finish installing updates—make sure to save anything you're working on before doing this. macOS: Click the Apple menu at the top-left corner of your screen, select System Preferences, and then click Software Update. If updates are available, click Update Now to install them. If there's a newer version of macOS available, you'll see an Upgrade Now option—click this to install the latest and greatest version of the operating system.
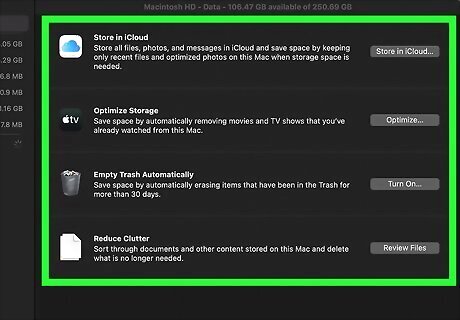
Get rid of files you don't need. Running out of space on your hard drive? That can take a toll on your computer's performance. Both Windows and macOS have easy built-in tools that can help you find and remove unnecessary files. Windows: Disk Cleanup is a great tool that can help you delete unneeded system files from your PC. To open it, Press Windows key + S to activate Windows Search, type cleanup, and then click Disk Cleanup. Storage Sense: Storage Sense ensures that unneeded files (like deleted files in the Recycle Bin, old backups, and old update installers) are automatically deleted when your hard drive space gets too low. Open the Start menu, click Settings, click System, and then click Storage. If Storage Sense isn't enabled, you can switch it on now. macOS: To find out how much storage is available, click the Apple menu, select About this Mac, and then click Storage. Click the Manage button next to your storage information to find a variety of storage tools and recommendations, including the option to Store in iCloud, Optimize Storage, Reduce Clutter, and Empty Trash Automatically. Make sure you have at least 20% of your hard drive free at all times to help ensure that the computer can function at its highest levels.
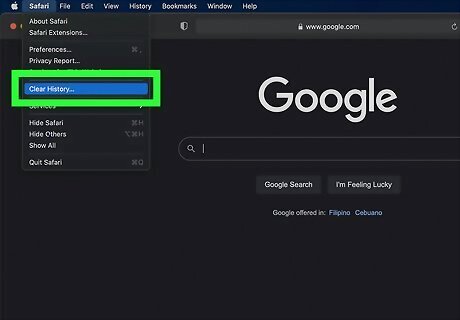
Clear web browsing data. As you browse the internet, your computer collects bits and pieces of information that can eventually build-up to the point that they cause performance issues, especially on older and slower machines. The steps to clear your cache vary depending on your web browser.
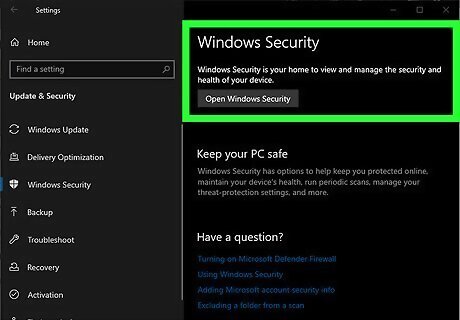
Check for viruses and other malware. If your computer is running slow, locking up, or crashing, your computer could be infected with malicious software (malware). Both Windows and macOS have pretty good built-in antivirus/antimalware protection. If you're using Windows, your PC periodically scans for (and gets rid of) malware, and you can even run deeper scans yourself. If you have a Mac, there's no option to run any type of malware scan without installing a third-party app. Both Mac and Windows users can download a simple, awesome malware scanner called Malwarebytes. Malwarebytes is free to use for scanning purposes, but if you want to use it for ongoing protection, you'll need to pay for an upgrade. Download the software, open it, and click Scan Now to find any malicious files. If Malwarebytes finds any, it will automatically quarantine those files so they can't harm your computer.
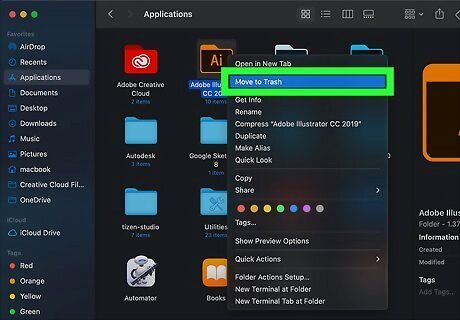
Remove programs you don't use. There's no use in having apps you don't use clogging up your hard drive. Fortunately, it's pretty easy to uninstall apps from both Windows and macOS: Windows: Open the Start menu, click Settings, and then click Apps. You'll find your installed programs in the right panel—to delete an app, click its name and select Uninstall. Mac: Open Finder and click Applications in the left panel. To delete an app, just drag it down to the Trash icon on the Dock, which is usually at the bottom of your screen. Alternatively, if the app has its own uninstaller, double-click that file in the app's folder to remove the app. Getting rid of programs that are automatically included in your startup, but are of no use to you, can also certainly make a difference.
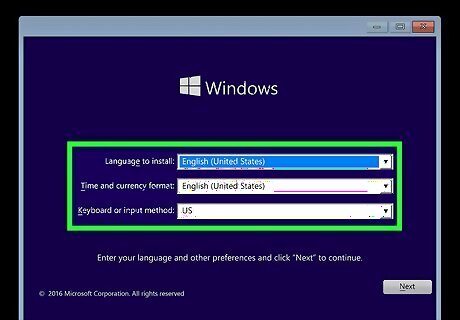
Start from scratch. Have you gotten to the point where you just want Windows or macOS to feel like it did when you first got your computer? As long as you've made a backup of files you don't want to lose, you can easily bring new life into your computer with a fresh install. Windows: You can reset Windows 10, which gives you the option of keeping your personal files and settings (if you didn't do a backup) or deleting those as well. Mac: If you're using a Mac, you can reinstall macOS by booting into macOS Recovery. If you have an Apple Silicon processor, power down your Mac, and then, when turning it back on, press and hold the Power button, click the gear when it appears, and then click Options. You can then choose the option to reinstall macOS. If you have an Intel processor, turn off your Mac, turn it back on, and then press and hold Command + R until you see the Apple logo. When you see the option to reinstall macOS, choose it.
Cleaning Your Computer Physically

Gather your supplies. Does your computer look dirty? To safely and efficiently clean your computer's exterior, you'll need a few inexpensive items. Lint-free cloths, such as microfiber screen or eyeglass wipes. Cotton swabs (such as Q-Tips). Electronics cleaner—if you don't have any, you can mix equal parts rubbing alcohol (99%) and clean water. A can of compressed air (for cleaning out your keyboard and ports). A flat, clean, dust-free surface to work on.
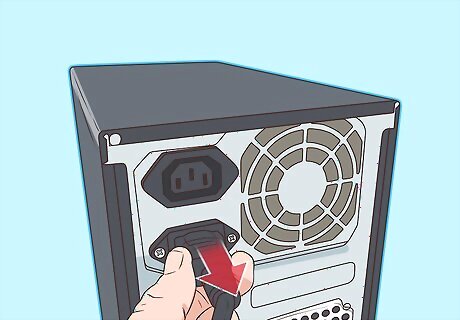
Turn off your computer. For desktop computers, this means shutting down the computer, turning off the surge protector or power strip, and unplugging the cord from the back of the tower (computer box). If you're cleaning a laptop, shut it down completely, unplug any power cords from it, turn it upside down, and remove the battery pack (if removable). To prevent scuffing on a glossy finish laptop, you can set your laptop upside-down on paper towels before you remove the battery pack.
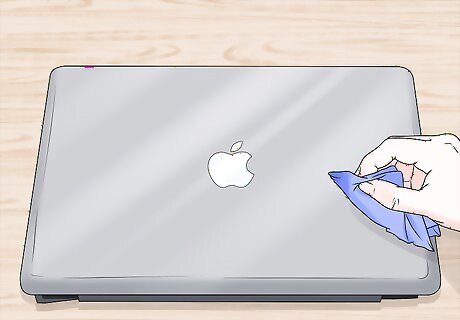
Dust the exterior of your computer. Using a dry microfiber cloth, brush obvious dust and dirt off of all sides of the computer and any components. Microfiber is also a safe material to use to remove dust from your monitor.
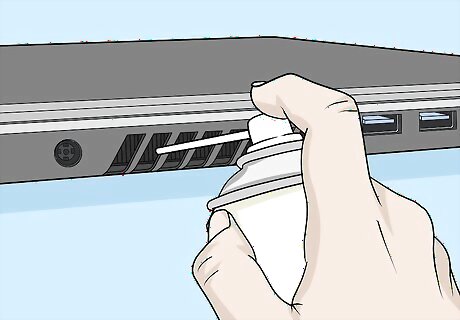
Use compressed air to clean ports and vents. Over time, your computer's vents and ports could become cluttered with debris. Holding the can one to three inches from the area you're cleaning, spray quick bursts into all visible openings and dirty areas. Spray it everywhere else you can reach, and don't forget to pop open your optical drives and briefly spray them out. Obviously, the goal is to remove crumbs and dust, not push them farther into your computer. Be mindful of this as you aim your compressed air. You may need to gently tilt your laptop or tower to encourage difficult particles to roll closer to where you can flush them out, but don't ever shake or slap it. If overused, compressed air can hurt/ruin sensitive components. Always spray from a little distance and in short bursts rather than a sustained stream. If you feel comfortable opening your computer to clean the inside, you can use compressed air to do that as well. If you're spraying around the CPU cooling fan(s), be extremely careful not to get too close or spray for too long—you could easily crack or break the blades this way.
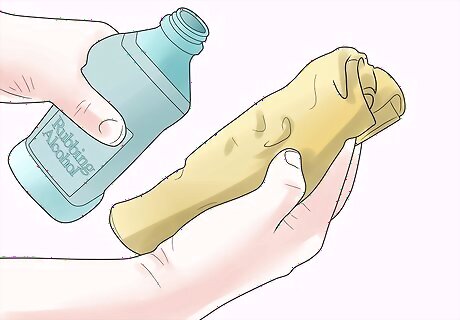
Use electronics cleaner or alcohol to remove larger or stuck-on debris. You can use an electronics cleaner (or rubbing alcohol) to remove sticky substances from most external surfaces—just dampen your microfiber cloth (or a cotton swab) and then rub it over the affected area. Use the swab or cloth to brush away anything that's stuck on your computer, as well as any gunk or dirt that has collected around the edges, in cracks, and around ports. Run the dampened cotton swab along every seam and edge of your machine. Change swabs as often as you need to until the job is done. Don't reuse the same swab for the entire job, as it can get dirty and only smear dirt around your computer case. Be careful not to get liquid inside your computer! If you are using a water/alcohol mixture, use the dry side of a cotton swab or a microfiber cloth to remove excess moisture left behind from cleaning.
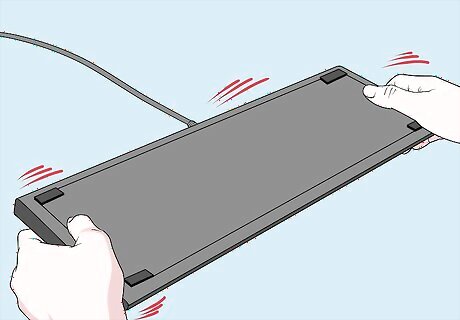
Clean the keyboard. Start by turning your keyboard upside down over some newspaper or paper towels and shaking out all the crumbs you can. If you're cleaning a laptop, shake very gently to avoid damaging it. Once you've gotten out all the crumbs you can, hold a can of compressed air one to three inches from the keyboard, and then spray short bursts into the cracks and crevices to flush out more. Shake the keyboard again afterwards. Finally, use a small amount of rubbing alcohol on a cotton swab to clean the tops of the keys. Don't use a vacuum cleaner on your keyboard, especially if you're using a laptop. The vacuum can create a static charge that could damage components underneath. You can also suction keys right off the keyboard and into the vacuum dust container. Touchpads and trackballs can be cleaned the same way as keys, with a cotton swab and a bit of rubbing alcohol. As always, discard each swab when it gets dirty and switch to a new one.

Clean the monitor. For LCD displays like those found on most laptops, use a drop of plain water on a soft, lint-free cloth such as microfiber. Apply the water to the cloth (wring it out so it's damp, not wet!), and then gently wipe the cloth across the screen until it's clean. If using water in a spray bottle, spray the cloth, not the monitor. Avoid getting the cloth too wet—you wouldn't want any liquids creeping into the monitor or laptop's inside components. Don't use any ammonia-based cleaners on your monitor.
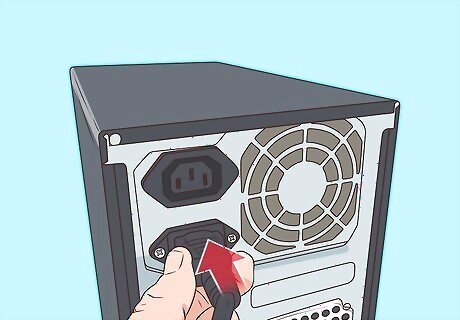
Allow your computer to fully dry before turning it back on. Once dry, reattach any peripherals, such as monitors and external drives, and then restart your computer. Repeat this cleaning regimen every few months or as needed.







Comments
0 comment