
views
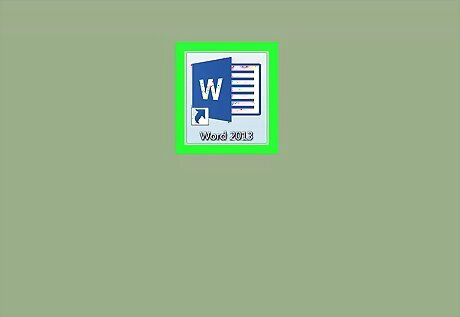
Open Microsoft Word on your computer. In Windows, open the Windows Start menu, select All Apps, select Microsoft Office, then click Microsoft Word. In macOS, open the Applications folder, double-click Microsoft Office, then double-click Microsoft Word.
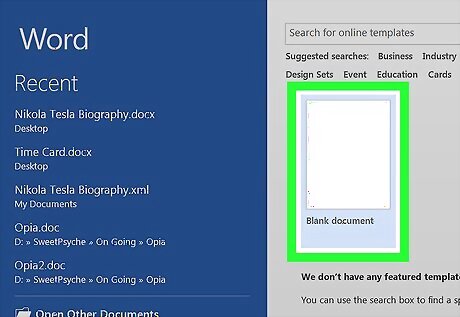
Click Blank document. This opens a new document to work in.
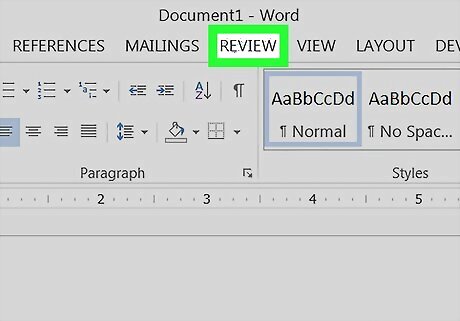
Click the Review tab. It’s in the menu at the top of Word.
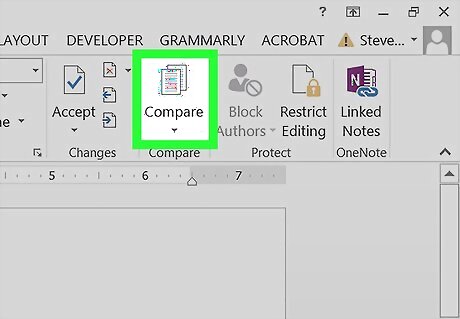
Click the Compare button. It’s in the ribbon bar at the top of Word, toward the right. Look for the two overlapping sheets of paper. A menu will expand.
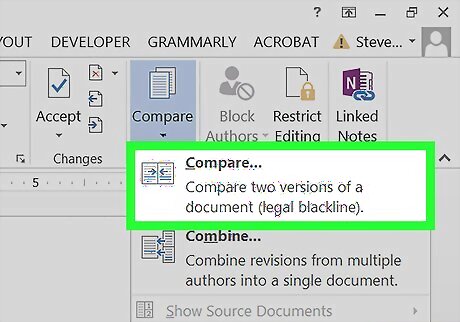
Click Compare…. The Compare Documents window will appear.
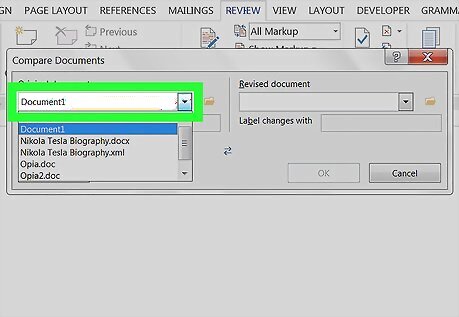
Select the original document. Click the drop-down menu under “Original document,” then select the file you want to compare. If it’s not listed, click Browse, navigate to the file, then select it.
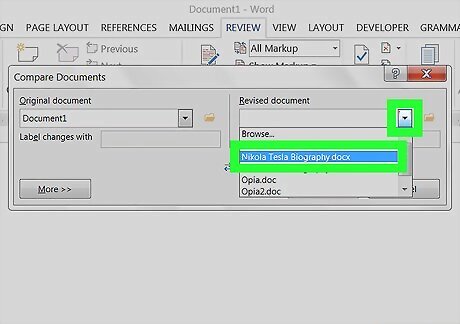
Select the revised document. Click the drop-down menu next under “Revised document,” then click the revised file’s name. If it’s not listed, click Browse, navigate to the file, then select it.
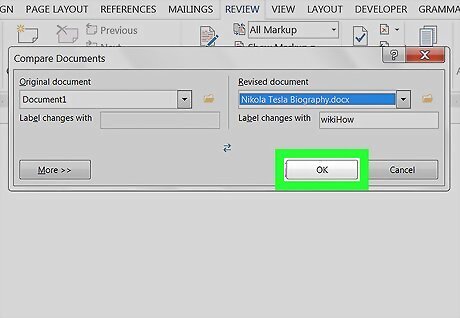
Click OK. This opens the documents in compare mode. The middle panel shows how the revisions look in the document. The left panel contains a list of all of the revisions, the name of the person who made the revision (if applicable), and comments. The upper-right panel displays the original document. The bottom-right document displays the revised document if the revisions are accepted.


Comments
0 comment