views
Making Your Account Private
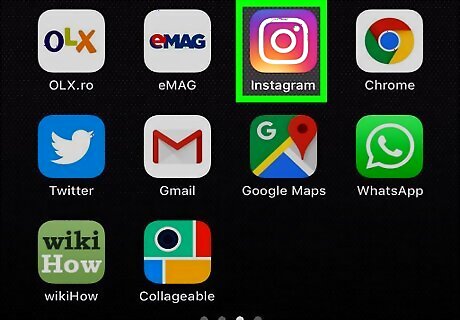
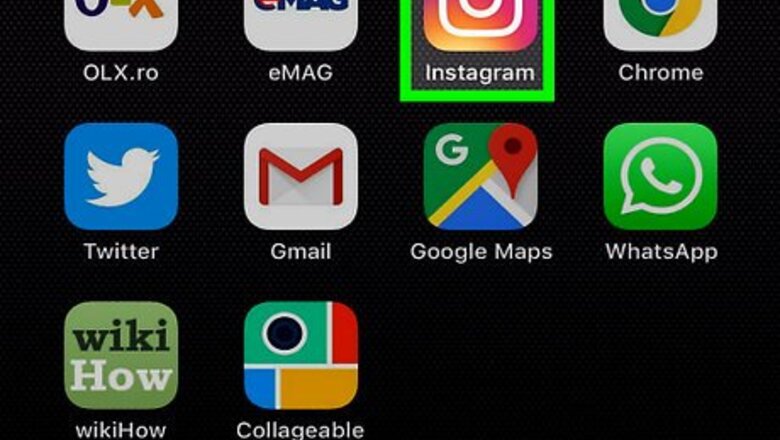
Open the Instagram app. You must do this on a phone.
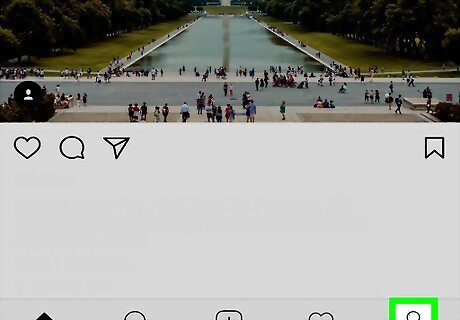
Open your profile. Tap the outline of a person on the bottom-right corner of the app to do so.
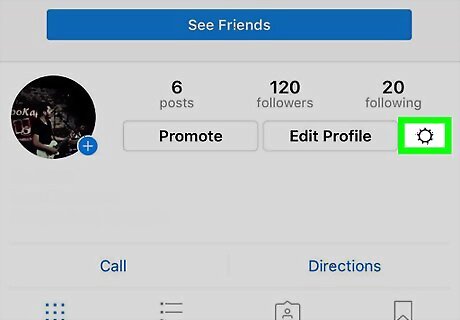
Tap the Settings icon. In iOS, this icon is a white cog in the top-right corner of the app. On an Android, this icon is three white dots in vertical fashion on the top-right corner of the app.
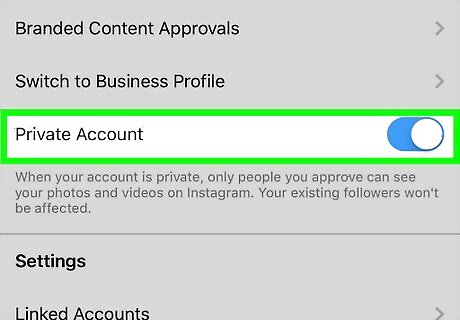
Toggle "Private Account" to on. This switch is located under the "Account" section. With this setting on, only users who follow you will be able to see photos you post. It will also cause Instagram to send you a notification each time a new user requests to follow you, requiring you to approve the request first. Setting your profile to private is also an indirect way to block users who blocked you.
Blocking Followers
Open the Instagram app.
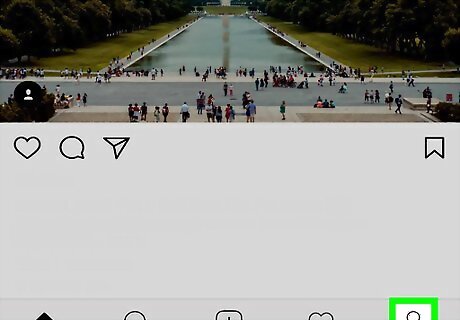
Open your profile. Tap the outline of a person on the bottom-right corner of the app to do so.
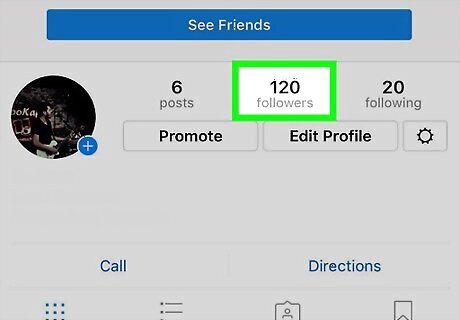
View your followers. Tap on the number to the right of your profile photo labelled "Followers". You can also find a follower you which to block by tapping the Search icon (a magnifying glass) at the bottom of your screen and typing their name into the search bar, or by tapping on the Notifications icon (a heart at the bottom of your screen) and scrolling through this list to find notifications from a user you wish to block.
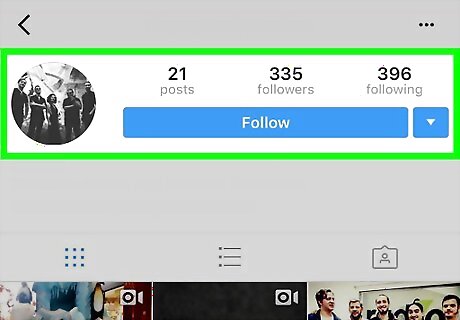
Tap on a follower you wish to block. You will be brought to the user's profile.
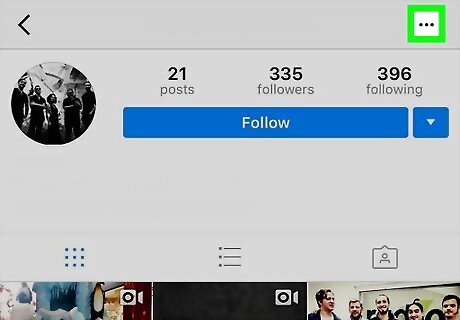
Tap on the options icon. This icon is the three vertical dots at the top-right corner of the screen.
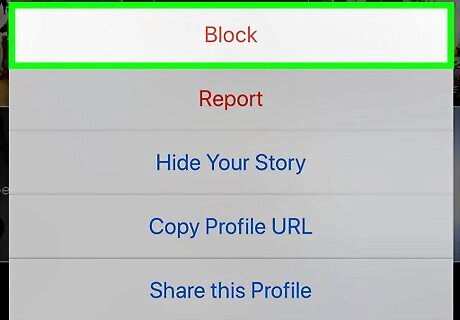
Tap "Block User". This user will no longer be able to view your photos or profile, nor will they be able to contact you on Instagram.
Deleting Photos From Your Photo Map
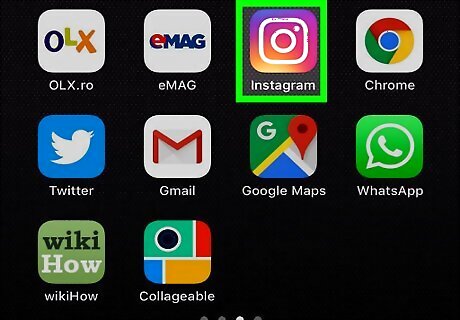
Open the Instagram app. You must do this on a phone.
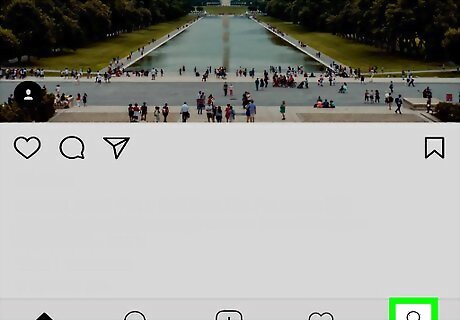
Open your profile. Tap the outline of a person on the bottom-right corner of the app to do so.
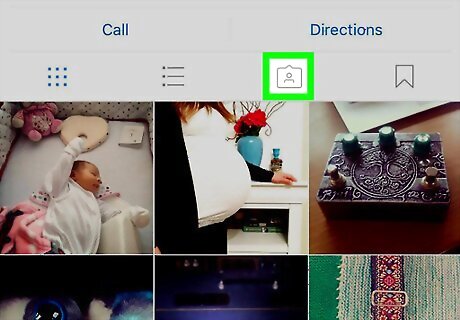
Open your Photo Map. To do this, tap on the roundish pin-shaped icon in the bar just above your feed of photos. You'll find yourself on your Photo Map, which displays the geographic locations of every photo you've taken that you allowed Instagram to take note of. The Photo Map function of Instagram is an "opt in" feature, meaning that your photos won't be added to the Photo Map unless you decide to before confirming a photo post.
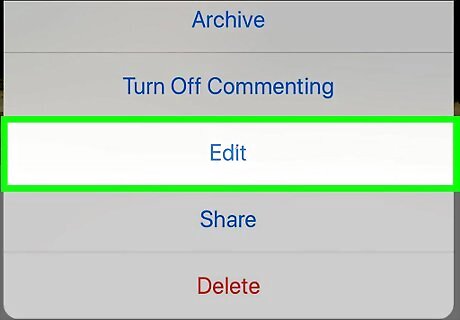
Tap "Edit". This button is located in the top-right corner of your Photo Map.
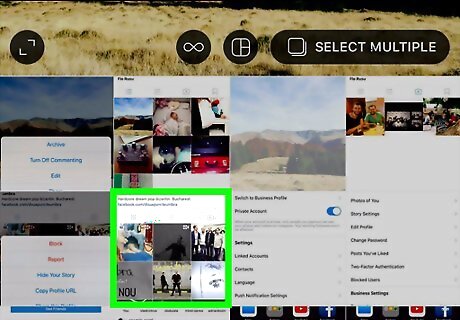
Tap on a photo you'd like to remove. You may want to zoom in by tapping the screen with two fingers and moving them apart.
Sharing Photos Privately
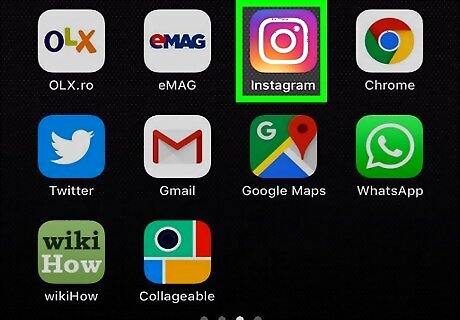
Open the Instagram app. You must do this on a phone.
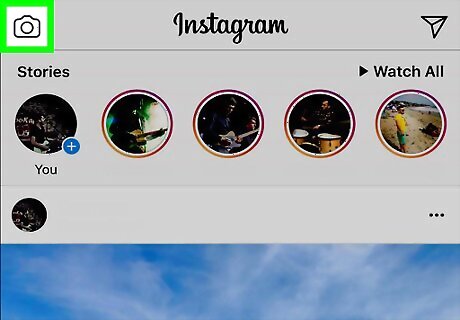
Tap the camera button. This is the button at the center of the bottom of your screen. When tapped, it will open Instagram's camera function.
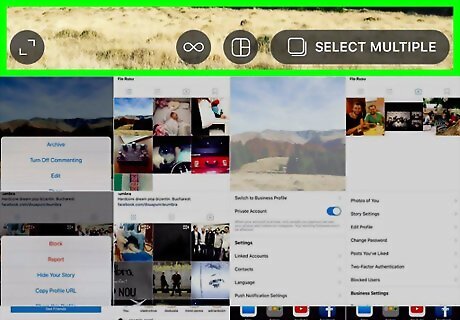
Take an Instagram photo. Apply any filters you would like to, and proceed to the confirmation page.
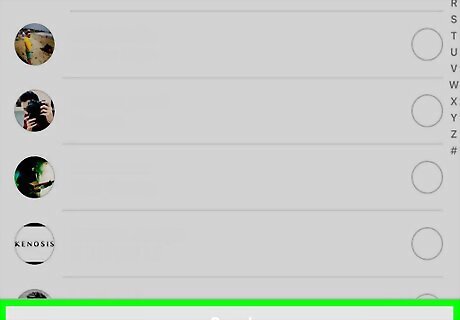
Tap "Direct" at the top of the screen. This will give you the option to personally select the users to whom you would like to send your photo, rather than making them visible to every follower you have.
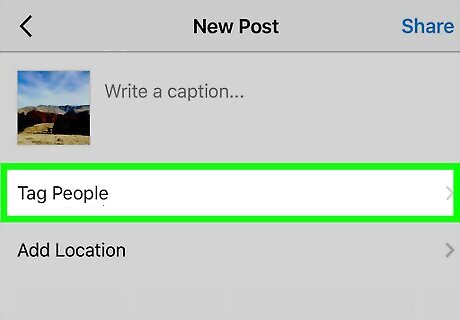
Type in the names of the followers you would like to send the photo to. They do not need to be users you follow or who follow you; just valid Instagram users.
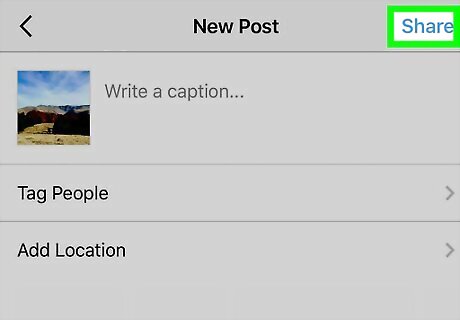
Tap "Share" to share the photo selectively. The "Share button is at the bottom of your screen. Now, you'll know exactly who is seeing your photo and who isn't.




Comments
0 comment