views
Paper Marionette
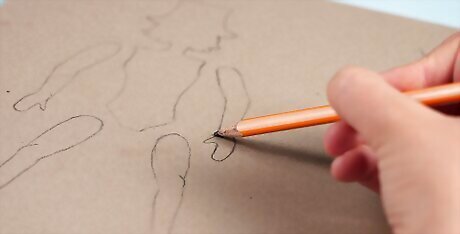
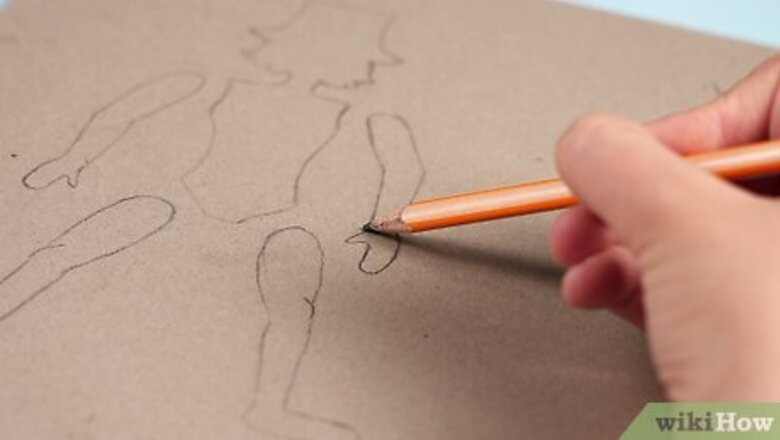
Draw your design. Lay the cardboard or poster board on a flat surface. Sketch out individual body parts for the marionette. The puppet will need two separate arms, two separate legs and a torso section with the head attached.
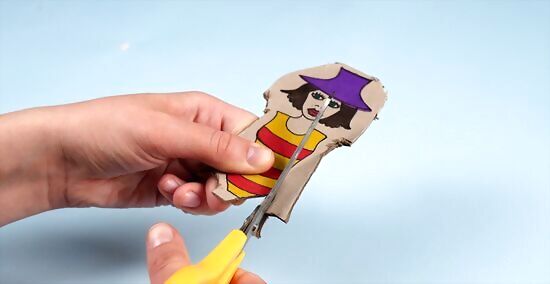
Cut out the pieces. Decorate the sketched puppet with markers, crayons or paint, and cut out the pieces.
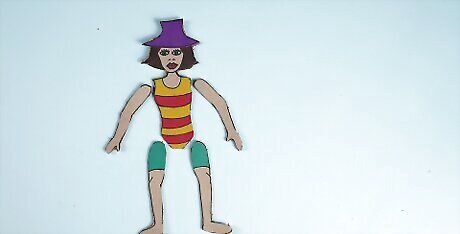
Lay out your puppet. Assemble the puppet face-up on a flat surface. Lay the torso piece down first, then arrange the arms and legs on the marionette so that a section of each overlaps with the torso piece.
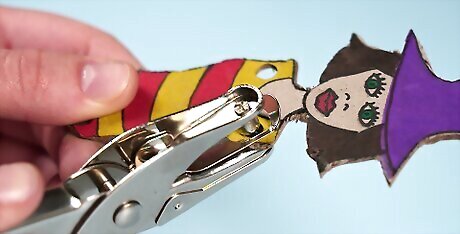
Create the joints. Push a brass brad through each joint in the puppet; punch holes in the paper if it is too thick to be pierced by the brad alone. The joints should remain loose and flexible enough for the limbs to move easily.
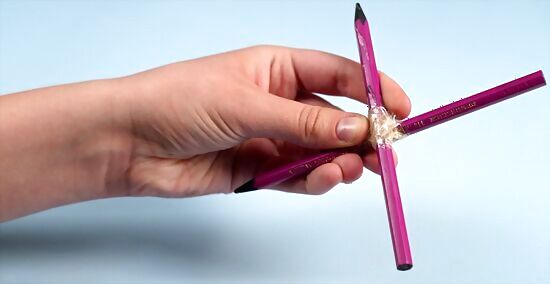
Create the handle. Lay down two chopsticks or pencils to form a cross. Tape the sticks together where they intersect.
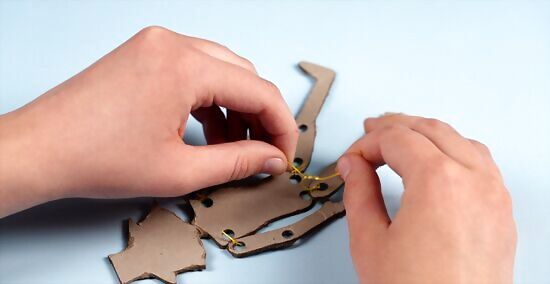
Attach the strings. Thread a needle with fishing line. Piercing a hole through the cardboard just above the knees and the wrists, knot the line and draw the fishing line through. Knot and cut the line after making each attachment. The length of fishing line extending from each section needs to be long enough to reach the sticks, which should be at least 6 inches (15.2 cm) above the shoulders (longer if the head is large).

Connect the strings. Knot the fishing line extending from the puppet's shoulders to the center of the cross. Knot each of the four strings connected to the puppet's limbs to an individual arm of the cross. Dot school glue on each knot to keep it from untying.
Professional Marionette
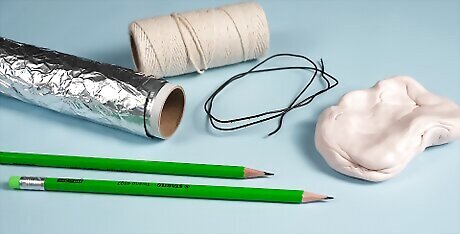
Get your materials. You'll need FIMO clay, aluminum (also called tin) foil, sturdy but flexible wire, string, and something to make a handle (chopsticks will do in a pinch).
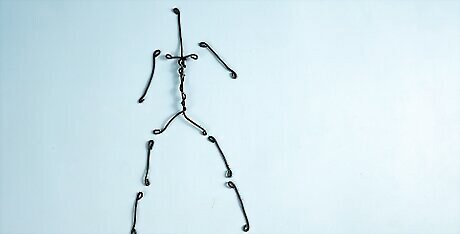
Create your skeleton. Bend, cut, and straighten the wire until you have 1 piece for every section of the body. You'll want to make a small loop at each end of every section. These loops will become the joints. For the head, you will want a loop coming out at the top of the head as well. For this particular set of instructions, the head is not a moving piece, so you can make the head and torso a single section, if you want to.
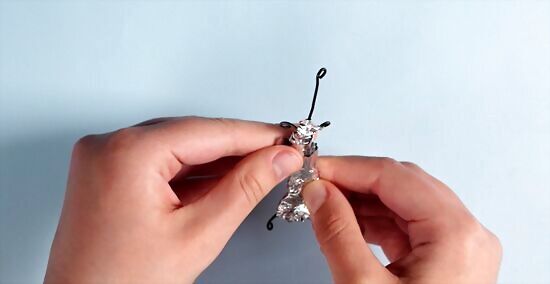
Add your under-structure. Crumple and ball the tin foil and add it to each section of the wire bones. This acts like muscle, giving the marionette some substance. Don't add too much and don't worry about it being smooth: the clay will cover this part.
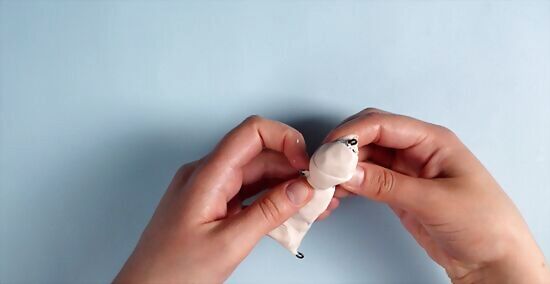
Add the clay. Shape the clay onto each part of the marionette and carve it until you have the look you want. Leave the loops exposed.
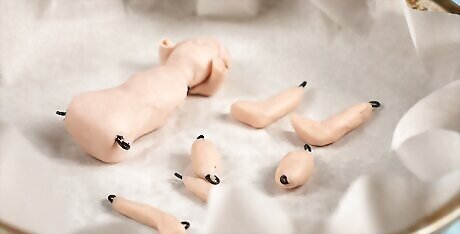
Bake the parts. Bake the body parts according to the manufacturer's instructions.
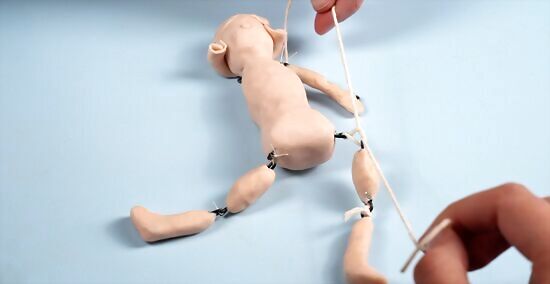
Assemble the puppet. Connect the loops to create the joints for the puppet.
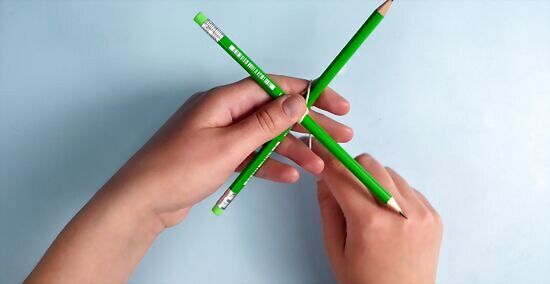
Create the handle. Purchase a premade handle or create a basic one by joining two chopsticks together into a cross.
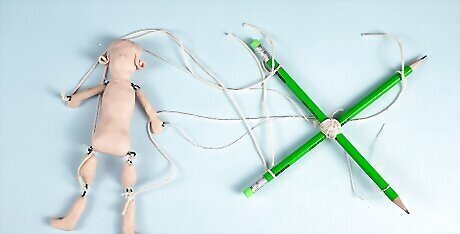
Attach the strings. Attach strings at the knees and wrists, tying them to one of the joint loops. Attach the other end to the ends of your four handles. Then, attach a string from the head loop to the center of the handle.
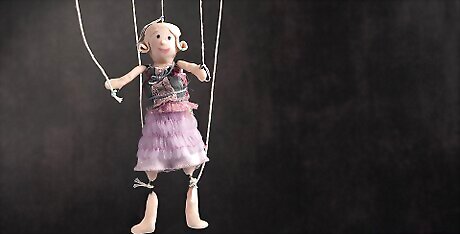
Add finishing details. You may want to paint some details onto your marionette and make it some clothing as well. This will give it a great final look!


Comments
0 comment