
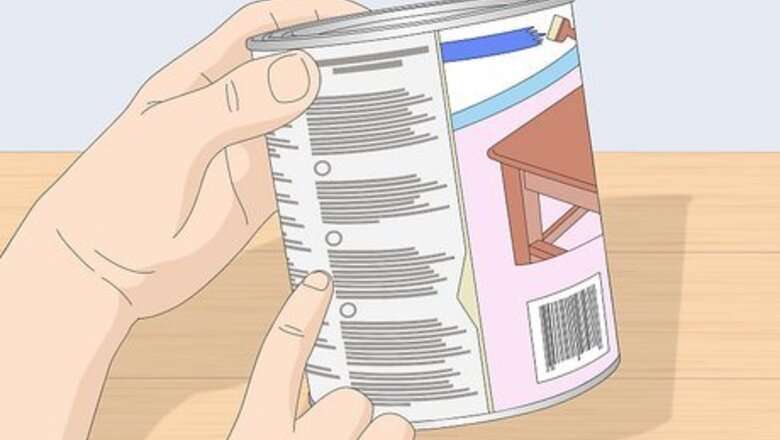
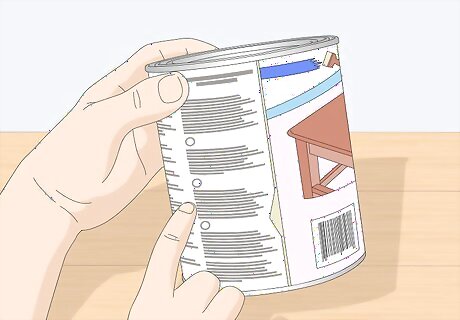
Read the instruction literature available on the sides of the paint and stain cans and in the brochures provided by your furniture retailer.

Choose a well-ventilated area where the temperature is above 65 degrees.

Prepare workspace with a drop cloth, old newspapers, or cardboard.
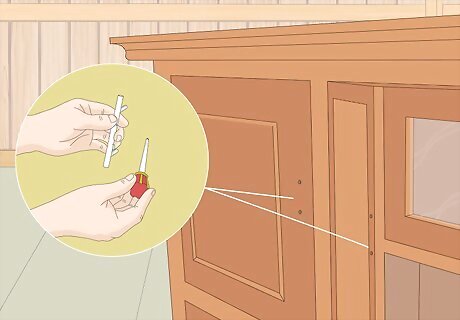
Remove all hardware.
Tape over glass and mirrors when possible.

Fill nail holes with water base filler.

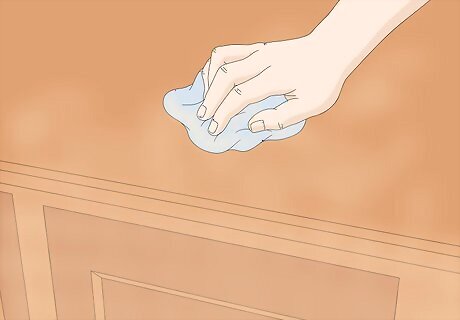
Wet the wood using a water spray bottle to raise the grain.

Allow the dampened wood to dry 30 minutes before the final sanding.
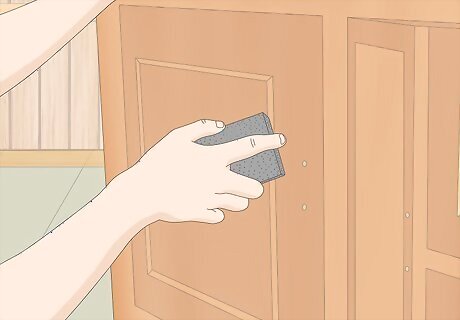
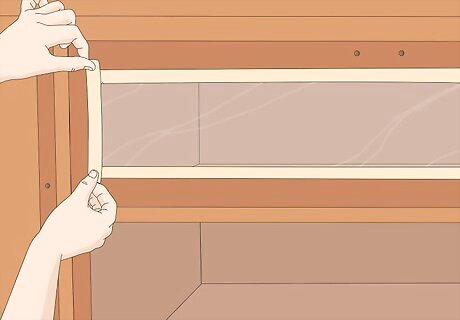
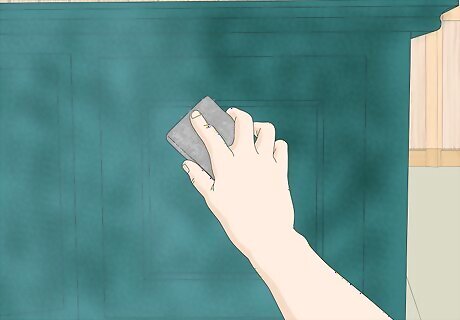
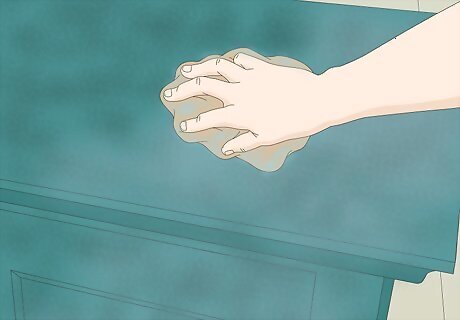
Use 180 grit paper to lightly sand to remove any shipping marks or skin oils from furniture piece.
Dust with an oil-free static cloth or vacuum.
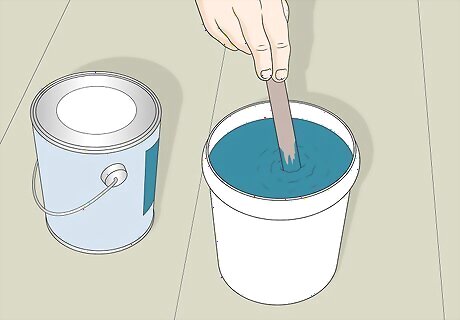
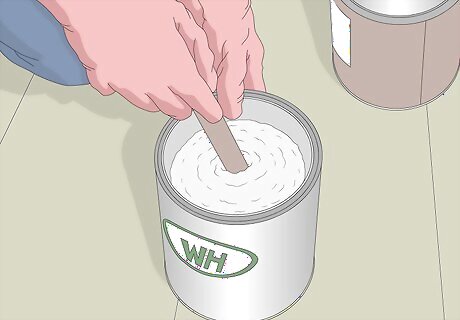
Stir the contents of the paint can.

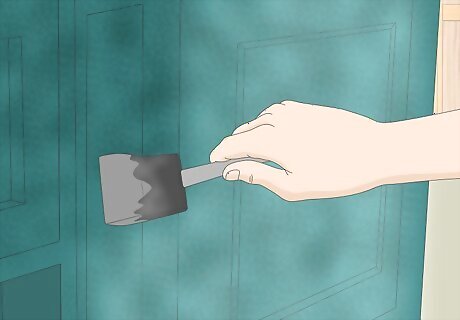
Apply a wet uniform coat of paint using a foam brush or paint pad to one section at a time.

Allow the first color to dry for 2 hours.
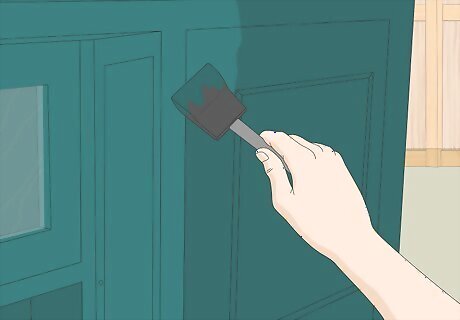
Apply one coat of paint using a foam brush or paint pad to one section at a time.

Allow to set up for a minute or two.

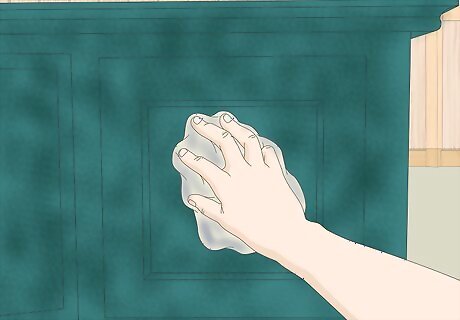
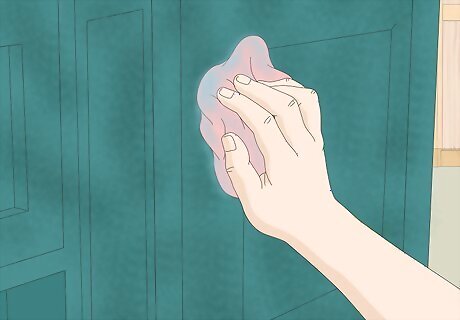
Sponge the surface, removing the top layer until you get the effect you want.

Allow to dry for up to 4 hours.
Stir the topcoat.

Apply the finish topcoat evenly in the same direction as the grain of wood. (A poly-acrylic topcoat is recommended).

Allow to dry for 2 hours.
Lightly buff the finish coat with 320 or finer grit sandpaper.
Dust with a clean cloth.
Apply second coat of finish.

Allow to dry for 2 hours.

Lightly buff.
Dust.

Apply a third coat of topcoat finish.

Allow to dry for 3 hours.

Lightly buff.
Dust.
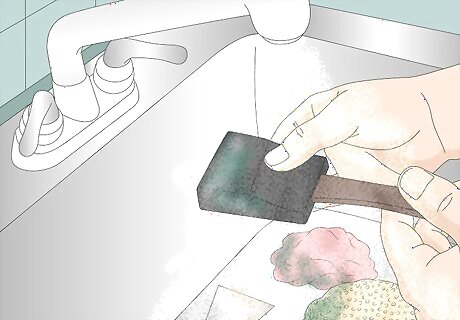
Wash all applicators with water.

Allow the finish to cure for 7 days before using the furniture.


Comments
0 comment