
Cutting out the Paper Pattern Pieces

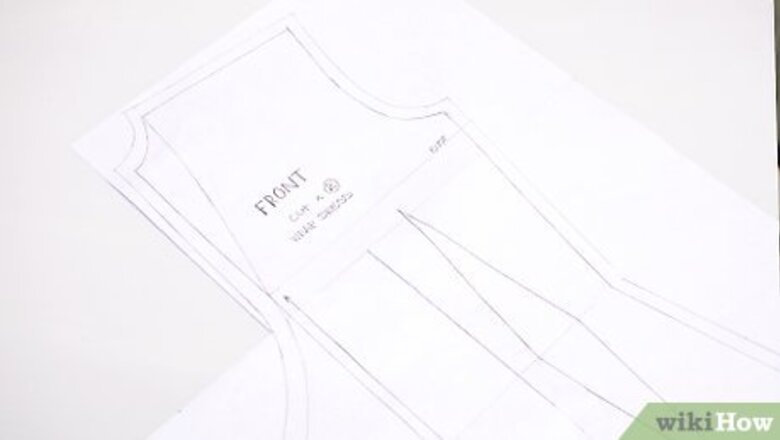
Lay out all of the paper pattern pieces. Remove the pattern pieces that you need to make your dress from the pattern envelope. Then, separate and unfold the pieces. Lay the pieces flat on your work surface so that you can see all of each pattern. If the paper pattern pieces are wrinkled or have deep creases, you may want to iron them on the lowest dry setting on your iron. However, keep in mind that this is optional. It's always a good idea to read through the whole pattern before you get started to be sure you understand all the steps.
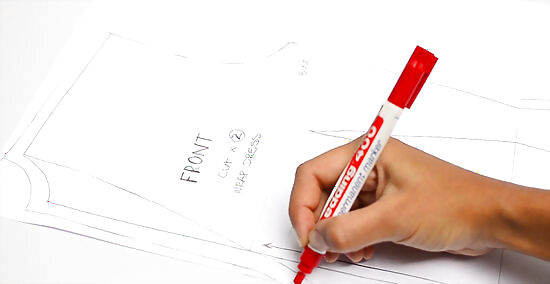
Trace your desired size lines with a red pencil or highlighter. You only cut the pattern along the lines you need for your size. These will be indicated by the size printed along the edges of the lines. Use a red pencil or a highlighter to trace along the lines. Do this for each of the pattern pieces you will need to make your dress. Red pencil shows up well on light brown pattern paper, but you can use purple or blue or another color that you can see easily. Any color highlighter will work to trace the lines.
Cut along the lines you have traced. Use a sharp pair of scissors to cut along the lines you just traced over with the pencil or highlighter. Cut carefully along the lines to avoid creating any jagged edges in the paper. You may want to use a pair of paper scissors for cutting the paper pattern, and then switch to fabric scissors for cutting the fabric pieces.
Cutting the Fabric Pieces
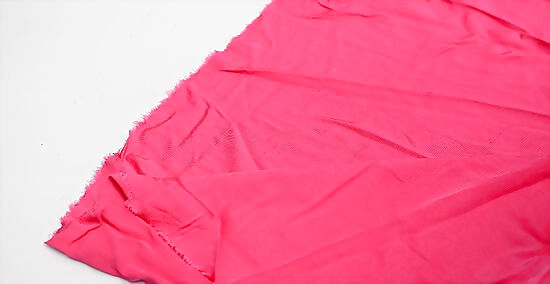
Fold your fabric in half so that the raw edges are lined up. Place part of the paper pattern along the folded edge of your fabric as indicated. The pattern should have the word “fold” written along 1 edge with arrows indicating where the fold should be. Line up this edge of the pattern with the fold in your fabric. Do not cut along the folded edge of the fabric. Aligning the fabric this way will allow you to cut out a larger piece of fabric and reduce the number of seams on your dress. Make sure that there are no bumps in the folded fabric. You may even want to pin the edges of your fabric together to keep it flat.

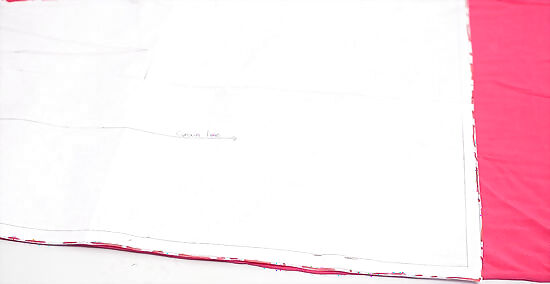
Pin the pattern pieces to the fabric as indicated. Place the pattern pieces over your folded fabric as indicated and pin them into place. Insert the pins perpendicular to the edges of the fabric. If you have purchased the required amount of fabric, you should have plenty of room to place all of the pieces on the pattern. Some pattern pieces may only require you to cut out 1 piece of fabric. Check each paper pattern piece to be sure. Pattern weights are also a good option for holding your pattern pieces on your fabric. Place pattern weights on the edges of the pattern pieces before you cut out the fabric.
Cut the fabric along the edges of the paper pattern piece. Make sure to follow the outer edge of the paper pattern piece. Do not cut inside of the lines or you may lose needed fabric in the process. Likewise, do not cut too far outside of the edges of the pattern pieces or your dress may be a larger size than you intended. Even if the difference seems minuscule, your dress may not fit properly if you cut too much or too little fabric.

Snip any notches as indicated by the pattern. Look for triangles along the outer edges of the pattern. These are called notches and they are important for lining up the fabric pieces properly. Snip into the center of the notch going from the edge of the fabric to the center point of the triangle. You may also come across some side-by-side notches. Make sure to cut each of these notches in the same way.


Comments
0 comment