

Draw an oval in the shape of a dog tag. This will be the basic shape of Rick’s head (minus the hair). Make sure to leave enough room for the hair at the top of the page (at least about 1/2 of a head's height) and below the head (room for about four more heads lined up below.) This will be a 3/4 view of Rick, so he will be looking off to the side in these images.

Sketch a line across the halfway point. Then another halfway between that line and the top of the head. Now draw two circles in that space that touch both of those lines (they don’t need to be perfect circles, as they rarely are in the show). Now draw in the pupils, which are a couple of fuzzy dots, iconic to the show. A couple of curved lines go under the eyes, and a unibrow will go above them.

Sketch another line between the middle and bottom of the head. Across this line is where the mouth will go. You can make a basic one by just creating a line with a C shape on either side (these will indicate the lips).
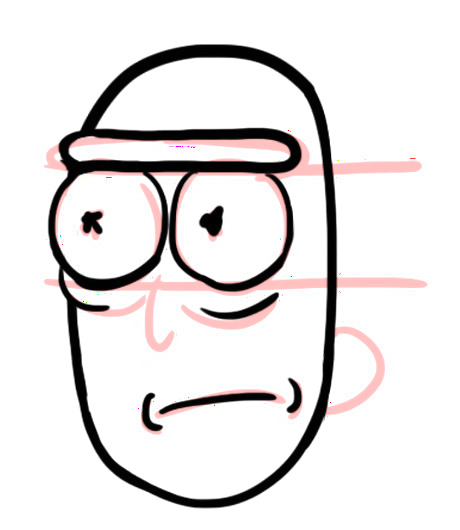
The top of the nose will start just above the middle of the head, and is a hook shape. The ear will be a C shape with the bottom starting near the mouth.

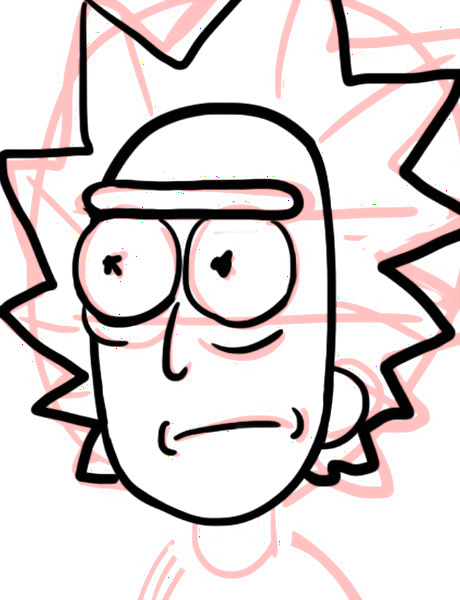
The hair is tricky but is basically comprised of a series of around 11-13 triangles, or “spikes” that are smaller at the bottom of the head and grow larger near the top. It helps to create the oval shape first that these spikes make, then mark with a line where each of the triangle tips will be pointed. You might not get it on the first try, so lightly sketch each attempt until you have something that looks good. Also, the lines for the hair tend to be a little shaky, so don’t worry about perfect triangles.
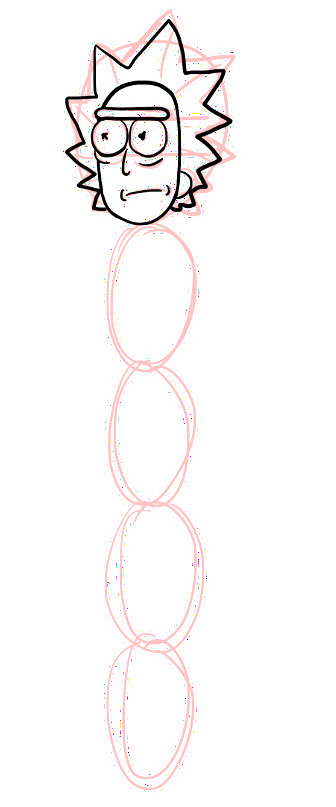
Now mark out the height of four more heads (without the hair) under the one you’ve drawn. This will be the height of Rick’s body. The rest of his body will be only a little wider than the head. Without the hair, he is a total of five heads tall.
Now, put a small box under his head for his neck.
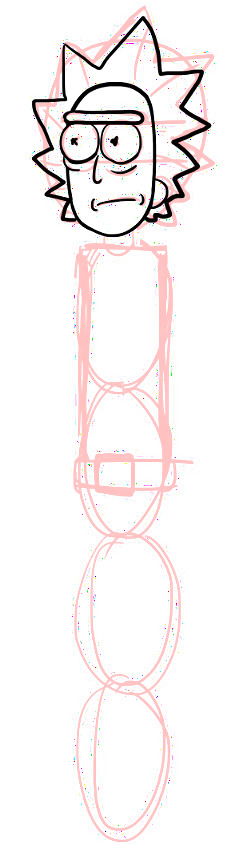
Under this, create a box with the width of his head and down to the halfway point of the middle head. This is where his torso ends, and his belt will go there to mark it. It is simply a few small rectangles.
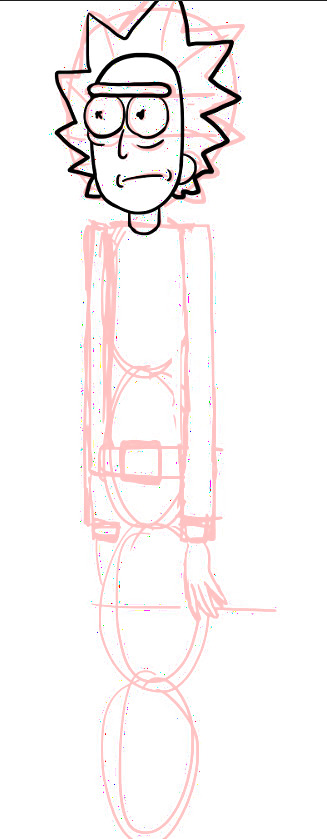
Each of his arms is just a long rectangle ending at the bottom of the middle head. These will be about the width of one-fourth of his head width. Then a small box will be the sleeve of his sweater coming out from his lab coat. Then the hand will be about the length of half a head.

The lab coat can be created with a couple of curved lines that come down from the neck to about the halfway point of the second from the bottommost head, and these will be connected with a third line. Then four triangles along the top of the coat will create the lapel.
The bottom of his body is a curved line just below his belt, and his legs will be a couple of rectangles, just like his arms, with space in between. His pants stop at the halfway point of the bottommost head. His shoes will be a couple of triangular type shapes about the height of one-fourth of the bottommost head. Then connect the pants and shoes with a couple of smaller rectangles.

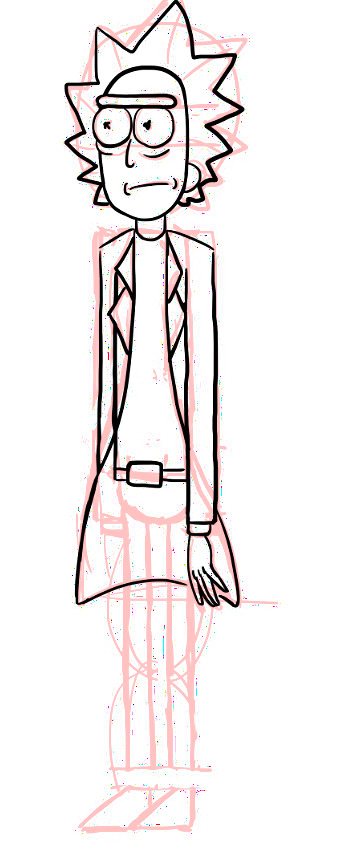
Now go over all the lines you want to keep.
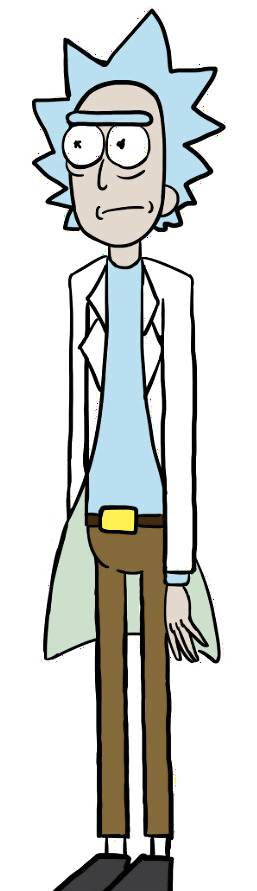
For the colors, you’ll want a light blue for the hair, unibrow, and sweater, a medium khaki tone for the pants, dark brown for the belt, and gold or yellow for the belt buckle. A lighter blue will be for the shadow inside of his lab coat, and his skin tone is actually a light grey color.


Comments
0 comment