
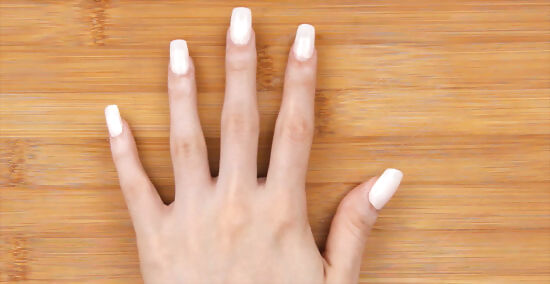
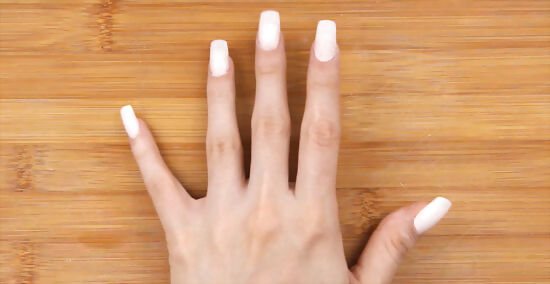
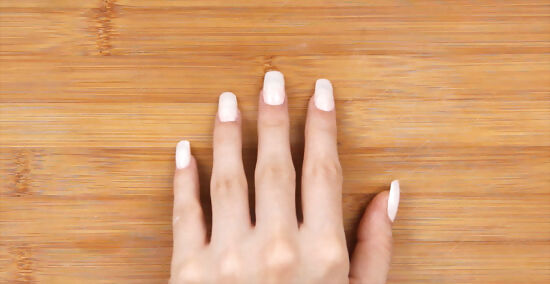
Preparing Your Nails
Fill your nails every 2 to 3 weeks. Because the natural nails underneath your acrylic nails will continue to grow, a gap between your cuticle and acrylic nail will begin to show within 2 or 3 weeks. You'll need to fill your nails more frequently if they grow out faster.
Use nail polish remover to remove the old paint. Dip a cotton ball in non-acetone nail polish remover. Press the soaked cotton ball directly on your nails. Rub the cotton ball over each nail until the old nail polish is removed. Avoid using acetone-based nail polish removers, which could damage the acrylics.
Wash and dry your nails. Wash your nails with soap and water to remove any traces of the nail polish remover. Use a dry cotton ball or soft towel to completely dry the nails. Cleaning the nails can help prevent infection.
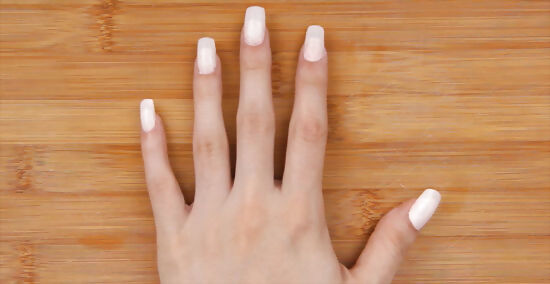
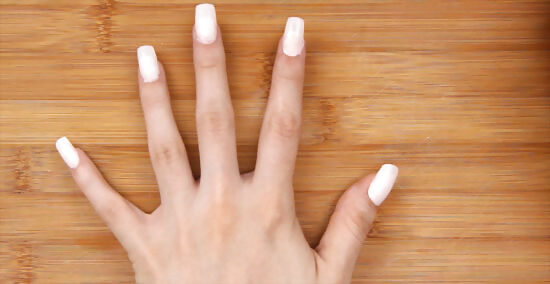
Filling Acrylic Nails
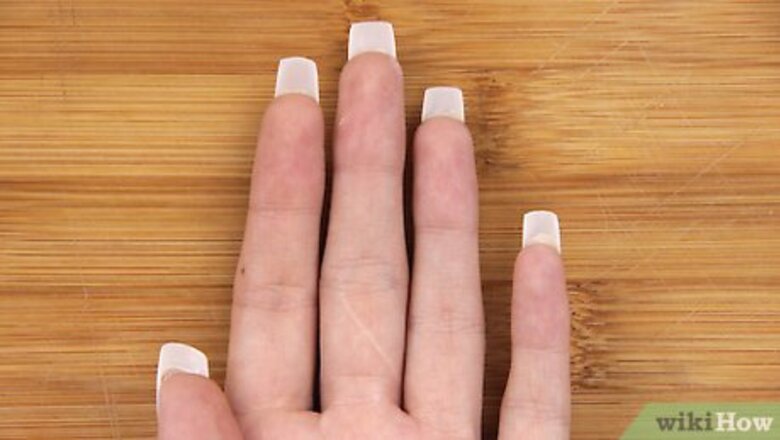
Use a nail buffer to smooth the excess acrylic. Rub a buffer over the bumpy end of the acrylic where it meets your natural nail. Continue to buff the nail until the top layer of your nail is smooth. Ensure that you only smooth the acrylic and not your natural nail. Sharmadean Reid, Entrepreneur and Nail Artist The key to a good nail fill is to start with a clean, dry nail. Use a nail file to gently buff the surface of the nail, then wipe it with a lint-free cloth. Apply a thin coat of base coat, then two coats of nail polish. Let each coat dry completely before applying the next one. To finish, apply a top coat to seal in the polish and protect your nails.
Apply 1 to 3 coats of nail primer. Dip a brush into your nail primer and spread 1 drop over the natural part of your nail. Let the primer dry completely before adding 1 to 2 more coats, if desired. The primer will protect your nail and make the polish go on more smoothly. Avoid getting nail primer on your finger or cuticles because it can burn or irritate the skin.

Combine acrylic powder with acrylic liquid on the end of a brush. Place acrylic liquid in 1 small dish and acrylic powder in another. Dip an acrylic nail brush into the liquid and dab it into the acrylic powder. Repeat this 4 to 5 times, so a bead of acrylic mixture forms on the end of the brush. You can use this mixture to fill your nails.
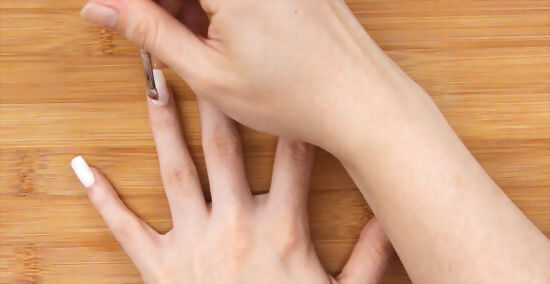
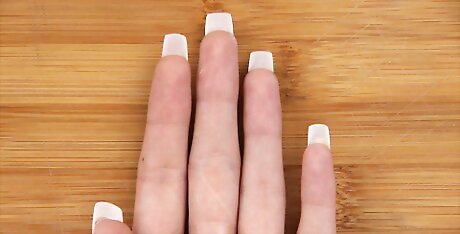
Spread the acrylic mixture on the natural part of your nails. Dip an acrylic nail brush into the mixture, so 1 drop is on the end of the brush. Dab the drop of acrylic mixture in the middle of your natural nail and use the brush to tap it evenly across your natural nail. Use the sides of the brush to fill in the corners and near the cuticle. Pull the excess acrylic mixture down the nail so it smoothly covers the existing acrylic nail. If you apply too much acrylic mixture, it will be difficult to spread evenly. Use the cotton swab with nail polish remover to wipe away the acrylic fill mixture and try again.
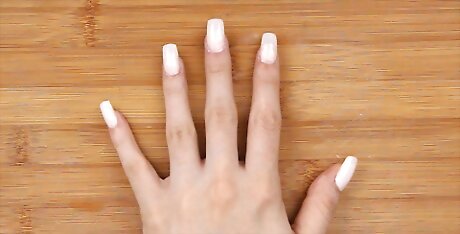
Let your filled nails air dry. It can take for 5 to 20 minutes for your nails to dry completely. Avoid smudging your nails while they're drying.
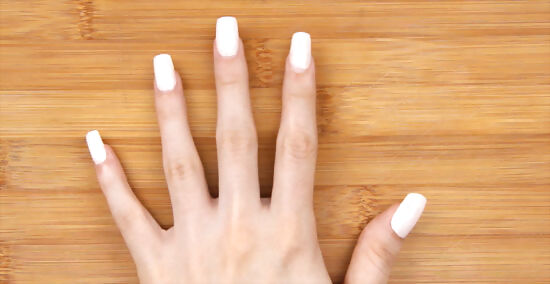
Buff or file your nails until they're smooth. Use a nail file or nail buffer to smooth and shape the ends of your nails. If you like, you can also buff the surface of your nails so they're smooth.
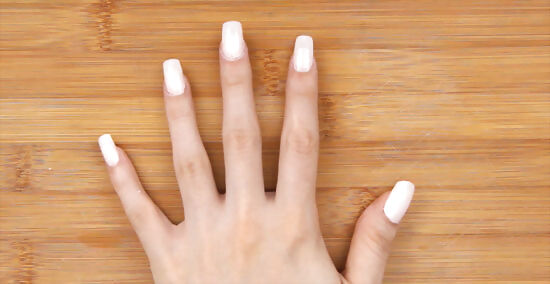
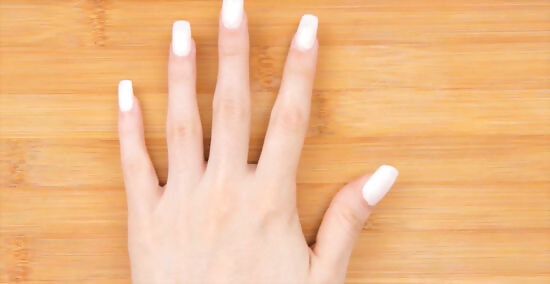
Apply 1 to 3 coats of paint to the nails. Spread a base coat on the acrylic nails and let it dry completely before you apply the nail polish. This could take 25 to 30 minutes, depending on the type of polish you use. For a brighter color or stronger nail, you can paint another 1 to 2 coats. Once the colored coats have dried, brush on a top coat to protect your nails.
Filling Gel Nails
File the top layer of the gel nails. To prevent layers of gel from building up, use a 180-grit file to smooth out the top layer of gel. Try to remove just the top layer of gel. Repeat this for each nail.
Buff the gel nail where it meets the natural nail. Take a superfine file or fine-grit buffer and brush it over the bumpy line where the gel nail meets your natural nail. Keep buffing until there's no bump and the nail is smooth. You shouldn't see any shine on the nails once you've finished buffing.
Wipe your nails clean with a lint-free wipe dipped in rubbing alcohol. Wipe the rubbing alcohol over each nail to get rid of any dust. Cleaning the nail will prepare it for the new coat of gel paint.
Use a nail brush to spread gel primer on each nail. Dip your brush in the gel primer and dab a drop-sized amount in the center of the natural nail near the cuticle. Tap the primer evenly around the rest of the natural nail and then pull the brush down across the gel nail.
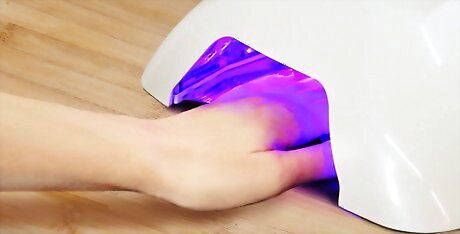
Cure your fingernails for 1 minute under a UV light. Place your nails under a UV light for 1 minute to cure the primer. Since a UV light is the only way to truly cure the gel polish, you'll need to simply let the nails dry if you don't have the light. Let the nails dry for 25 to 30 minutes before applying another coat.
Apply 1 to 3 coats of gel nail polish. Dab a little gel nail polish in the center of your nail towards the cuticle. Use the brush to coat the entire nail so a thin layer of polish covers the nail. If you notice a sticky or tacky surface, dip a cotton ball in rubbing alcohol and brush it over the nails to remove the sticky texture.
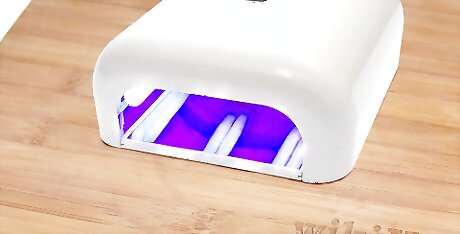
Dry the nails completely under UV light for 3 minutes between coats. If you like, you can finish with a top coat to protect the gel nails.


Comments
0 comment