
The Witch Crest: An Overview
The Witch Crest is in the northwestern corner of Greymoor. Getting it isn’t as easy as simply going to that corner, unfortunately. To acquire the Witch Crest, you must fulfill the following requirements: Have the Cling Grip ability. Complete the “Rite of the Pollip” quest in Shellwood. Acquire the Twisted Bud in Bilewater. Take the Twisted Bud to Greyroot and give it to them. Get cursed by Greyroot in a cutscene. Escape and visit Yarnaby in Bellwood. Complete Yarnaby’s “Infestation Operation” quest. Get the curse removed by Yarnaby and earn the Crest of the Witch.
How to Get the Witch Crest in Detail
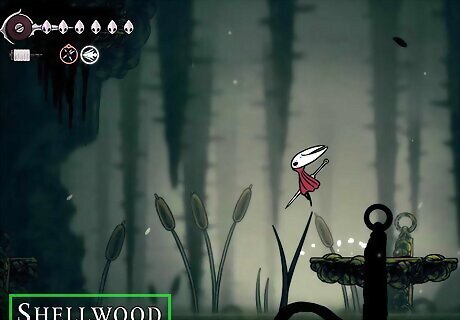
Finish Greyroot’s “Rite of the Pollip” wish in Shellwood. To get the Witch Crest, you have to complete a Wish from Greyroot, but to unlock that wish, you must complete their introductory quest: “Rite of the Pollip.” Visit Greyroot in Shellwood to initiate the first wish. They’re in a room off the western wall in the large chamber immediately to the left of the central bench in Greymoor. To complete “Rite of the Pollip,” you must find the 6 Pollip Hearts in Shellwood: Heart #1: The northernmost room in Shellwood (all of these Hearts are in Shellwood). Heart #2: From the northernmost room, drop down, go left, and look for an alcove on the western wall. The Heart is in there. Heart #3: After grabbing the second Heart, go right. In the room with the white flowers, pogo your way to the top of the room and snag the third Heart. Heart #4: Go right and enter the vertical chamber with the bench in the middle. Enter the hallway on the right (in the middle of the room, not the top or bottom). Grab the Heart near the entrance to the hall. Heart #5: Go back to the large room with the bench. Drop down and enter the hallway at the bottom right. Look up for purple flowers and wall climb your way up to grab the 5th Heart. Heart #6: Go back to the bench room and enter the room on the bottom left. Take the elevator down and then wall jump your way up the right side to grab the 6th heart. Go back to Greymoor and give them the hearts.
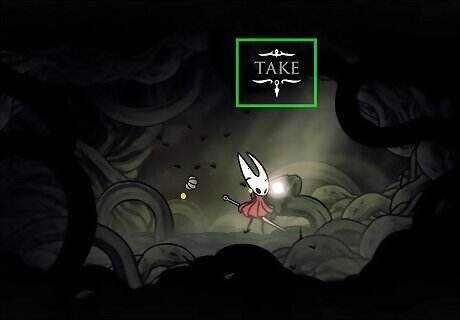
Go pick up the Twisted Bud in Bilewater. The quickest way to the Bud is through the Whispering Vaults. Go to the bottom right corner of the Vaults and look for a hidden passage in the southeast corner. Take the drop down into the worm pit in Bilewater. Go right, then drop down. Go left and break the vines blocking the hidden entrances. Continue breaking vine-covered doors and grab the Bud. Follow the sound of the crying. The Twisted Bud is a little… baby thing, and it cries out nonstop. You’re getting closer if the noise is getting louder. The Twisted Bud won’t stop crying, so this is sort of a point of no return for the quest (unless you can put up with the crying noise as you play the rest of the game.
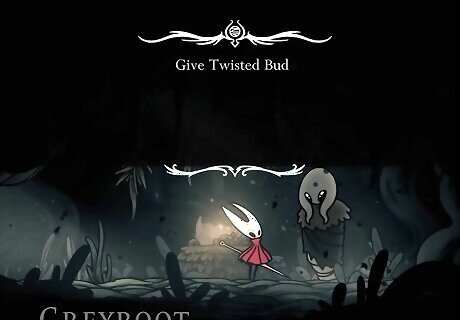
Complete the “Rite of Rebirth” quest with Greymoor. After you snag the Twisted Heart, go back to Greymoor and talk to Greyroot again. They’ll comment on how lovely your little crying baby creature is. Then, they’ll strangle you unconscious. The “Rite of Rebirth” Wish has now been completed. Don’t worry. Getting strangled unconscious is part of the quest.

Escape after being trapped. You are now “cursed,” and you can no longer heal or use certain abilities (Greyroot kept the screaming baby thing, so at least you have that going for you). You wake up in Mosswood and have to press the attack button repeatedly to escape the tree root prison you’ve been put in.

Find Yarnaby in Bellwood to initiate a new Wish. After you escape, go left. Go left again and break the hidden wall. Continue jumping/swimming your way to the left until the path forks up and down. Jump down, go left, and keep breaking the vine-covered walls. Once you pop out to Shellwood, travel to Bellwood and find Yarnaby to start “Infestation Operation.” Where is Yarnaby? Yarnaby is in a bell house in the top left corner of Greymoor. You’ve probably been there before already—it’s the house where you knock and nobody comes out. This time, keep knocking until Yarnaby opens up.
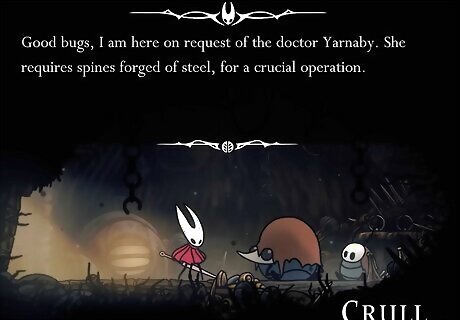
Complete “Infestation Operation” in Sinner’s Road. From the leftmost bench in Sinner’s Road, go right. In the big vertical chamber, take the entrance on the upper right and platform your way to the northeastern-most side of the room. In a little alcove, you’ll find Benjin and Crull. Buy the Steel Spines from them for 160 rosaries. Just FYI, Benjin and Crull will have another quest for you if you want to come back to them when you’re done with the Witch’s Crest journey.

Go back to Yarnaby and get the curse removed to get the Crest. Travel back to where you first met Yarnaby in Bellwood. Give him the Spines you just bought, and you’ll be rewarded with an operation to remove your curse. Once the operation is over, you’ll unlock the Witch Crest.
Is the Witch Crest good?

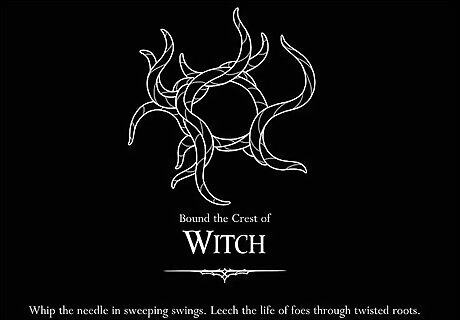
The Witch Crest is deeply situational (but also a lot of fun). Overall, the Witch Crest is considered generally weak compared to other options, but it does have some niche uses against bosses and gauntlets. The Witch Crest trades your healing ability for a bind that sends tentacles out to hit enemies. Each tentacle hit heals one mask. You can hit multiple enemies to heal multiple times, but without hitting anything, you won’t heal. So, the Witch Crest is probably pretty bad for general exploration, but it excels in planned fights where you’ll fight a bunch of enemies. Witch Crest’s attack range is also kind of long compared to the other Crests, so it’s a good option in boss fights where you’re fighting a very mobile enemy. The biggest downside of the Witch Crest (after the potential to heal for zero and waste silk if you miss your bind) is that it totally lacks Yellow Tool slots. That’s actually a massive nerf for its utility when it comes to exploration and travel, since those tools tend to shine there.
Witch Crest Synergies & Builds
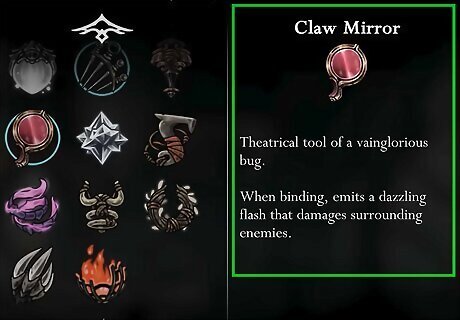
The ideal build relies on Claw Mirror and Ejector Band. To make use of Witch Crest’s fullest potential, you generally want to run tools that compensate for the Crest’s weaknesses. We recommend options like: Claw Mirror: The added binding damage stacks on the tentacles, so binding becomes even more potent and powerful. Warding Bell: Kind of mandatory on this Crest. The binding immunity radically changes the way this Crest plays. Injector Band: The increased binding speed really helps make it easier to hit enemies and heal. Fractured Mask: With the trouble you may have healing, the extra life will come in handy. Longclaw: Witch Crest’s range is longer than the other crests, so extending the range even further.


Comments
0 comment