
views
X
Research source
After choosing seeds to grow your own, soak them and sprout them before planting. Using soil or another medium, plant your seeds in a tray designed for growing microgreens, keep the medium moist, and consider covering your shoots while they grow.
Choosing Your Seeds

Use popcorn kernels from your cupboard. Seriously, you can plant them! While the increased interest in popcorn shoots have lead to more specialized popcorn seeds that are meant for shoot production, you standard popcorn seeds will grow shoots too! In fact, the ones meant for movie night will end up tasting much like the popcorn snack you’re used to, with an added dose of sweetness.
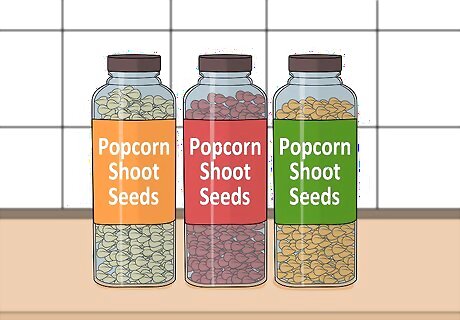
Purchase shoot-specific popcorn seeds. More and more interest in popcorn shoots (as opposed to traditional popcorn) has led some seed purveyors to package and sell popcorn seeds specifically for growing shoots. Admittedly, these are preferable to the seeds sold for use as actual popcorn, as they will be free of things like salt, preservatives, and flavoring. These seeds even come in separate colors, though you’re more likely to find the white and yellow varieties, as opposed to the oft-sought red variety. Do a quick online search for popcorn shoot seeds or visit your local health food store to see if they carry them. Note that many seed website sell sprouting kits. These will come with everything you need, including a tray and a container to sprout the seeds prior to planting.
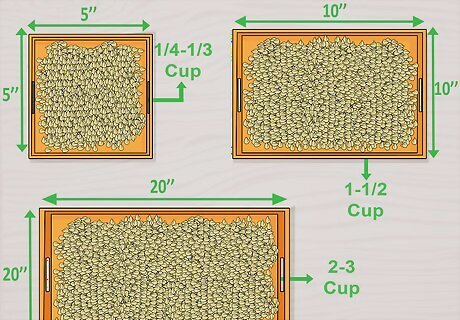
Determine the amount of seeds to use. If you get a package of seeds meant to be grown, the package will likely contain information about how much to use, such as one bag for a specifically sized tray. To help establish the correct amount, spread dry seed into the bottom of the empty tray you’ll use to grow the shoots. They should be evenly but densely spread, just barely covering the bottom surface of the tray. As a general guideline, use 1/4-1/3 cup for a 5x5in (13x13cm) tray. Use 1-1 1/2 cup for an 10x10in (25x25cm) tray, and 2-3 cups for a tray that’s 10x20in (25x50cm). If you’re growing your seeds in a hot, humid climate, you may need to use a bit less seed. While plenty of seeds usually works wonderfully, mold may be more likely to grow between closely-spaced shoots in more tropical climates.
Sprouting the Seeds
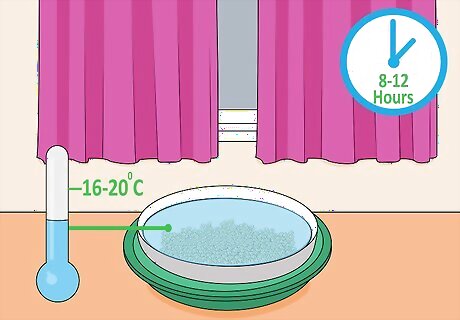
Soak the seeds overnight. Place the seeds you’ll be planting in a bowl or jar. Add twice or three times the volume of seeds in water. The water should be neither cold nor hot. Room temperature, or 60-70 degrees Fahrenheit (16-21 degrees Celsius) is ideal. After mixing the seeds gently to ensure water has made contact with each seed, allow them to sit for eight to twelve hours. As they soak, keep the seeds out of direct sunlight. They don’t need to be in complete darkness, but put them somewhere indoors where they won’t be disturbed and where the temperature is constant.
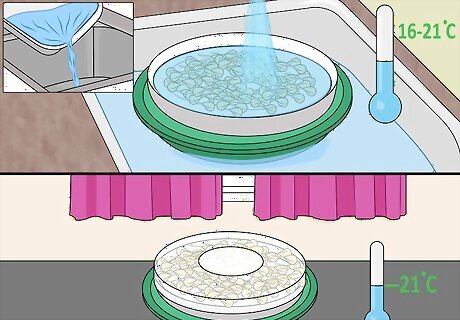
Transfer the seeds to a “sprouter.” A sprouter is a container, often a glass jar with a screen lid, where you will hold the seeds until they begin to sprout and grow roots. After carefully draining the water from the soaked seeds, rinse them in cool (60-70°F/16-21°C) water and drain thoroughly. Then simply place the seeds in your sprouter and set the sprouter somewhere indoors and out of direct sunlight. Light doesn’t matter much to a plant before it has leaves. Temperature does though; keep your sprouter somewhere close to 70°F (21°C). There are all sorts of manual sprouters, including both jars and bags. Visit a local gardening store or check out your options online.
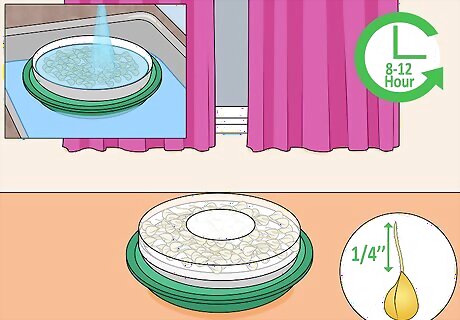
Rinse, drain, and repeat. Your seeds are about ready to burst and begin to sprout. You can help them do so by rinsing several times over the next few days. In fact, rinse and drain your seeds every eight to twelve hours with cool water. You’ll likely do about three total rinses and drains before the seeds sprout. Once most of the seeds start showing their roots, they’re ready to plant. Try to catch them before roots are more than a ¼ of an inch (~½ a cm) long.
Planting Your Seeds
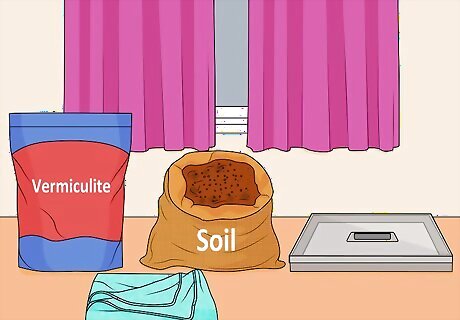
Choose your medium. A “medium” refers to the material in which you’ll grow your shoots. Soil is a classic example, and may the easiest to work with for most first time growers. The amount of medium you’ll need depends on the type you're using. Keep in mind that the medium’s job is to hold your sprouts in place and provide them with water and nutrients. Other medium options for plants like popcorn shoots include "baby blankets" and Vermiculite. Baby blankets are actually a pad-like material that can be cut to the shape of the wells in your planting tray. While Vermiculite in particular is great at retaining moisture, both of these options are more expensive than soil, require more particular watering methods, and require the use of fertilizer.
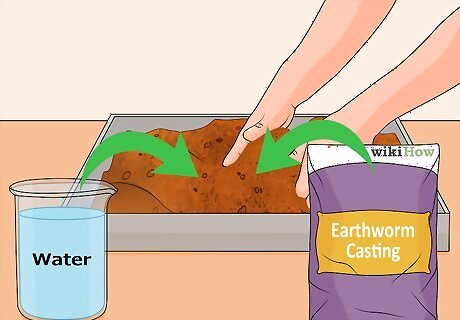
Moisten your medium fully. If you use soil, the amount you use isn’t as important as keeping it wet. The more you use, the more water the soil will hold, and the less often you need to water the plants. However, more soil also means you have to do more careful mixing when you do add water. Essentially, you want all of the soil to be wet, but without water puddling on the surface of the soil. Use your fingers to disperse water throughout the soil when you water the plants. Mix earthworm castings, which can be found online or at gardening stores, into your soil for added nutrients. Wet the castings before mixing them into your soil, and avoid using more than 20% earthworms castings.
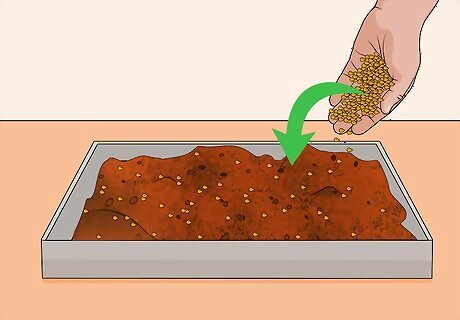
Spread seeds on top of the wet medium. Try to spread the seeds as evenly as possible. Some shoot-growers contend that you don’t want seeds to be touching, but it’s probably okay if they touch and overlap a little bit. If, during your first grow, you have issues with mold or fungus growing between your shoots, use fewer seeds the next time around and reduce how often you water them. This is more likely in hot, humid climates, where you’ll want to disperse seeds more thinly.
Growing the Shoots
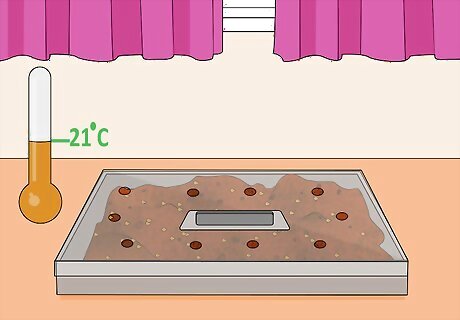
Cover the planted tray. Use a cover tray, which will be lightweight but impermeable to light, to cover the seeded tray and protect your growing plants from light and moisture. It’s worth using a cover tray that is designed to be compatible with your planting tray; you can purchase them together from gardening stores or online. Note that cover trays have small holes or slits to allow minimal air circulation. This can help prevent mold or fungus. Keep the tray somewhere indoors with little light and a constant temperature. While 70°F (21°C) is ideal, a slightly warmer or cooler temperature is fine. Consistency is more important.
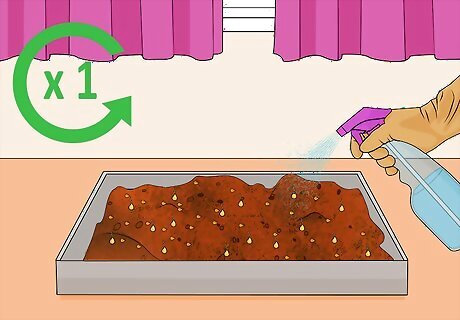
Water your plants lightly. Keep the medium moist, as this will facilitate your plants’ ability to set their roots and grow. This will likely require small amounts of watering once or twice per day. Use a gentle sprayer, such as a spray bottle or a hose handle set very low, and make sure to spray each sprouting plant each time you water. Once you’re sure the roots have set, focus on keeping the medium moist. This no longer requires spraying every plant. In fact, spray water in from the sides to avoid damaging the tender shoots as they grow taller.
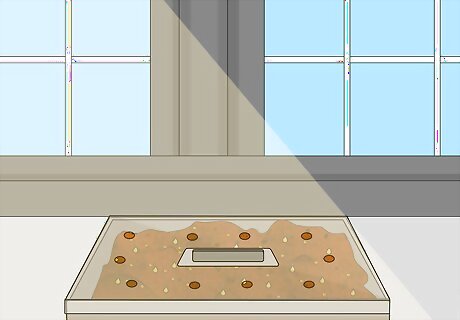
Green your shoots. If you want your popcorn shoots to be green, they will need to spend a while in the sun. After three or four days (or when the plants are pushing the covering tray up), move the planting tray to a location that receives direct sunlight. Keep in mind that shoots that are grown fully in the dark may be more tender and have a more delicate flavor. Note that you will likely need to water more frequently when the plants are in the sun. Keep the medium moist to help them grow. If you do not green your shoots, they will stay a pale yellow color once harvested.
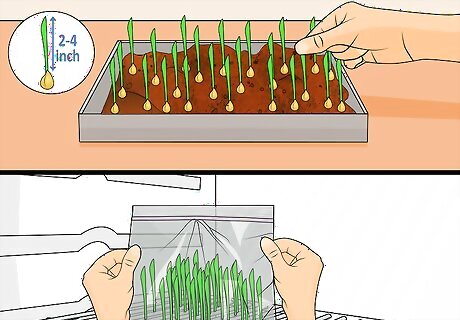
Harvest your shoots when they’re 2-4in (5-10cm) tall. Once you’re ready to harvest, take care not to get the shoots themselves wet for a few hours, as they will store better if the shoots are dry. If you need to water, do so by pouring water directly into the tray. Once shoots are dry to the touch, simply cut the plants at just about the medium’s surface. Store shoots in a sealed container in your fridge. Use a produce storage bag, as they can extend the shoot’s shelf life. These bags can be purchased online, as well as at some specialty gardening stores.


Comments
0 comment