
views
Planning the Job
Check building codes. Contact your local municipality or homeowner association to ask about codes, restrictions, and permits relevant to your project. It's also wise to discuss the project with your neighbors. If the fence is on an adjoining property line, you may be able to split the costs 50/50.
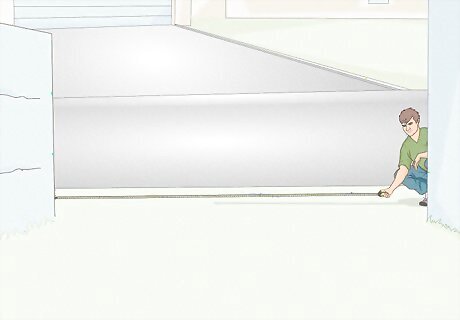
Measure the area to be fenced. Depending on the size and shape of the area in which you're installing fencing, you'll need to figure out how much fencing you'll need to enclose the given space. If you just want a decorative fence, measure the length of the side of your yard you want to fence. If you want an enclosed fence, measure the total area and the length of each side. If you want a prefabricated fence, measure a single panel before buying. Mark off this distance along your planned fence line and stake the position of each fence panel. You'll end up setting fence posts at each stake, aligning them with the twine line and mounding soil around them above ground level.
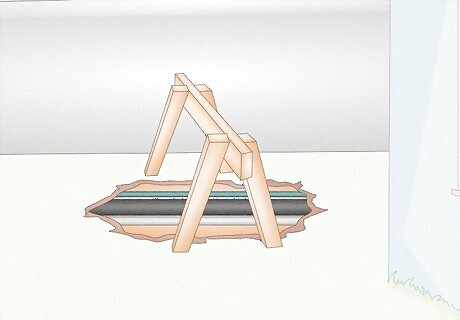
Locate and mark all buried utility lines. Call the local utilities companies to determine the locations of your lines if you aren't sure. Do not dig anything until the utility company representatives have identified and marked all the buried lines. You can also call 811 in some areas to get information about power lines.
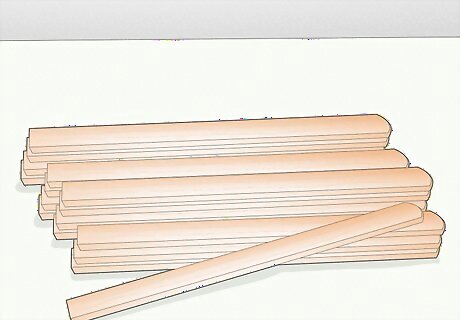
Buy an appropriate amount of fencing for the space. Take your measurements to the hardware store and purchase fencing that suits your tastes and your needs. Larger wooden fences might need to be cut from scratch, while prefabricated fences are available in a wide variety of styles and methods of installation. If you're buying a pre-fabricated fence, take your measurements to the store and shop around for possibilities.
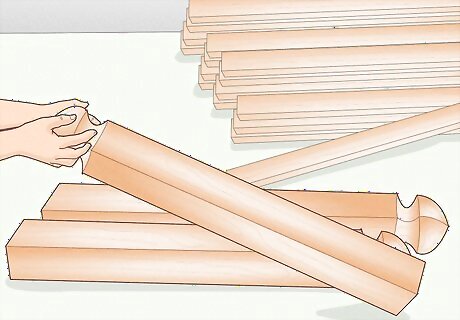
Acquire fence posts. If you want to cut your own fence posts, you'll need wood that will hold up underground. This can be wood rated for direct ground contact, pressure-treated wood which has been injected with preservative, or wood coated with wood preservative at home (as described below). Gate posts and corner posts are usually larger than the rest.
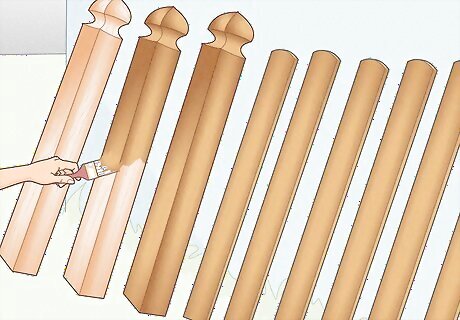
Stain the fence posts and panels. Before installing the fence, you'll need to complete any staining and painting that you'd like on the wood. It'll be easier to do this before you put it together. This should definitely be done on fence posts that you're cutting yourself, and also possibly on pre-fab models that are untreated. Brush the posts and fencing panels with oil-based wood stain. Wipe off excess stain and allow everything to dry completely.
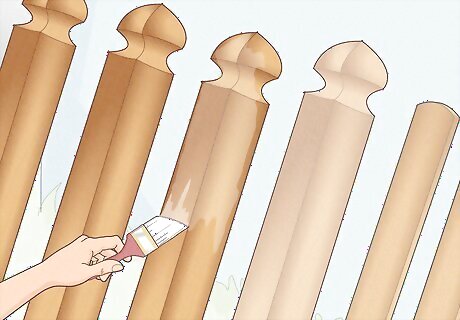
Apply wood preservative to fence posts. If the wood is not pressure-treated, paint the fence posts with copper naphthenate or another wood preservative to one-third of their height and allow them to dry thoroughly, following the manufacturer's instructions. This hinders rot from the contact with the damp soil and the underground sections of the posts. Treat all cut ends with preservative as well. Alternatively, you can paint on just the below-ground portions in advance, to reduce mess during installation. Treat the rest with an airless sprayer once the fence is complete. Follow all safety instructions on the preservative label. Copper naphthenate can irritate skin, eyes, and lungs.

Place a stake at the location for each corner fence post. Whatever kind of fence you're installing, it's a good idea to mark each corner of the fenced-in area with stakes. At each corner, plant a small wooden stake to mark the spot clearly.
Installing Fence Posts
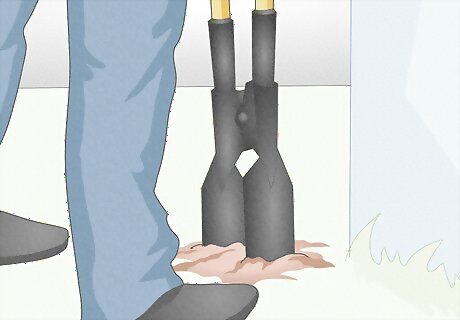
Dig a hole for the first post at the corner of the fence. To get started, you'll need to start installing the fence posts, which will form the corners of the fence. Dig a hole that is twice the diameter of the post and one-third of the height of the post, using a posthole digger. Make the bottom of the hole slightly larger than the top to make sure you'll be able to seat it properly and securely. It's a good idea to place the dirt you remove on a tarp, so you'll be able to keep it in an even pile for putting it back in and securing the post. Remove any large rocks and roots from the hole. If necessary, cut large roots free. If you’re going to be digging a lot of holes or setting a lot of posts, consider renting a gas-powered hole digger. This machine requires a strong helper and close attention to safety precautions to avoid injury.
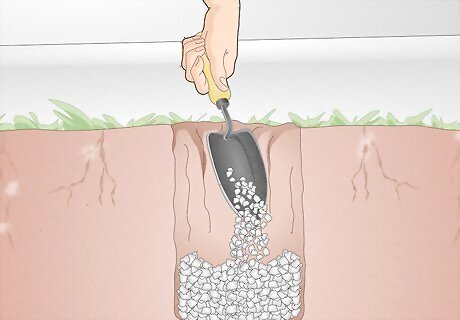
Install some gravel. Add 4 to 5 inches (10 to 13 cm) of gravel to the hole, spreading it evenly across the bottom. This allows proper drainage away from the fence posts during inclement weather, extending the life of the fence itself. Pea-sized landscaping gravel, often just called "pea gravel" is usually the most affordable and effective type of gravel for the job.
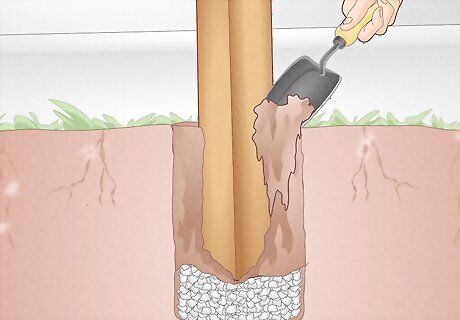
Seat the first fence post. Set a corner or end post into the hole, and add 6 to 8 inches (15 to 20 cm) of soil. Check the level of the fence post by placing a carpenter's level on at least 2 sides. When the fence post is level, tamp the soil to compact it solidly into the hole. Add another 6 to 8 inches (15 to 20 cm) of soil, check the level and tamp the soil. Repeat until you have filled the hole completely. Instead of filling the holes back up with soil, you can mix up a small batch of concrete and use that to fill in above the gravel. For an even easier time, there’s a variety of concrete specifically for fence posts, which can be added dry to the hole and soaked with a hose to allow it to set up quickly and easily. Brace the post plumb before filling by using 1" x 4" boards (4' to 6' long), staking, and screws or duplex nails.
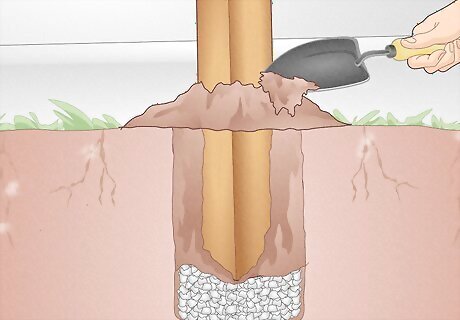
Build a mound at the bottom of the fence post. Mound dirt around the fence post at ground level, rounding it with a trowel, if you filled in around the post with soil. This will direct rain and snow melt away from the fence post, as well as help to secure the post in the ground. If you do use concrete, you still want to have a gentle slope away from the post. Fill it halfway with concrete and ensure that the post is still level when you install. Let the concrete cure properly, then fill the rest of the hole with dirt.
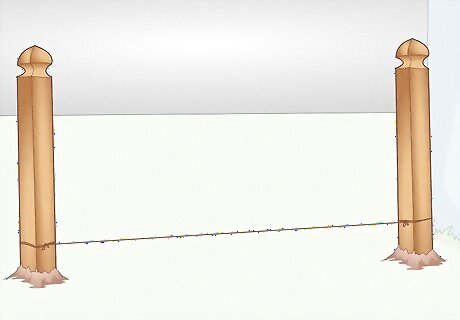
Set the height between the fence posts with twine. In most pre-fab kits, twine is used to connect the fence posts to the stakes and make sure that everything will be installed at an even height to match the fencing panels. If you're installing your own fencing, you can use the same technique. Tie twine to a corner or end post, about 6 inches (15 cm) from the ground. Stretch the twine taut to the position of the next corner or end post. Affix it to a stake at the same height to use as a reference.
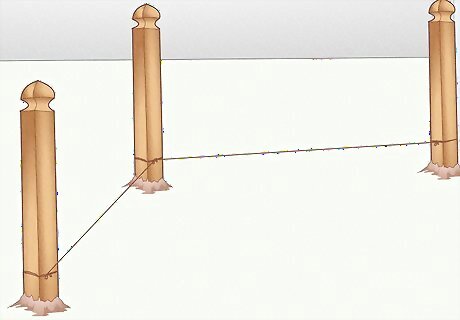
Repeat with the rest of the posts. Set the corner and end posts first, using your twine as a height reference. Continue on, repeating the steps above until you've installed all the fence posts. Before seating each one, double-check the precise distance between posts with a tape measure.
Installing Fence Panels
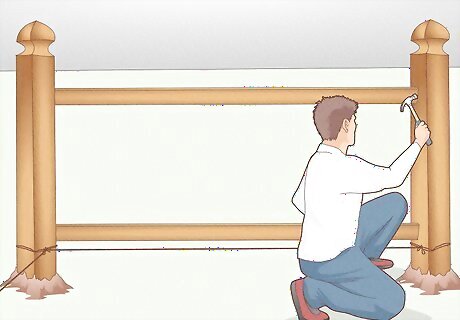
Connect the first two fence posts. Depending on what kind of fence you're installing, you might need to either install a cross-beam to provide yourself something to attach individual fence panels onto, or you might just set up the large piece of fence paneling and slot it into the fence posts. Each fence will be different, so you'll need to proceed according to your own plans for the fence if you're making your own, or following the directions of the fence kit you purchased. If you're cutting your own panels or fence slats, install cross-beams with wood-screws between each set of fence posts. You can either use a crossing "X" pattern, or flat beams parallel to the ground, depending on what you're going for. Cut fence panels of the appropriate height for your fence. If you're installing a pre-fab fence, most panels will be quite large, but you'll need to install a post between every panel, meaning that you might need to install more posts as you work. You can either install a post, attach the panel and support it while you dig the next post, or go around and install all the posts before you start inserting the panels. Brace recently installed posts during this process to ensure adequate panel support while the post fill cures or sets.
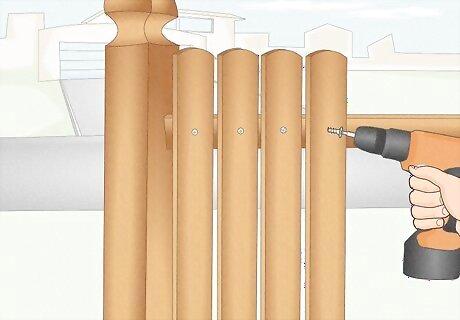
Attach each panel with screws. While you work, it's usually a good idea to use two-three inch galvanized wood screws to attach your panels securely. Drill pilot holes to keep the wood clean and sharp-looking, then install enough wood screws to attach the panels securely.
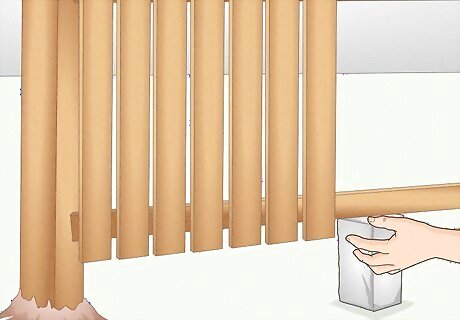
Support the fence panels as you work. Whatever kind of fence you're installing, it's a good idea to support the crossbeams with some supporting blocks to avoid putting stress on the wood as you work. You can use wooden wedges to level the panel.
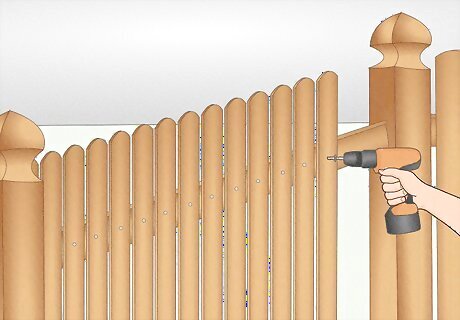
Continue installing paneling. The hardest part of installing the fence is getting the posts dug and seated securely. After that, it's just a matter of filling in the rest with panels or planks. Take your time to measure each new piece of paneling for plumb with your carpenter's level and install each securely according to the directions.






Comments
0 comment