views
Casting On
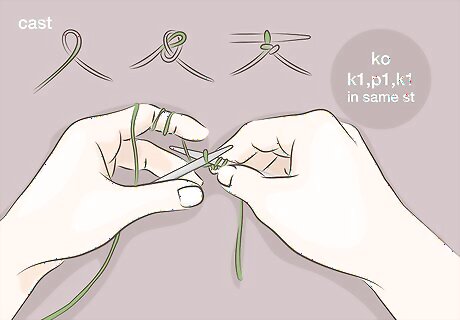
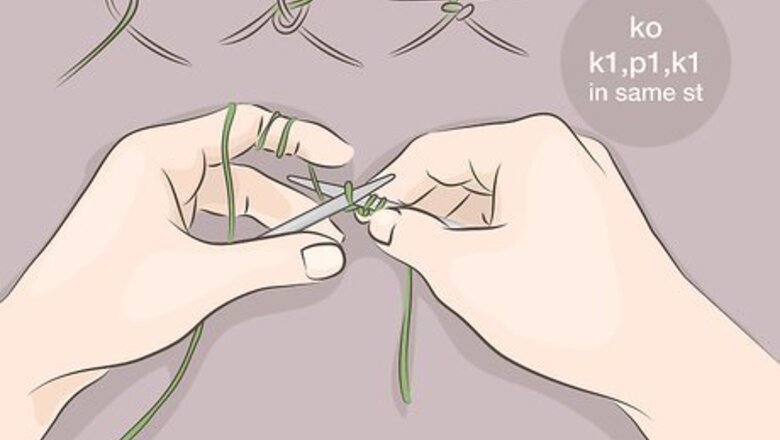
Cast a stitch onto 1 of the needles and make 3 stitches. Make a slipknot and slide it onto 1 of your double pointed needles. Insert another needle into the loop and make a knit stitch (K1). Then make a purl stitch and 1 more knit stitch before pulling the last stitch onto your right needle. You'll need 4 double pointed needles in any size you like.
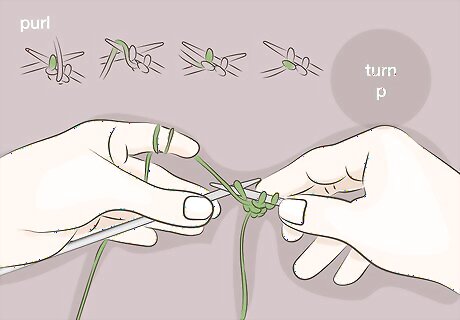
Turn the work and purl the 3 stitches. Move the right needle with the stitches to your left hand and insert the working needle into a stitch. Make a purl stitch and move it to the right needle. Purl stitch the remaining stitches. You'll end up with 3 stitches on the right needle again.
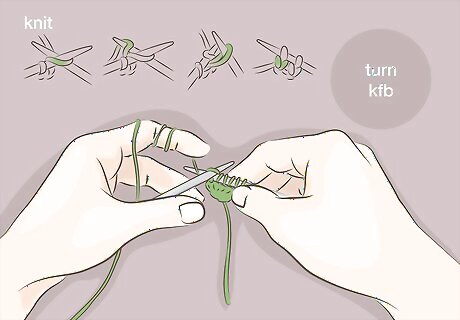
Knit into the front and back of each stitch to increase the row. Insert your working needle into the nearest stitch and knit it, but leave it on the left needle. Insert the needle into the back of the same stitch and knit it. Then pull the stitch off. Repeat this for the other 2 stitches on the left needle.Did You Know? Knitting into the front and back of a stitch is a common way to increase the stitches on a row. You'll probably see it written as KFB in patterns. You should now have 6 stitches on your needle.
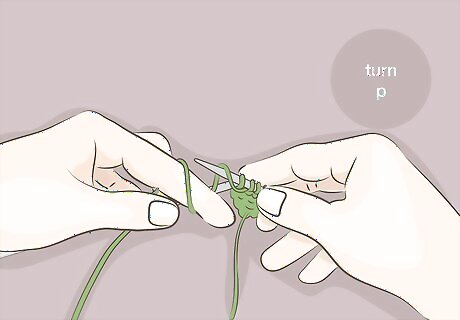
Purl all of the stitches. Turn the work and then insert the working needle into a stitch. Then make a purl stitch and pull it onto the right needle. Purl stitch each of the remaining stitches.
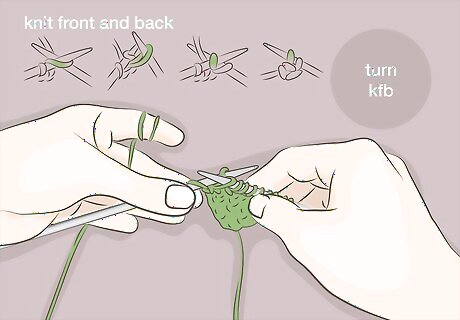
Knit into the front and back of each stitch to double the stitches. Turn the work and insert your needle into the closest stitch to make a knit stitch. Leave the stitch on the left needle and insert the right into the back of the stitch. Make a knit stitch and then pull it onto the right needle. Knit into the front and back of each of the stitches that remain on the left needle. Increasing each stitch in the row will double the number of stitches on your needle. For example, you'll now have 12 stitches.
Increasing the Circle
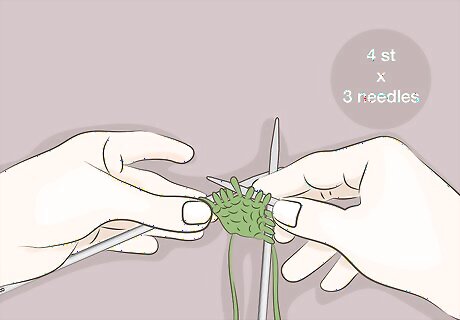
Divide the 12 stitches between 3 double pointed needles. Transfer 4 of the stitches to another double pointed needle. Then put another 4 of the stitches onto a third double pointed needle. You'll now have an even number of stitches on each double pointed needle. Remember that you'll need the fourth double pointed needle to knit with.
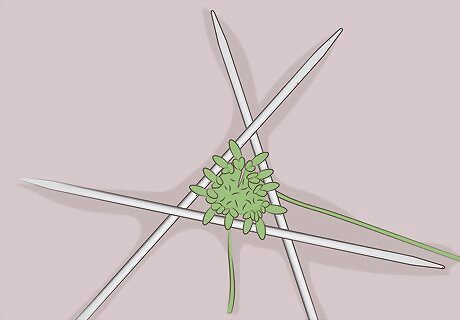
Arrange the needles into a triangle. Position the needles so each needle touches and forms a triangle. Keep the working yarn hanging from the needle on the right and remember not to work with the yarn tail. Smooth stitches that might be twisted so they lie flat.
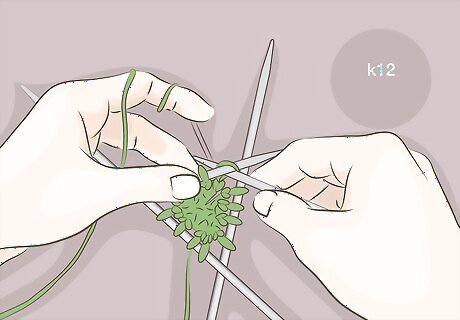
Knit each of the 12 stitches on the needles. Take the fourth double pointed needle and insert it onto the left needle. Knit the stitch and slip it onto the empty needle. To prevent a gap from forming between the stitches, pull the yarn tightly. Then keep knitting until you've worked each stitch.Did You Know? You'll always need to remove the empty needle once you've knit all of the stitches on it. Then use it to knit the stitches on the next needle. If you're keeping track of how many rows you've knitted, slide a stitch marker onto the needle before you start working it.
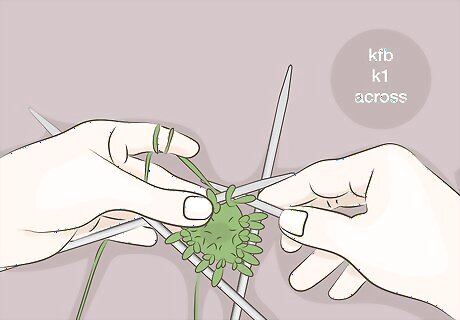
Knit front and back and knit 1 across the row to increase. To work an increasing row, knit into the front and back (KFB) of the first stitch on your left needle. Then knit the next stitch as usual. Continue to KFB, K1 across all 3 needles. Once you reach the end of the row, you'll have 18 stitches total on your needles.
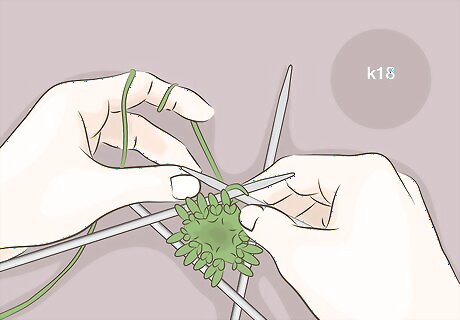
Knit every stitch in the row. Since you're now working a non-increasing row, knit every stitch that's on each of the 3 needles. You'll finish with 18 stitches, just as you started with 18 stitches.
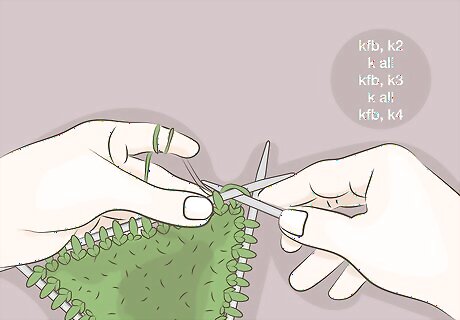
Alternate increase and knit rows until the circle is the size you want. To make your next increasing row, knit an additional stitch after KFB, K1. Then knit all of the stitches of the next row. To do another increasing row, add an additional knit stitch after KFB, K2. Then knit every stitch again and continue to work until the circle is as large as you'd like. A typical increasing pattern will look like this: KFB, K2 (repeat) K all KFB, K3 (repeat) K all KFB, K4 (repeat)








Comments
0 comment