views
Creating the Basic Shape
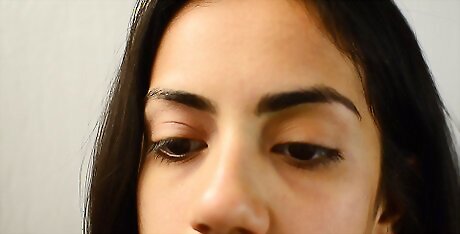
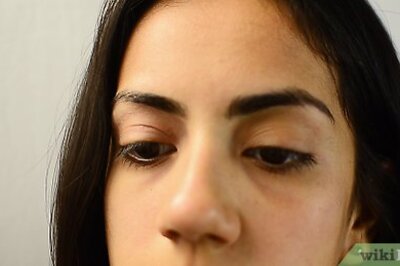
Decide on the shape and size of your shiner. Bruises come in many shapes and sizes, especially as they age. Before you start putting any of the colors on, decide how big you want the bruise to be. You can input into a search engine "fake black eye" or "fake eyelid contusion" to see the finished works other people have done to get more inspiration. You can also look up "black eye" and "eyelid contusion," but be forewarned that some of the images that are likely to show up in your search may be incredibly graphic in nature.
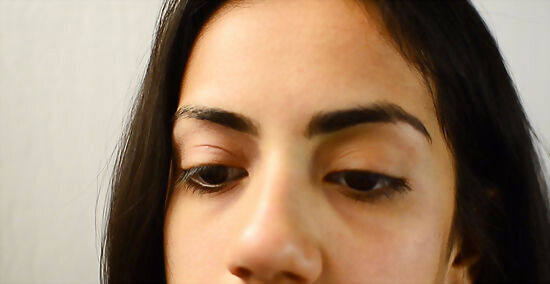
Create swelling with wax or putty. There are two ways that you can give your skin the appearance of swelling. Most people opt to create a swollen look at the end through illusions with colors and the application of a gloss. However, for extra drama, you can use a flesh colored putty or theatrical nose and scar wax to create a fake bump on your face. Make sure your skin is clean and dry first, and pull out a small piece to lightly mold with your fingers into an approximate desired shape. Paste it to the forward and blend the wax or putty downward with your fingers to make a smooth transition into your skin. You must apply this wax or putty before you begin applying any colors. You can buy a 1 oz tub of this product for about $5 on eBay, Amazon, or at a local costume shop, and they come in a variety of skin tones.
Create the general bruise area. Using a red or warm violet color, create the general size and shape of the bruise that you want to make. It should be somewhat irregular in shape, since real bruises are not usually perfectly shaped. Keep the application light and transparent and generally larger than the impact site. Specifically for a black eye, this could be anywhere from your undereye to your browline, the side of your face, and your nose.
Adding Details for Greater Realism
Define any healing areas. When a bruise is at its most fresh it will be red, swollen, and tender. As it heals, it cycles through a number of colors until eventually, around 2 to 4 weeks after sustaining the injury, it will disappear entirely. You can choose to leave your bruise primarily red, blue, and purple, or you can add green and yellow, which will give it the appearance of age, and also tends to look more sickly to many people. Using the same stippling method you used to apply the basic bruise shape, apply the yellow and/or green colors. They should be focused towards the edges of your bruise, and the larger they are, the larger they indicate the initial bruise was. You can use your finger to help smudge and blend the bruise's colors together to create a more natural look. Green colors appear and dominate between days 5 and 7, and yellow appears between days 7 and 10. Only the oldest bruises will have yellow.
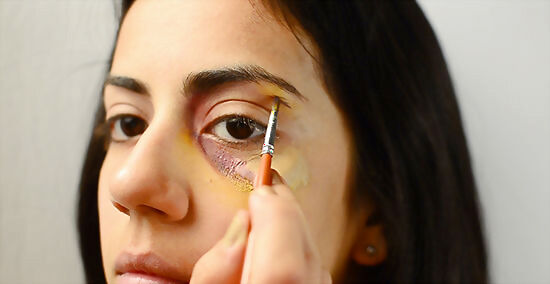
Create the impact site. Using the same color you used for the bruise, create a more concentrated and pigmented portion (or portions) within the bruise. This will be the impact site, where the assailant's fist struck, and it should be significantly smaller than the rest of the bruise. It ought to be located somewhere a fist or knuckle would likely connect, like along the cheekbone, ridge of the eye socket, the bridge of the nose, or all three. You can also use a smaller layer of blue in the impact area for a more dramatic look. Create a small "hole" in the center of the impact site by faintly dabbing on some alcohol or makeup remover in the middle of the impact area to help create an illusion of swelling. This creates a high contrast contour that will really make it pop.
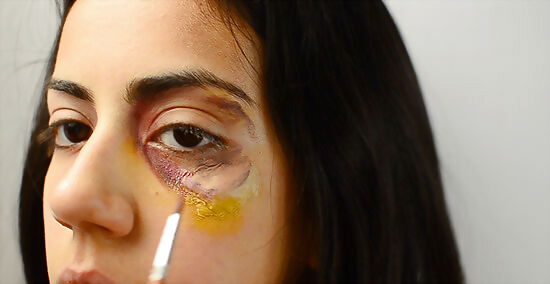
Define where the blood would pool. Because of the shape of the eye socket and surrounding bone structures, blood pools in specific places around the eye. To create this effect, you'll want to apply first a dark red, then a dark purple, and then blue. Start from the inside corner of your eye and move out along the waterline. From the inside corner of your eye follow the area just above the ridge of your eye socket under your eye. From the inside of your eye, go up along the upper crease of your eye. Dab along the outside V of your eye. Use the blue color the most sparingly for the areas of deepest bruising, particularly at the very inner corner of the eye.
Use a setting powder. Especially if you have used home makeup or cream based makeup, you'll want to brush on some setting powder before continuing to make sure that your makeup stays. Alcohol-based makeup should not need this, however, as only alcohol will make it move. Brush or pat on a translucent setting powder all over the bruise area.
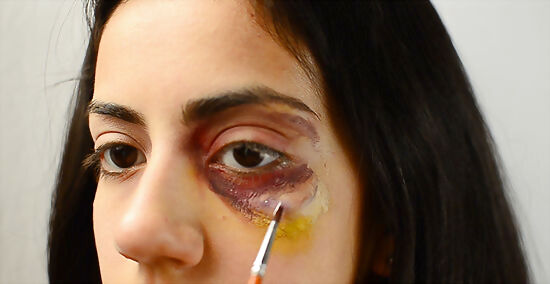
Use gloss to create the illusion of swelling. Where the skin swells, it gets a shiny, swollen effect. Instead of using glittery makeup to achieve this look, since it will not give you the right kind of depth, you will want to apply either a clear lip balm, a thin layer of vaseline, or transparent jelly over the areas you have painted. This will give you the look of having been freshly punched.
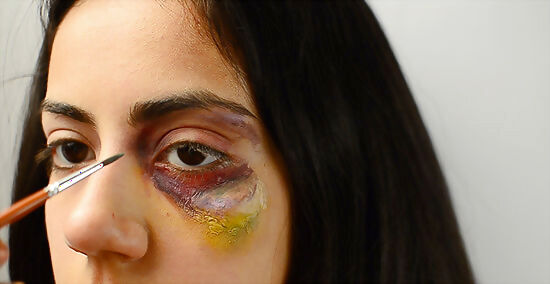
Create additional bruises. If someone has been hit in the eye, there is a chance they've been hit in other places on their face too. Don't feel like you have to keep the bruising relegated to just the eye-socket area. A person's mouth and nose are other prominent, vulnerable areas that might get damaged in a fight.
Creating Your Toolkit
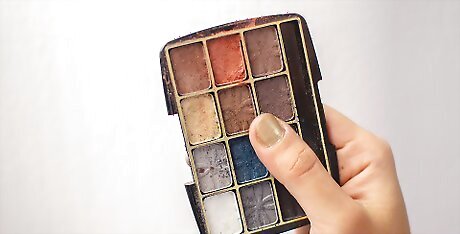
Choose your makeup type. There are specially made "bruise pallets" and face makeups designed to depicting gore; you can find these online and in Halloween or costuming stores. Some of these will be alcohol or water based, and they'll likely last much longer on your face than daily fashion makeup will. However, you do not have to go out and spend more money on separate pallets for effects makeup if you have pallets of normal makeup with lots of colors already. The advantage of alcohol-based FX makeup is that it has a more natural look and won't go anywhere once it's been applied and dried. It's also designed to show up well no matter what your skin color is. If you use alcohol-based makeup, you will need to use 99% alcohol in order to activate your paint (that is, make it wet and applicable for use). For some people, alcohol can make their eyes tear up and water, so be careful. Cream based paints and makeup from home are a more affordable solution, but they will look like they're sitting on top of your skin as opposed to beneath your skin like alcohol based colors will. You can also use regular eyeshadow and water for a wet application if they are marked as dry-or-wet or are baked eyeshadow.
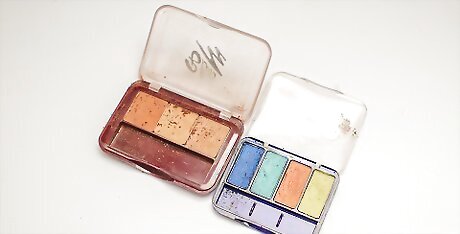
Create your color palette. If you're not using a pre-determined bruise palette then you'll need to create your own. The colors you will need for sure are red, purple, and blue. If you want a more aged look, you will also need yellow and a bright green. If you're using fashion makeup, try to use matte colors as much as possible. Shimmer makeup will look more obviously fake than matte makeup with a gloss applied on top. Avoid using black products. Although it's called a "black eye," black eyes are not actually black in color; using black will create a more unnatural look.
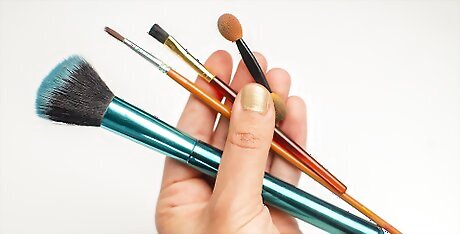
Choose your tools. You can opt to only use makeup brushes to apply the makeup for your bruise, particularly if you are just going to use household makeup. However, for a more realistic look that will create the illusion of broken capillaries, you will want to use a stippling sponge. You can buy these at Walmart or your local craft store, or you can make one yourself by taking a beauty sponge wedge and picking pieces from it to create an uneven surface. It is also possible to stipple with a brush by repeatedly dotting the makeup on, but it's very time consuming. If you want a more realistic look, you're better off using a sponge for stippling.
Preparing Your Canvas
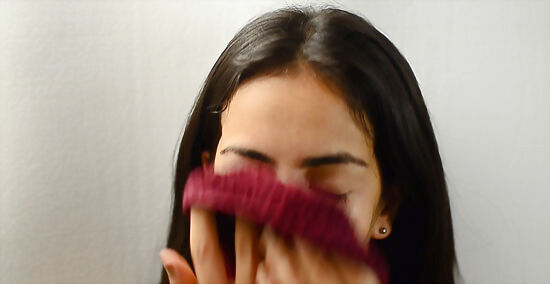
Wash your skin. The first step before you can put anything on your face, particularly traditional makeup, is to make sure that it's clean. Your skin produces natural oils that, combined with dirt, sweat, and other particles it picks up throughout the day, will prevent makeup from spreading evenly and staying a long time. Use lukewarm water and a cream cleanser to get the dirt off your skin. Pat dry with a towel instead of rubbing, which stretches the skin.
Moisturize your skin. After you've cleaned away the natural oils, you need to replace the moisture you've lost. The areas around your eyes have the thinnest skin which needs moisture the most, so it's best to use a specially formulated eye cream. Massage or pat into your skin a very small amount (pea-sized or smaller) of cream from the brow bone to your under eye. Wait a few minutes for the moisturizer to sink in before proceeding.
Apply foundation and concealer. Because there is a chance that your makeup for your black eye may extend as far as your cheek or your nose, you'll want to prime your face with foundation and concealer first. These items will hide redness, discoloration, and other blemishes and give your skin an even, solid tone that will make the bruise stand out better. Foundation will usually provide you with a more natural, lighter look, so use foundation more than concealer. Apply foundation with a foundation brush, beginning at the center of your face and moving outward. Blend it into your skin with a fingertip or a sponge to make it look more natural. On blemishes like acne, dark undereye circles, or other particular trouble areas, tap on concealer with a fingertip, blending outward.
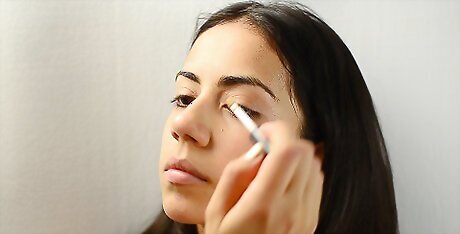
Use an eye primer. Eyeshadow primer will help make the makeup you use for your bruise pop more, apply more evenly, and stay in place throughout the day. It can also be used directly underneath your eyes to help your concealer last longer and prevents makeup from pooling inappropriately in the creases and wrinkles underneath your eyes. Apply your eyeshadow primer the same way you applied your eye cream.

Set with a translucent powder. You don't want your makeup to come off during the day, so make sure it stays put by using a translucent powder. You only need to use this over areas that tend to develop shininess. These would be: Between your eyebrows. Down and around your nose. Under your eyes. On your chin.





Comments
0 comment