
Preparing
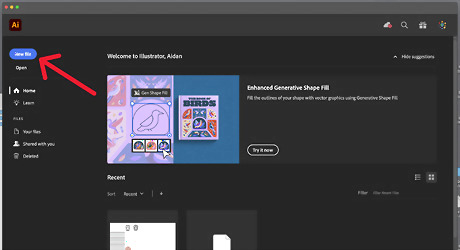
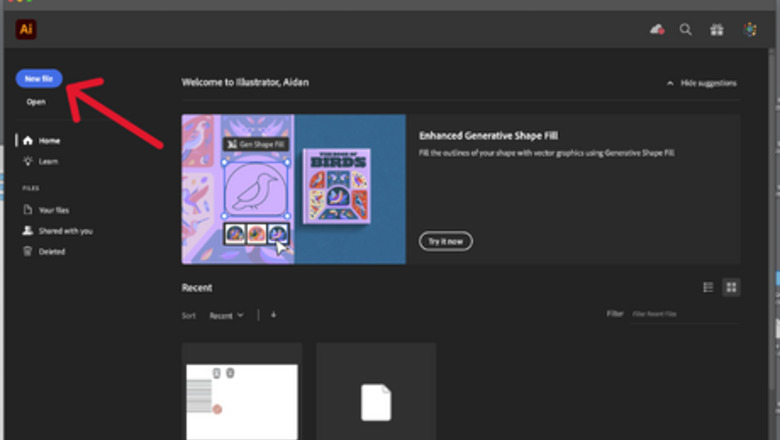
Start a new file to make the postcard. To do this, click on the "New File" button, which should be located in the upper left-hand corner of your screen. The button should have a blue background and white lettering. You will need to repeat this process for any new files you end up creating for this project.
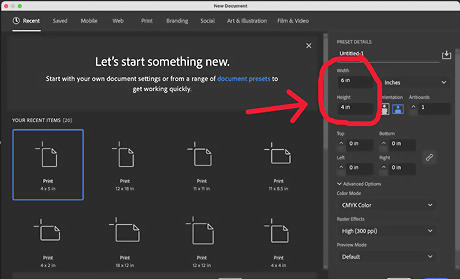
Make the dimensions of the postcard 4 inches tall and 6 inches wide. You can choose different sizes, but it’s generally recommended that you use these ones, as the minimum size for postcards according to USPS is 3.5 inches by 5 inches; and the maximum size is 4.25 inches by 6 inches.
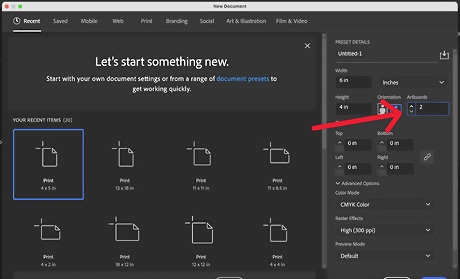
Add an additional artboard to the file. To do this, increase the "Artboards" number (which is found in the third row on the right-hand side of the screen) to two. One artboard will function as the back of the postcard, while the other will function as the front of the postcard.
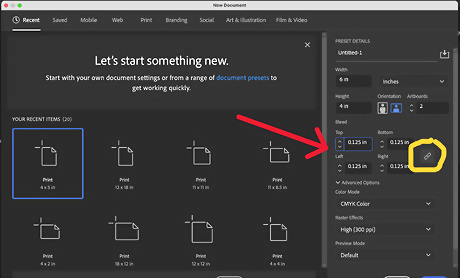
Set the bleed marks so that the art extends past the artboard itself and removes the possibility of white streaks along the edges. Make sure that the link icon shows that they are together, so that you only must change one of the values. It’s generally acceptable to have a 1/8 (.125) inch bleed around your artwork.
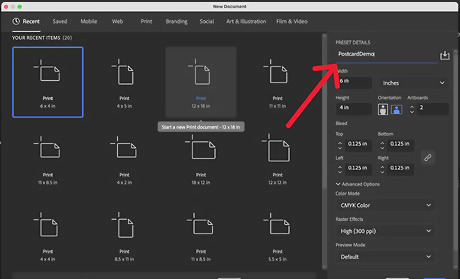
Name the design file. This will help you find it more easily. The name can be whatever you think will help you remember it's your postcard.
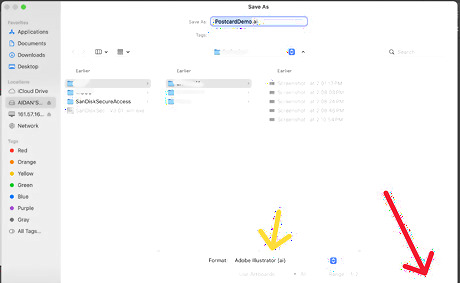
Press ⌘ Command+⇧ Shift+S (or Ctrl+⇧ Shift+S for Windows) to save your file. If you want to edit it in the future, you’ll have to make sure that the format is the Adobe Illustrator format.
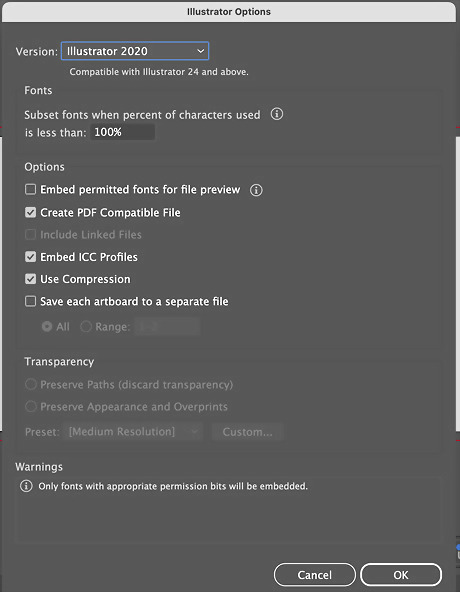
Take note of the prompt that opens when you save the postcard in the .ai (Adobe Illustrator) format. You can make some tweaks if you wish, but if not, click save.
Designing
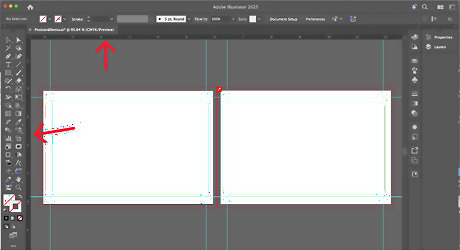
Press ⌘ Command+R (or Ctrl+R for Windows users) to reveal the rulers, if they aren’t revealed already. If you are planning to have text on your postcard, you are going to have to put rulers .25 inches into the artboards to ensure that they don’t get cut off. Once the rulers are showing, click and drag them to the artboards.
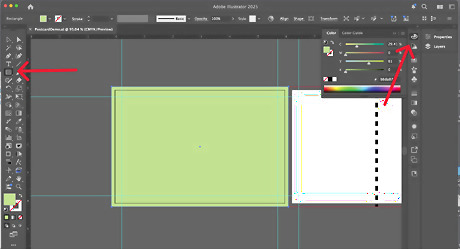
Let your creative freedom run wild. You can do a simple background, or a more complex one, the choice is yours. You can change the colors of the square by clicking on the artist palette icon.
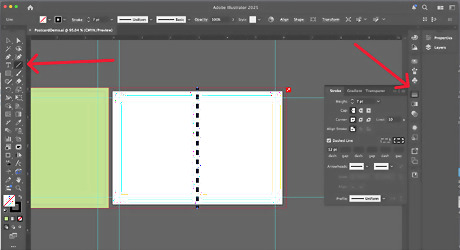
Do whatever you want design-wise. You can edit the outline of shapes and lines by clicking on the column of varying thick lines icon, which should be located on the right-hand side of your screen.
Saving Your Work
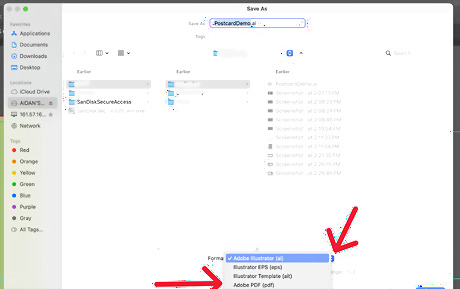
Save your work as a PDF. Click on the file format name to reveal the drop-down box. This will help when it comes to printing.
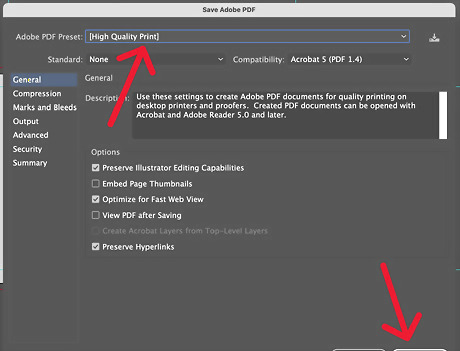
Click "Save". If the format is "Adobe PDF", this prompt opens, make sure that the preset is "High Quality Print". Once that is done, you can then click "Save PDF".


Comments
0 comment