
Making Bottle Cap Canvas Art
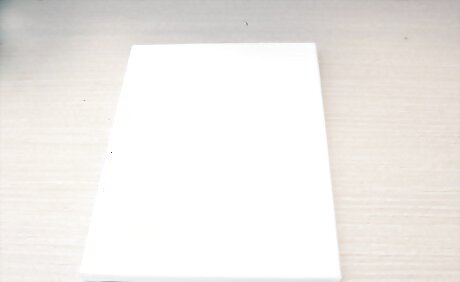
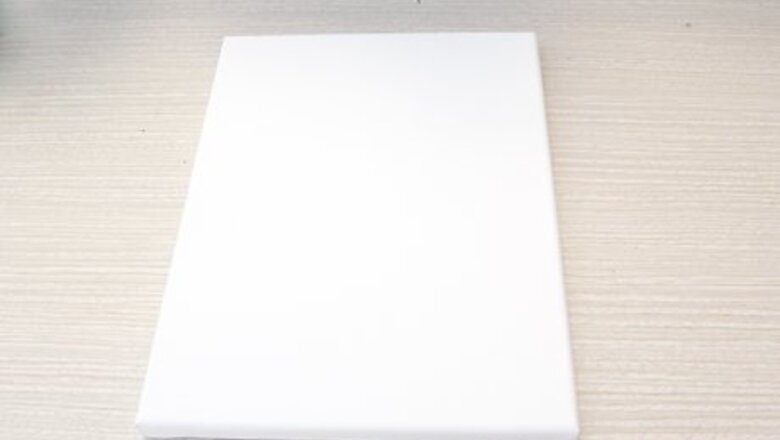
Choose your canvas. You can use a regular thin canvas, or a thick wrapped canvas. A plank of wood from the craft store will also work. Alternatively, you can use a thin piece of cardboard instead for a quick and inexpensive project.
Paint your desired canvas, then let the paint dry. You can do this with spray paint or acrylic craft paint. Apply a single coat of paint then let it dry (about 15 to 30 minutes). If the paint is too thin and you can see your canvas through it, apply a second coat, and let that one dry too. Apply spray paint using a sweeping, side-to-side motion from 8 to 10 inches (20 to 25 cm) away. Apply acrylic craft paint with a wide, flat paintbrush. Work your way from one side to the other using long strokes.
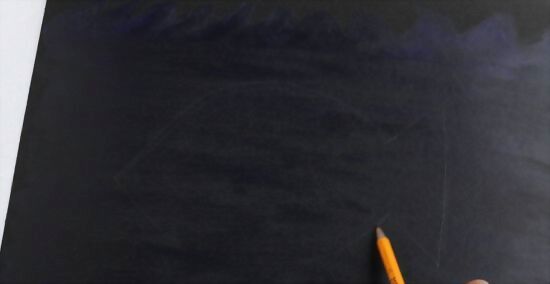
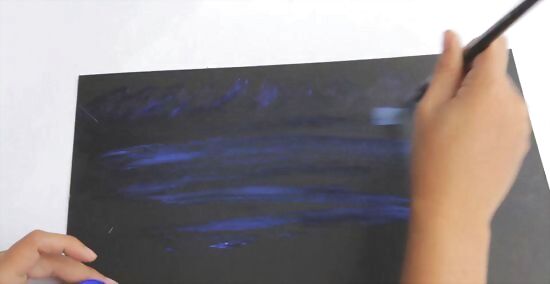
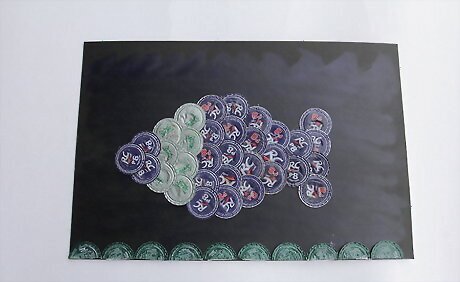
Sketch out a simple design with a pencil. Choose a simple silhouette, such as a heart, star, fish, or pine tree. Trace this silhouette onto your canvas with a pencil. Try to cover as much of the canvas as you can, leaving a 1 to 3 in (2.5 to 7.6 cm) border around your silhouette. For a more complex artwork, try the outline of your state or country. You can also do your country's flag instead. If you can't see the pencil lines, use a piece of white chalk instead. Other examples if simple silhouettes include crabs, seahorses, whales, and anchors.

Pound the metal bottle caps flat with a hammer, if desired. While not absolutely required, this will make it easier to glue the bottle caps to your canvas. Choose bottle caps that match your design, such as red for a heart or green for a tree. Pound them flat against a wooden block with a hammer or mallet with the design side facing down. Make sure that you pound the edges outward. If you are doing your country's flag, use colors that match the flag. For example, if the flag has red and white in it, choose bottle caps that are red, and bottles caps that are white.
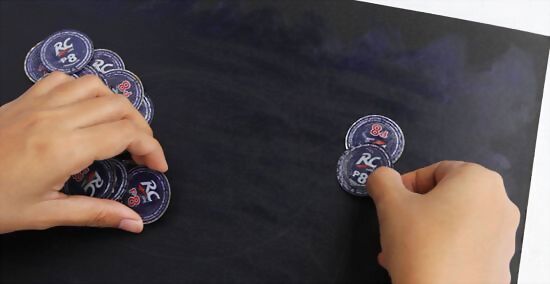
Arrange the bottle caps on the canvas to fill your silhouette. Make sure that the design part of the bottle caps is facing up. Place the bottle caps close enough so that they are touching. You may have to overlap some and off-set others in order to fill all the nooks and crannies of your design. Use pliers to bend flattened bottle caps into flat edges so that you can fit them into angles and corners. If you are making a fish design, consider overlapping the bottle caps like scales for a neat touch.
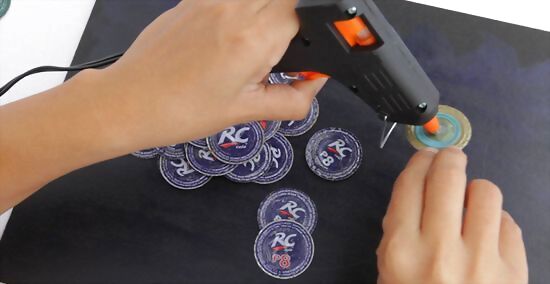
Glue the bottle caps to the canvas. Pick up a bottle cap from the top-left corner of your design. Coat the inside with hot glue or industrial-strength glue, then press it back onto the canvas. Work your way in rows from 1 side of the canvas to the other. If you did not pound the bottle caps flat, outline the inside rim of the bottle caps with hot glue before pressing them down. Work 1 bottle cap at a time.
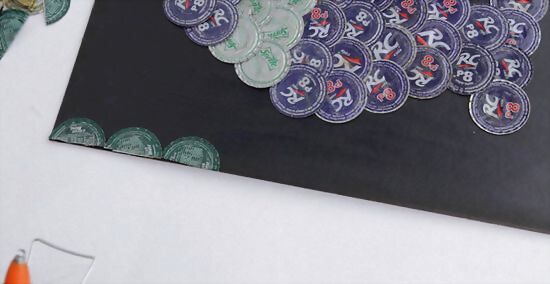
Fill the background with more bottle caps, if desired. You can leave your canvas the way it is, with a blank, painted background. If you want your canvas to be completely covered with bottle caps, then simply fill it in with more caps using the same technique. Choose a color that contrasts with your design; this will help it stand out more.
Let the glue dry before displaying your piece. Hot glue sets up within seconds, but most industrial strength glues require much longer to dry. Some are ready to use within hours, while others need 1 to 2 days to dry and cure. Check the label on the tube to find out how long your glue needs to dry and cure.
Creating a Bottle Cap Tray
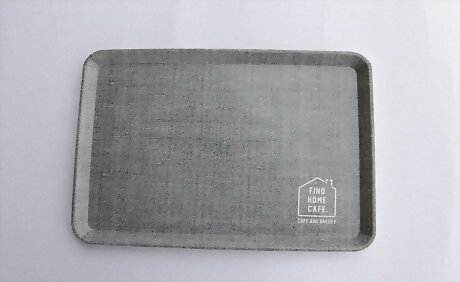
Choose a plain, wooden serving tray that you wish to decorate. The tray can be already painted, or it can be unpainted. You can also use this method on tables, as long as they have a rim or lip of some sort. Craft stores typically carry unpainted wood trays in their wood crafting section.
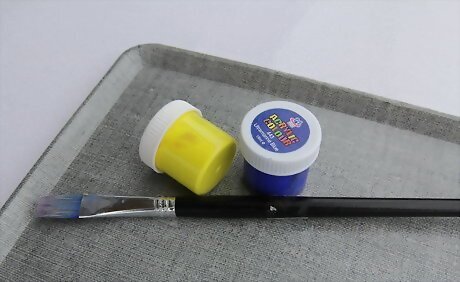
Paint your tray with acrylic craft paint, if desired. Apply a single coat of paint using a wide paintbrush made from synthetic, taklon bristles. Let the paint dry, then add a second coat if the first one is too thin. Let the second coat of paint dry completely before moving on. This should only take 15 to 20 minutes. You don't have to paint the bottom if you will be using grout around the bottle caps. You should paint the bottom if you'll be using clear epoxy resin, however. Do not use spray paint. It may be faster to apply, but it will be harder to touch up in the end.
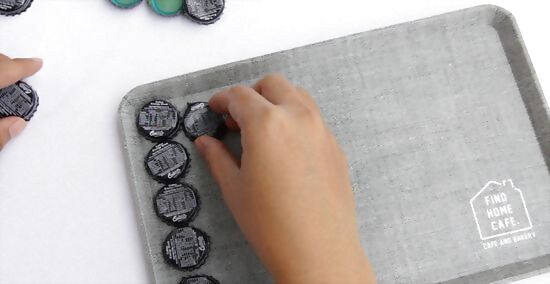
Arrange the bottle caps the way you want them on the tray. Place the bottle caps as close together or as far apart as you want. Arrange them in a grid-like pattern, or stagger them like bricks on a wall. If you want to create a specific design, such as a heart, use 1 color of bottle caps for the design, and a second color for the background.

Glue the bottle caps down using liquid nails. Pick up the first bottle cap, and place a large drop of liquid nails onto the tray. Press the bottle cap into the glue, then move onto the next cap. Work your way back and forth across the tray in rows. Liquid nails is a type of glue. It is very thick and strong. You can also use an industrial strength glue, such as E6000. Hot glue may also work.

Wait for the glue to dry and cure. Hot glue sets within minutes, but liquid nails and other types of industrial-strength glue typically need at least a day to dry and cure. Read the label on the tube or can to find out the complete drying and curing instructions.
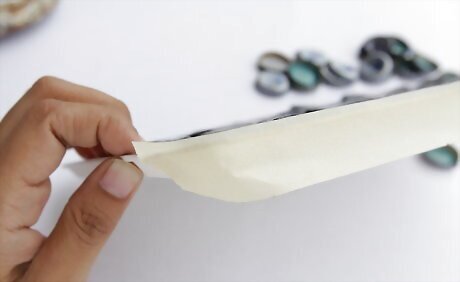
Mask off the sides of the tray with painter's tape. You will need to cover the top and inside walls of the tray with painter's tape. You can also cover the outside if you really want to. When you are adding the tape to the inside walls, make sure that you place it just above the tops of the bottle caps. Skip this step if you will be using clear epoxy resin instead of grout.
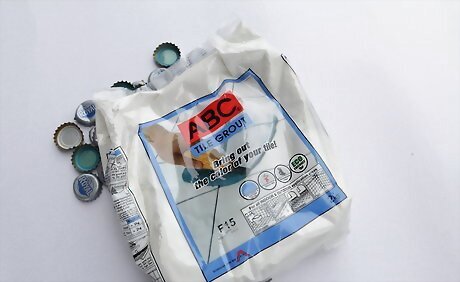
Mix your grout. Buy a tub of grout from the craft store, and prepare it according to the instructions on the package. Grout from the craft store is finer than grout sold in hardware stores. It comes in different colors, has a finer texture, and is typically easier to mix. If you prefer to use clear epoxy resin, purchase a kit from the craft store, then mix it according to the instructions in the package. Typically, you mix parts A and B together.
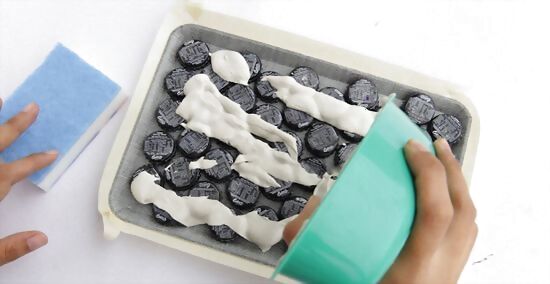
Spread the grout across the bottle caps. You can do this with a grout float or with a sponge. Scoop the grout onto the tray, then spread it across the entire bottom. Make sure that you get the grout into all of the cracks and crevices between the bottle caps. Use enough grout to reach the tops of the bottle caps. Do not bury the bottle caps under the grout. If you are using clear epoxy resin, slowly pour the resin into the spaces between the bottle caps. Continue pouring the resin until it covers the caps with a thin layer.
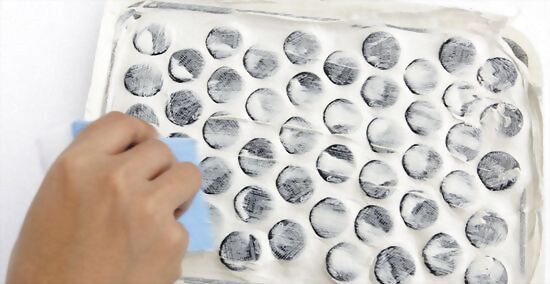
Wipe the grout from the tops of the bottle caps with a damp sponge. Get a clean sponge, and soak it in water. Wring the excess water from the sponge, then wipe it across the bottom of the tray. Repeat this step, along with cleaning the sponge, as often as it is necessary in order to get all of the grout off of the bottle caps. Skip this step if you are using clear epoxy resin. Do not touch the resin.

Peel off the painter's tape, then let the tray dry. Clean your hands of any grout first, then dry them off. Carefully peel the tape away from the sides of the tray. Move the tray to a place where it won't get accidentally bumped, and leave it there until the grout dries. How long the grout takes to dry depends on the type and brand that you used. Read the label. Some types of grout also requires a curing time. Epoxy resin needs 24 to 48 hours to dry and cure. Read the instructions to find out the exact curing time. Do not use it before it finishes curing, or it will get tacky.
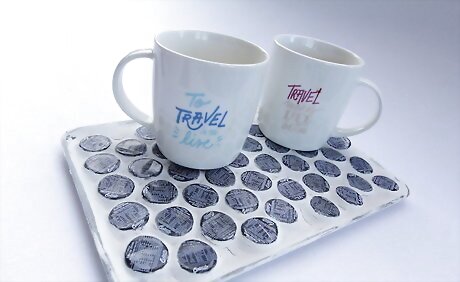
Touch the tray up, if needed. If you notice any grout on the painted part of the tray, paint over it using some acrylic craft paint. If you used clear epoxy resin, then your tray is ready to use!


Comments
0 comment