
views
- Place a metal cookie cutter flat on a baking sheet lined with tin foil. Then, fill the cookie cutter half full with scented aroma beads.
- Bake the beads in their mold at 350 °F (177 °C) for 8-9 minutes, or until they’ve melted together. Take them out of the oven and let them cool for an hour.
- Remove the freshie from its mold by gently but firmly pressing down on it with your thumbs. Then, hot glue a loop of string to the back and hang it in your car.
Add fragrance and color to aroma beads.
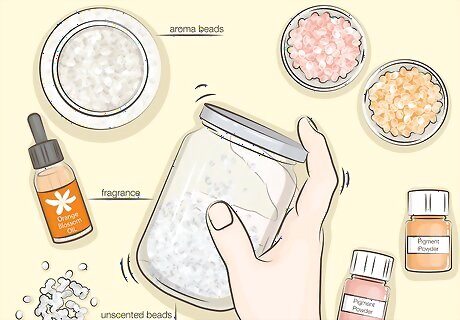
Customize your freshie with your favorite scent and pigment. Get aroma beads in a scent of your choice. Or, pour 4 oz (about 1 cup) of unscented aroma beads into a glass jar, then add 1 oz (about 0.25 tsp) of the fragrance oil of your choice to the cup. Place a lid on the jar and shake it vigorously for about a minute. Let the beads sit in the lidded jar for about 24 hours to fully absorb the oil. If the aroma beads aren't the color you want, pour about 1 c (240 mL) of aroma beads into a plastic cup. Then, scoop about 0.5 tsp (6 g) of pigment powder into the cup and mix it for about 1 minute. Let the beads sit for about 30 minutes to fully absorb the pigment. Try mixing and matching half-amounts of pigment powder to mix new colors. Make multicolor freshies by mixing different colors of beads beforehand, or bisect a cookie cutter with the teeth of a comb while pouring the beads to add separate areas of color.
Start your oven and prepare your baking sheet.
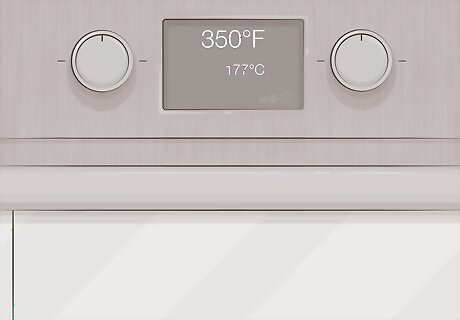
Preheat your oven to 350 °F (177 °C) and line a baking sheet with foil. Freshies are made by melting scent beads in the oven, much like baking! And just like baking, it’s important to preheat your oven beforehand so you’re not waiting on it later. Then, line a cookie sheet with either tin foil or parchment paper, so that the freshies don’t stick to the pan when you bake them.
Pour the aroma beads into their molds.
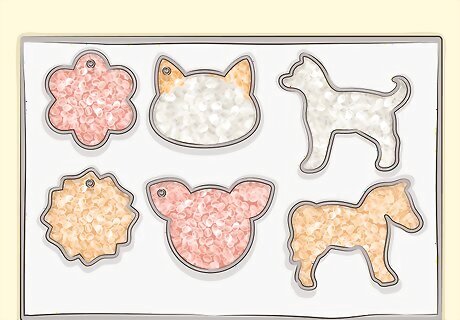
Fill cookie cutters half full with aroma beads on the baking sheets. Choose metal cookie cutters that are at least 1 in (2.5 cm) deep, and in the shapes that you want your freshies to be. Place them flat on the baking sheet, then pour the aroma beads into the cookie cutters so that the beads fill each cookie cutter about halfway up. Without lifting the cookie cutters, gently shift them back and forth a little to help the beads settle into all the corners and crannies of the cookie cutters. Optionally, stand a 0.25 in (0.64 cm) diameter screw on its head in the beads about .5 in (1.3 cm) from the top of the mold, making a hole in the freshie that’ll make it easier to hang later.
Bake the freshies.
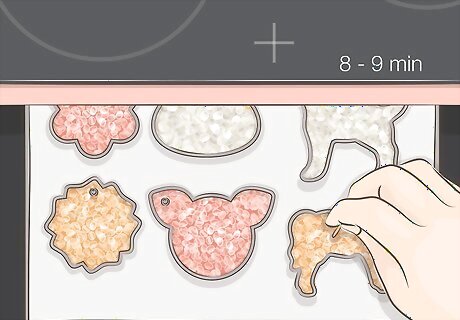
Bake the freshies for 8-9 minutes, or until they start to melt. Place the pan on the center rack of your oven (moving slowly so as not to spill any beads), and set a timer for about 8 minutes. After 8 minutes, check to see if the beads have begun to melt together. If not, place the pan back in the oven for another 2-3 minutes, or until they do begin to melt. Check the consistency of the beads with a toothpick. Aim to make them slightly tacky or sticky, but not totally melted together.
Let the freshies cool.
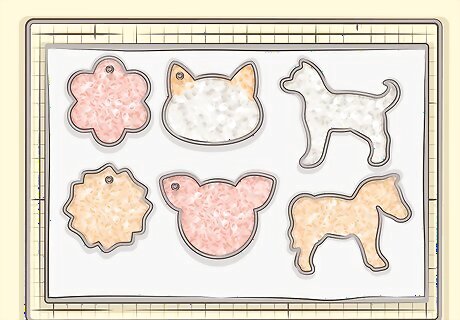
Remove the freshies from the oven and let them cool for 1 hour. Use oven mitts to remove the pan from the oven, then place the pan on a cooling rack or on your stovetop. Let them sit for about an hour, or until you can’t feel any heat when you place your palm directly over the cookie cutters. Some people find it a bit easier to remove the freshies from their molds while they’re still a little warm. If you like, cut the cooling time to just 30 or so minutes.
Remove the molds.
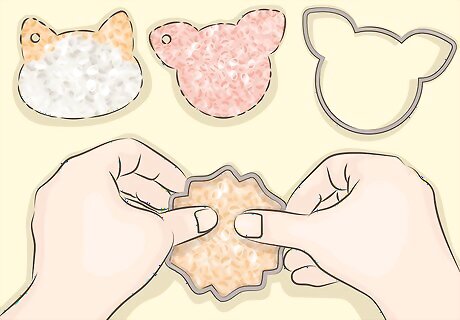
Push the freshies out of the cookie cutter molds with your thumbs. Turn the molds upside down. Then, gently press down on the freshies with your thumbs, while supporting the cookie cutter mold with your other fingers. Apply firm but careful pressure until the freshie separates from the cookie cutter mold. If the freshie seems stuck in the mold, use your thumbs to press down around the sides of the freshie first, to loosen it and separate the edges from the cookie cutter. At this point, the edges of your freshie might be a little uneven or ragged. Use a pair of scissors to neaten up any inconsistent edges. If you placed a screw in the mold, gently push the tip of it with your thumb to remove it from the melted beads.
Attach a hanger.
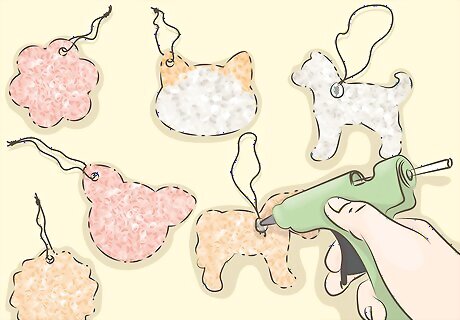
Hot glue a loop of string to the back of the freshie and hang it up! Cut a length of yarn, twine, or wire about 8–10 in (20–25 cm) long, then tie the ends together with a simple knot. Use a hot glue gun (or super glue) to place a small dab of hot glue on the back of the freshie about 0.5 in (1.3 cm) from the top edge, then carefully press the knot of the loop into the hot glue. Let the glue dry for about an hour, then slip the freshie over your rearview mirror to freshen up your car! Or, if you used a screw to make a hole, simply tie the loop through the hole. No glue needed!
Decorate your freshie.
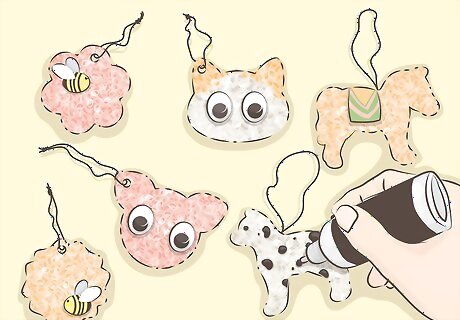
Use puff paint to add designs, or glue beads or ribbons to your freshies.. Puff paint is a buildable craft paint that adds texture and dimension to your crafts. Slowly and carefully squeeze the puff paint bottle while drawing lines of paint across a completed freshie. Or, add a whimsical touch to your freshies with crafty accents like ribbons or other little knickknacks. Glue on your additions with a pea-sized dab of hot glue or super glue. Then, let them dry for about 20-30 minutes before hanging them. For example, add spots to a dog-shaped freshie, or draw a bumble bee on top of a flower-shaped freshie. Use a ribbon to tie a bow around a plain square freshie to make a cute wrapped present, or glue a small length of ribbon around the top of a horse-shaped freshie to make a little saddle. Glue googly eyes to animal-shaped freshies to make little critters full of personality.


Comments
0 comment