views
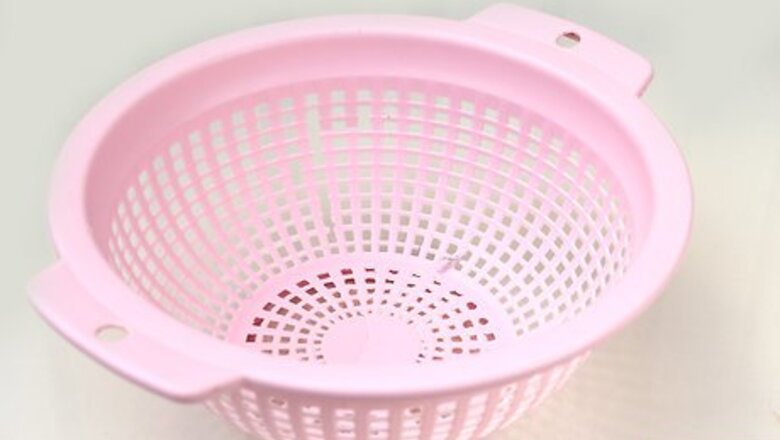
Creating Planters from Colanders
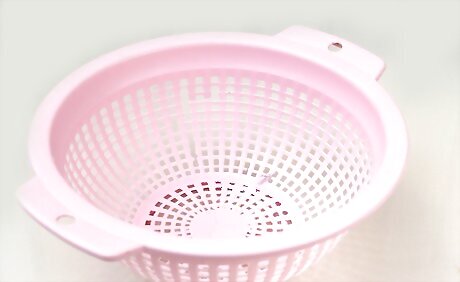
Paint your colander, if desired. If you're using a blandly colored colander, a bright colored spray paint can make it look more ornamental. Choose a spray paint suitable for the colander you are using, spray paint it, then allow it to dry according to the paint's label instructions. Although drying times will vary depending on environmental conditions and the kind of spray paint you've used, generally you can expect it to dry within an hour. Metal surfaces and plastic surfaces will require different kinds of spray paint. Check the label to ensure you're using the right kind before painting.
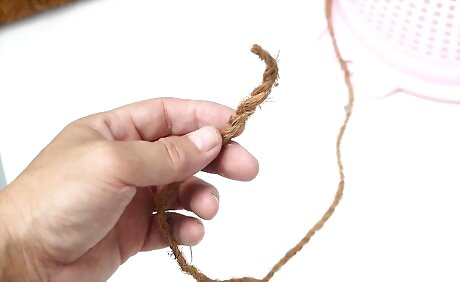
Attach sturdy twine for hanging the colander. Depending on the size and shape of your colander, you may only need to use a single piece between the handles. Larger planters might require you to string two lines of twine between the handles of your colander for better stability. Wrap your twine around the handle, tie the loose end off to the part being strung to the other handle, and repeat the process on the other side. Allow enough excess twine between handles so your planter hangs easily. If there is too little slack in your twine, it won't hang well. You may want to use a dab of glue on the knots on both sides of your colander. This will help preserve the knot.
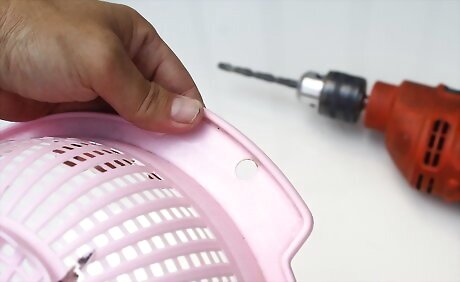
Drill holes for twine in the side of your colander, alternatively. If your colander doesn't have handles, you can use a drill and a drill bit (or some other suitable tool) to make small holes in the colander's sides. Push your twine through this hole and tie a simple knot to hold the twine in place.
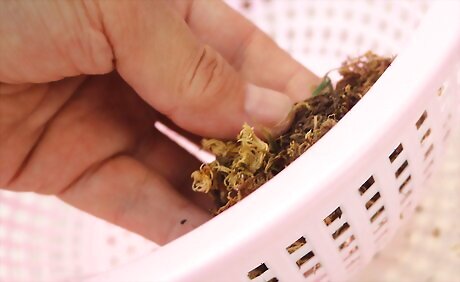
Layer your colander with sheet moss. This will prevent water from dripping too freely out the bottom when you water your plants. Line the inside of your colander with sheet moss, then use a suitable cutting tool to adjust the shape of the moss to the colander. Sheet moss can be bought at your local nursery or home and garden center. In some cases, you may even be able to purchase this supply from a florist.
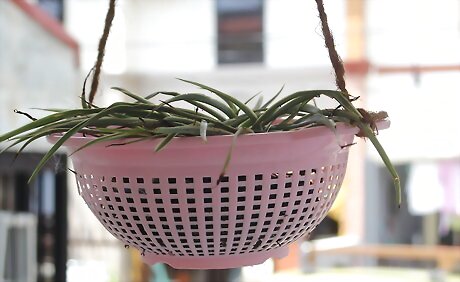
Fill your upcycled colander planter with soil and plants. Depending on the kind of plants you intend on using, you may want a special blend of soil, but in most cases potting soil will do just fine. After adding soil, plant your plants, hang your planter, and enjoy. Try adding herbs to your colander planter for a festive way to upcycle this kitchen utensil.
Using Used Milk Jugs for Planters
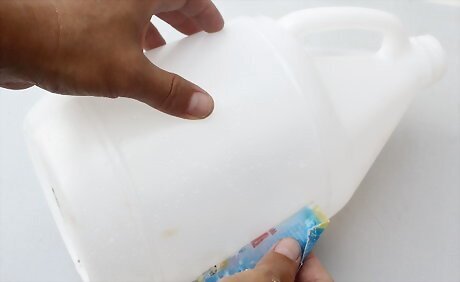
Ready your milk jug for upcycling. Clean your milk jug thoroughly with hot, soapy water. Rinse this thoroughly and then let it air dry. If labels are stuck to your milk jug, you may need to soak the jug in warm, soapy water before these come off easily. For especially stubborn labels or glue, use a scrubbing pad or kitchen implement (like a spatula) to help with removal. Gallon milk jugs tend to be the favorite choice for this upcycling project. However, feel free to use smaller sizes as well. Mixing gallon and half gallon sizes, for example, can add some nice variety.
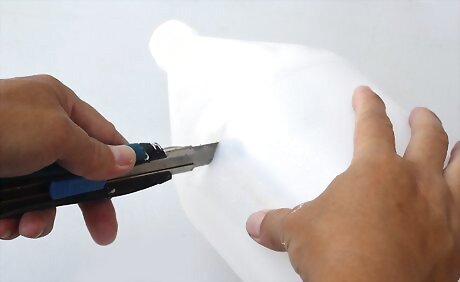
Cut the top off your milk jug. Depending on the size of your jug and the kind of plants you'll be planting, you may want to cut the jug right along the top to allow for more space for soil and the plant. However, this may be too large for some plants. In this case, cut your milk jug in half, or closer to its base. In some cases, sharp edges in the jug may be created in the cutting process. If you're concerned about these, use a file to take the edge off. Feel free to cut patterns, like waves or other designs, into the border of your milk jug to make it more artistic.
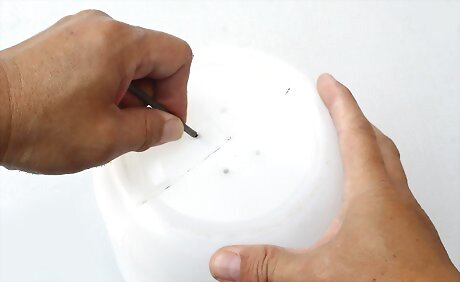
Create drainage in the bottom of the jug. If you don't poke holes in the bottom of your jug, the water won't drain away. This can cause root rot or decay to set in and can kill your plants. Use a pushpin to poke small holes in the bottom of the jug. Depending on the amount of drainage the plants you'll be using need, the number of holes will vary. However, in most cases, four to six holes should be enough.
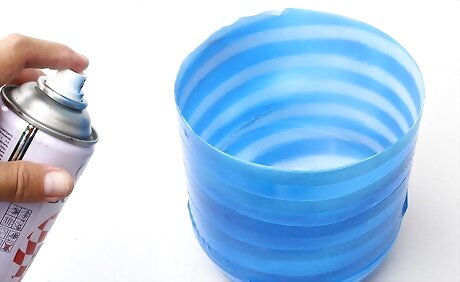
Decorate your planter, if desired. Although this step isn't necessary, a plain milk jug might look unappealing. It's simple enough to use a plastic safe spray paint to cover your jugs in a base color that's more pleasing to the eye. After the base layer is added to the jug and has dried, you might want to use some regular paint and a paintbrush to add more artistic designs. Feel free to add things like sequins, paste jewelry, glitter, and other similar accents to your jug with glue.
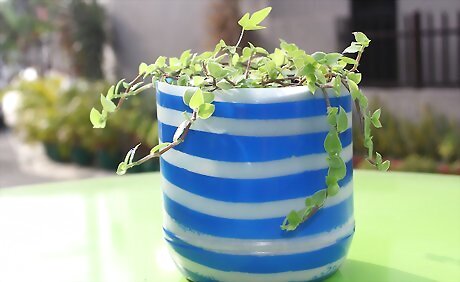
Add soil and plants to your milk jug planter. You may need to use a special soil for particular kinds of plants, but in most cases a general potting soil should be sufficient. After adding soil, add your plant to your planter and it's finished.
Turning an Old Tire into a Planter
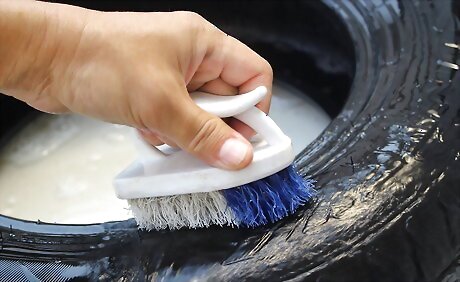
Prepare your tire for upcycling. Use a hose and a scrub brush to clean off dirt, grime, and oil from your tire. Surface dirtiness can negatively impact the painting you'll be doing later, or could cause harm to your plants. For especially dirty tires, you may want to use a moderate to strong soap while scrubbing the tires clean. Be sure to rinse this from the tires completely.
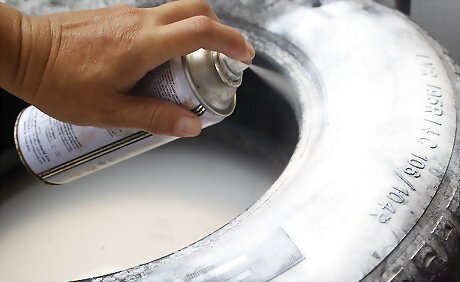
Paint the tires. Use a spray paint that is suitable for rubber tires and cover the outside and top of the tire with paint. Then allow this to dry for the time listed on the paint's label instructions. Once the paint is dry, feel free to use regular paint and a paintbrush to add embellishments to the design. You might draw little suns, flowers, simple birds, and so on.
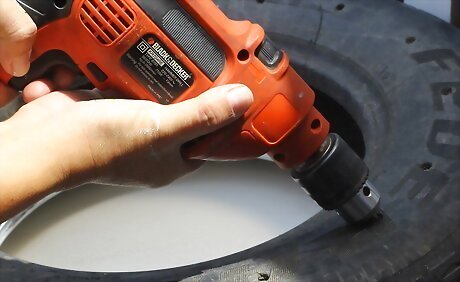
Drill holes in the bottom of your tire. The inside bottom of your tire will collect water unless holes are drilled in it. Poor drainage can cause root rot or decay, which can be harmful for your plants. Take your drill and a drill bit to create five evenly spaced holes around the bottom of the tire. Depending on the kind of plants you'll be planting and the size of your tire, you may want more or less holes.
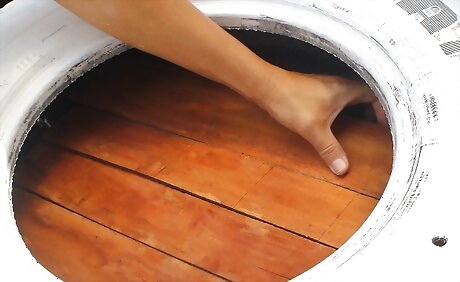
Create the inner lining. Use wooden boards (like 2x4's or thinner planks) to create slats in the bottom of your tires. You may have to cut these pieces of wood with a saw so they fit inside the tire. These, along with the lining, will support and hold the soil. Lay your boards on the top of your tire. Use a pencil to mark where you'll need to cut them so they fit inside, using the tire to help estimate this. You don't have to waste time cutting these boards perfectly. These will be hidden from sight, so they only need to fit in the bottom of the tire.
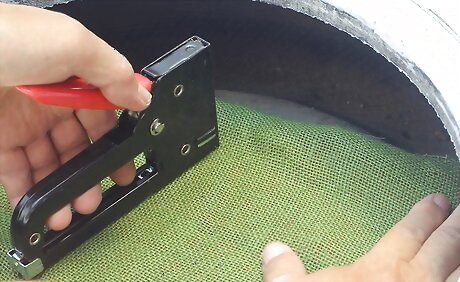
Insert your slats and attach your burlap. Put your slats inside your tire, arranged so there's some space between slats. Then line the top of the slats with an even layer of burlap. Use scissors to cut the burlap to fit the shape of the tire, and use staples or nails to hold the burlap in place. Plastic backing or landscaping fabric will also work well for this. When using a material that you don't think will drain well, cut holes in it to facilitate drainage.

Put potting soil in your tire, add plants, and enjoy. In most cases, a general purpose potting soil will work well, but special plants may have special soil needs. Once you've added the soil, add your plants and enjoy this unique, upcycled planter.
Transform Old Boots into Planters
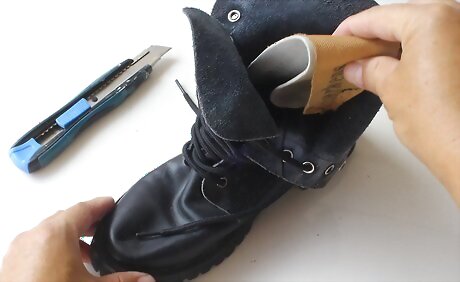
Remove padding and lining from the boots, if necessary. This kind of material can rot and cause your plants to become sick. You should be able to remove these features with a utility knife or similar cutting utensil. Rubber boots are the best kind to use for this upcycled planter. Anyone who has kids likely will have a pair of boots that are outgrown and can be upcycled.
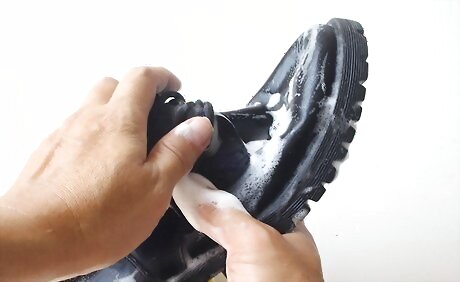
Clean the boots. Some molds and fungi thrive in boots. These are likely mild strains, but even mild mold or fungus can be dangerous to a plant's roots. Use hot water and a mild soap to clean the boots inside and out, rinse them thoroughly, and let them air dry.
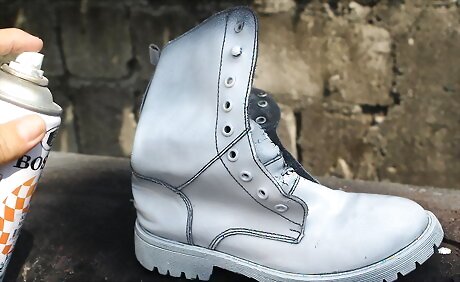
Paint the boots, if desired. If you're using children's boots, it may be the case that there are already designs on the outside of the boot you want to keep. Plain boots, however, can be decorated with a suitable spray paint. You can even add designs to the base layer of spray paint after it dries. Use a paintbrush and regular paint to add your own flair to the boots.
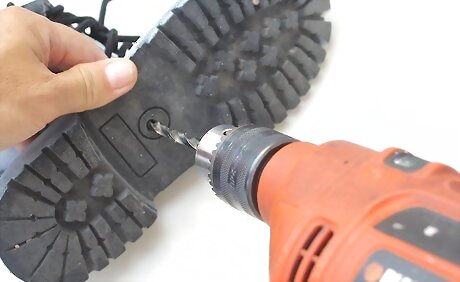
Make holes in the bottom of the boot, if necessary. Old boots may already have holes in them. In this case, you may not need to add any. If you do need to add some, use a sturdy pair of shears or a drill to poke/cut these in the bottom. You can always check the drainage of boots by pouring water into them. If the water appears like it can easily flow out, your drainage is likely good enough.
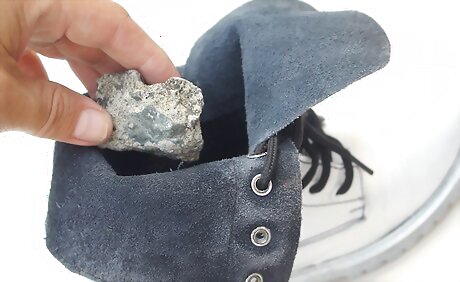
Add weights to your boots, if desired. To prevent your boots from tipping over and losing soil or damaging your plants, you may want to put something heavy in the bottom of the boot. For example, a few rocks in the bottom could help flimsy boots stay upright.
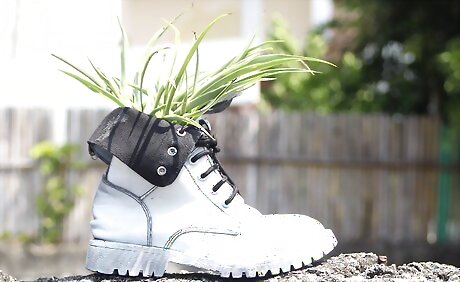
Insert soil and plant flowers to finish the boot planter. Although some plants may have special soil needs, most should be fine with a general potting soil. Add this to the boot, insert your plants, and place these upcycled boot planters around your house or garden.




Comments
0 comment