
Melting Metal in a Foundry
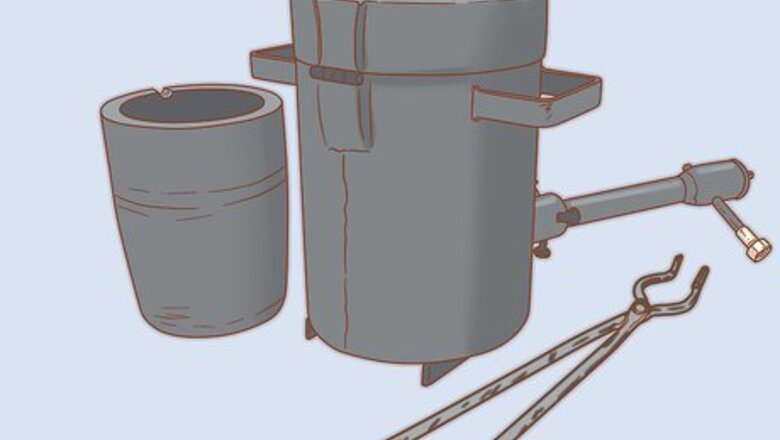
Purchase or make a small foundry furnace. The easiest way to melt metal into liquid is to heat it in a small, enclosed vessel that is heated from below. You can make your own using a small empty propane tank or metal bucket, plaster of paris, sand, metal pipe, charcoal briquettes, and a steel can. However, it’s probably easier buy one premade from a welding supply company or online retailer. Small foundries that are available for purchase online or that are built at home tend to work best for melting aluminum, as aluminum melts at a relatively low temperature. Premade foundries are typically heated with propane, so you will need a tank of propane in addition to the foundry.

Pick an area where you can use the foundry. Since you will heat the foundry up, it needs to be set up on a heatproof surface outside or in a well-ventilated area. Typically, the easiest place to set it up is on a large slab of concrete, such as a driveway, outside. Pick a spot that is not near anything flammable, such as dry grass or building materials that could catch on fire. There will be fumes created when melting metal, so it’s important not to do it in a confined area.
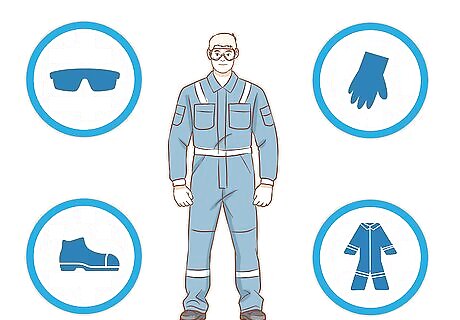
Put on protective safety equipment. When melting metal, it is important to protect yourself from injury. Put on welding gloves so that your hands are protected. Also wear safety glasses so that any metal that might fly at your face doesn’t get in your eyes.Tip: It’s also a good idea to tie back your hair if it is long, so that it doesn’t get in the way of your work. Wear shoes that have closed toes and a welding jacket, which will protect your chest and arms.

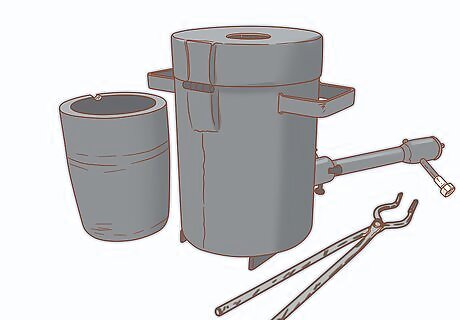
Heat up the foundry. If using briquettes, fill the area around the crucible with briquettes and light them on fire. If using propane, light the burner and insert it into the core of the foundry. Let the crucible heat up for about a half hour before continuing on with your project. If you are using a premade foundry, follow the directions that came with it exactly. The directions should instruct you about the proper propane pressure to use and what safety precautions to use, in addition to other details.

Put aluminum in the foundry. Use pieces of aluminum that will fit into the bowl of the foundry, which is called the crucible. In general, aluminum is an easy metal to melt and it is easy to get your hands on.Tip: Many people melt empty aluminum soda cans to create aluminum metal shapes.

Heat the aluminum until it is completely melted. Continue to apply heat to the foundry until you can no longer see solid pieces in the crucible. This can take anywhere from a few minutes to an hour, depending on how much metal you are melting, its thickness, and how hot you can get the foundry. Once the metal is completely melted, it will glow bright red but there may be some dark spots where impurities are burning off.
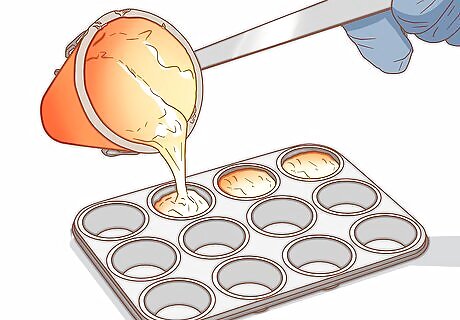
Pour the melted aluminum into a mold. Once the metal inside the foundry has completely melted, pick up the crucible with tongs and pour the liquid into a mold. What shape you mold the aluminum into depends on what you want to do with it. For example, if you simply want to make blocks of metal, you can pour the liquid into a muffin tin. If you want to mold the metal into a specific shape, you will need to buy or make a metal casting mold.Tip: Keep the metal in the mold until it is completely cooled. Once cooled, it should pop right out.
Melting Metal With a Oxyacetylene Torch

Get an oxyacetylene torch. An oxyacetylene torch mixes the gases oxygen and acetylene to make a flame that is good at reliably melting a variety of metals, including steel, brass, silver, copper, and aluminum. If you want to melt all the way through metal, you should get a torch that is made for cutting. If you want to melt metal so that it can be welded together with other pieces, you should purchase a welding tip. Both types are available at welding supply stores or from online retailers. Welding tipped torches come in a variety of sizes. Large ones that use full size oxygen and acetylene tanks are used for welding pieces of steel. Small oxyacetylene torches are used for melting small pieces of soft metal, such as gold and silver used for jewelry making. The small torches are typically attached to small oxygen and acetylene tanks.
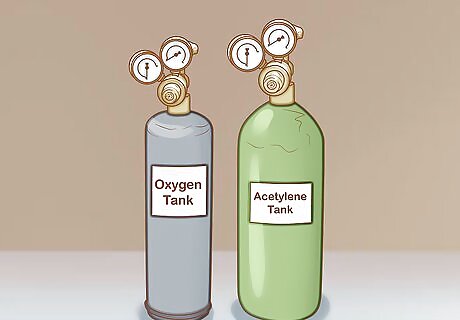
Get an oxygen tank and an acetylene tank. Go to a welding supply company or a home improvement store and rent or buy an oxygen tank and an acetylene tank. They come in a variety of sizes, but if you only plan on melting metal once in a while, you can just get small tanks that are 20 or 40 cfl. You will want an oxygen tank that is at least twice the size of the acetylene tank.Tip: Oxygen and acetylene tanks can either be leased or purchased outright. If you are only planning on using them once, it's a good idea just to lease them.

Set up your work area. You need to have a space to work where you will not set your surroundings on fire, so pick an area that is concrete and doesn’t have any flammable materials around. Then strap your tanks to a wall so that they cannot fall over or be knocked over accidentally. If you want to work on a raised surface, instead of on the floor, you will need to use a metal table or supports that won’t burn or melt. There are specialty welding tables made of thick steel that are made specifically for this kind of work.

Attach your tanks to your oxyacetylene torch. Connect a pressure regulator to the top of each tank. The regulator needs to be screwed onto the top until it is tight. Then connect a hose to each tank, making sure that the green hose is connected to the oxygen tank and the red hose is connected to the acetylene tank. Next, attach the other end of each hose to the end of the torch.
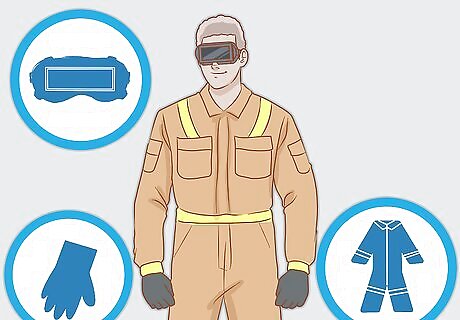
Put on personal protective equipment. In order to use an oxyacetylene torch safely, it’s important to put on a variety of protective layers, including welding gloves, welding goggles, and a welding jacket.

Light the torch. Ensure that the control valves on the torch are completely closed. Then turn on the oxygen and acetylene tanks completely, turning the valves until they stop. Once ready to work, open the oxygen and acetylene valves on the torch a small bit until you can just hear the gases flowing. Squeeze your striker in front of the tip of the torch to create a flame. Once lit, adjust your oxygen and acetylene levels to create a small blue flame inside the larger orange flame.
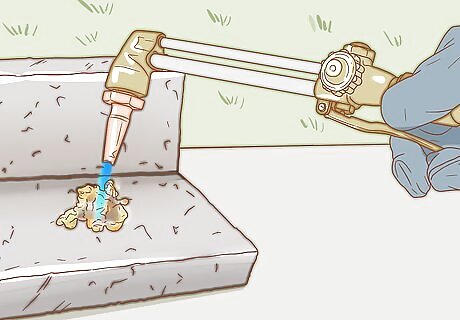
Melt your metal with the flame. Position the flame on the metal so that the small blue interior point is not touching the metal but the larger flame is. Move the torch smoothly along the metal. Ensure that the entire area you want to melt is heated evenly. After it is heated enough, it will begin to melt. You can cut metal into a wide variety of shapes by melting it with a torch. For instance, you can make a decorative shape or a replacement part that you need.


Comments
0 comment