views
Creating a Paint Booth

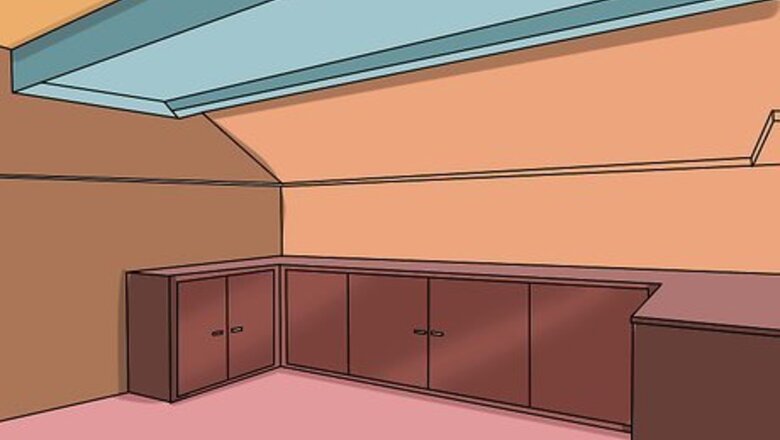
Choose a large area where you can make a mess. Though you’ll take steps to protect this area, don’t create the paint booth somewhere where an errant paint stain will be a big problem. A garage or storage area would be your best options.

Protect the walls with plastic sheets. You can buy plastic sheeting at any home improvement store like Lowe’s or Home Depot. Make sure you buy enough to protect the whole area. Use thumbtacks or a hammer and nails to hang the sheeting up on the walls. Use masking tape to secure the bottom of the sheet to the floor. This will prevent the sheets from billowing out and allowing paint to stain the wall.
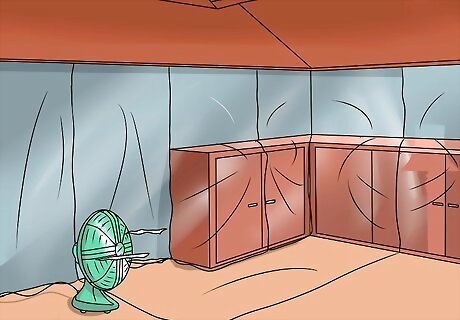
Set up a variable speed, oscillating fan. Place it somewhere where it will blow fumes out of the room or space, so you don’t inhale too much of it.

Set up additional lighting. It’s important that you can see what you’re doing, so place extra lights in the area where you’ll be working. Floor lamps would work well, but you can place side table lamps or desk lamps on a flat, elevated surface, as well. You can also increase the brightness in the room by adding reflective materials such as aluminum sheets or mirrors on the walls.
Preparing Your Motorcycle
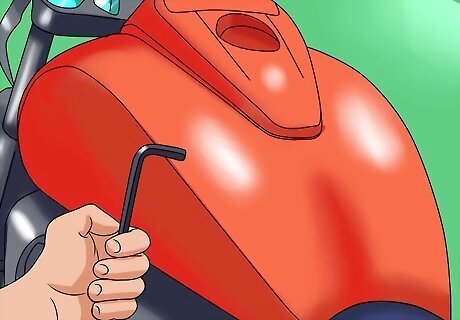
Remove and set aside the parts of the bike you plan to paint. This article will use the tank as an example, but the same basic method should be applied to all bike pieces. The tank is a great place to start if you’re new to painting motorcycles because it’s fairly easy to remove and has broad, flat surfaces that are easy to work with. Check which size allen wrench you need to remove the bolts holding the tank in place. Remove all the bolts holding it in place and lift the tank off the frame. Set it aside. Store the bolts in a plastic baggie clearly marked as “tank bolts.”

Sand down the surface you wish to paint. This part will take some time and elbow grease, but it’s an important step. If the surface you’re painting isn’t perfectly smooth, you’ll end up with an ugly, uneven coat of paint on your bike, and nobody wants that. Purchase sandpaper at any home improvement or hardware store, like Home Depot or Lowe’s. Rub the metal surface down with sandpaper in a circular motion until you have removed the old paint. You should be down to bare metal by the end of the process. Switch back and forth between arms to prevent fatigue and soreness. Take a break if you need one. You don’t have to finish this project in one sitting.
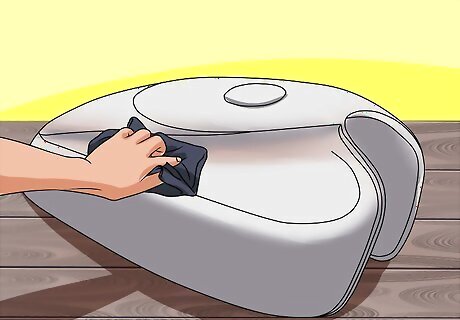
Wipe down the newly-sanded surface. Remove any residual dust or particles that might be on the surface. You want to be working with a clean canvas.
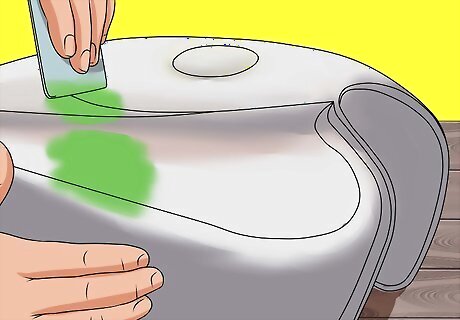
Smooth a layer of body filler over the newly sanded surface. This will help ensure you’re working with as smooth and level a surface as possible. You can purchase body filler at any automotive retailer, from O’Reilly’s to Auto Zone, and also in many home improvement stores. Mix the filler up well to make sure it’s loose and not clumpy when applied. It hardens quickly, so repeat the process in small batches as often as necessary. Apply it in a layer about 1/8” thick.
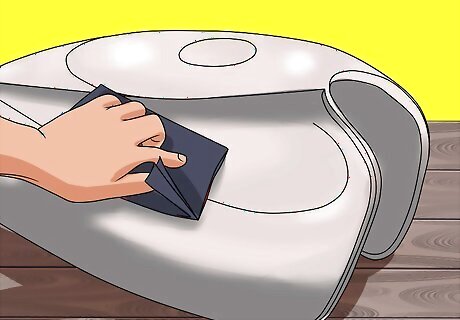
Re-sand the surface once the body filler has dried. You want to wait about an hour to make sure the surface has dried completely and ready for a second sanding. If you’re not satisfied that the surface is perfectly smooth and ready to be painted, apply another layer of body filler and sand it down again. When you’re satisfied with the smoothness of the surface, move on to the next phase: painting your bike.
Painting Your Motorcycle
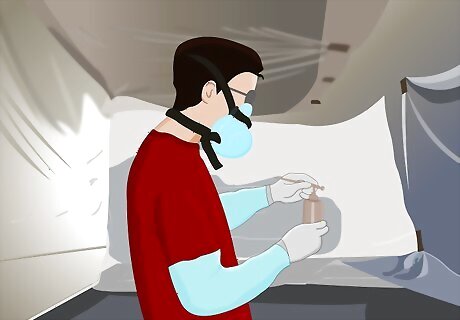
Apply two coats of epoxy primer. This will help protect the metal against moisture down the road, preventing unwanted effects like rusting. Follow the instructions on the packaging for the brand you purchase to figure out which hardener you should mix it with. Make sure to do this at the automotive store so you can buy the hardener at the same time. These products can vary significantly in their treatment needs, so don’t work by a rule of thumb — always follow the specific instructions. Mix the primer with the hardener. Pour the solution into the can of your spray gun. Apply one coat evenly onto the bike, allow it to dry, then repeat. Follow the recommended drying times on the packaging for the primer you bought. When applying any product with a spray gun, make sure to move the spray slowly and evenly across the surface.

Lightly sand down the primed surface, once the second coat has dried. Most primers leave a powdery texture behind, especially after multiple coatings, so you want to smooth the bike back down to a level surface. Use a 2000-grit wet-and-dry sandpaper.
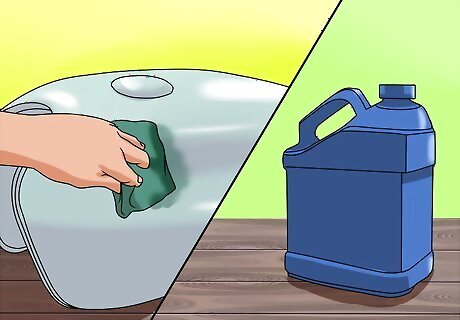
Wipe the surface down with a rag that’s been lightly wetted with thinner. Don’t use enough thinner to strip the primer, just enough to wipe down the newly sanded surface.
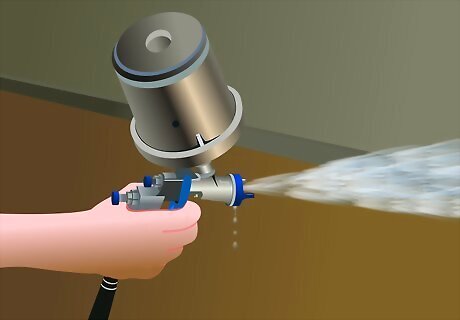
Clean the spray gun. You don’t want any of the epoxy primer mixing in with the paint you want to apply.
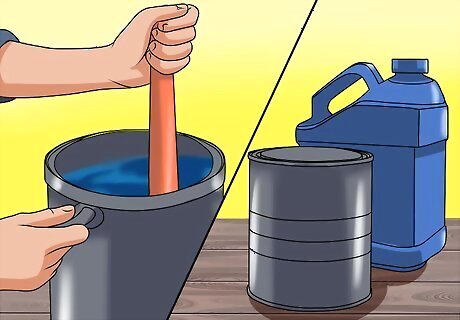
Mix the paint with the thinner. As with the epoxy primer, use the ratio recommended by the packaging on the specific product you buy. Again, you want to make sure you’ve mixed the products thoroughly. This will prevent clogging in the spray gun and ensure a smooth coat on your motorcycle.
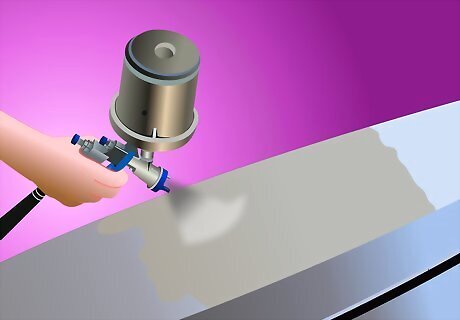
Use the spray gun to apply three to four layers of your chosen paint to the motorcycle. You’ll sand down the bike before applying the final layer. Let each layer dry completely between applications, using the drying times recommended on the paint packaging. After the third layer of paint has dried, sand the surface again with a 2000-grit wet-and-dry sandpaper. You want to surface to be perfectly smooth in preparation for the final coat of paint. Wipe the surface down with a clean rag after sanding. Apply the final coat of paint and let it dry. Clean the spray gun thoroughly again after applying your final coat of paint.

Apply two coats of clearcoat lacquer to finish and protect your paint job from the elements. Follow the recommendations on the lacquer packaging to determine how long you should let it cure before applying the second coat. If, after the second coat of lacquer has cured, you’re satisfied with the final product, you’re done! If there are still inconsistencies, sand it once more with 2000-grit wet-and-dry sandpaper, then reapply a coat of clearcoat lacquer to your satisfaction.






Comments
0 comment