views
Setting up Your Shot
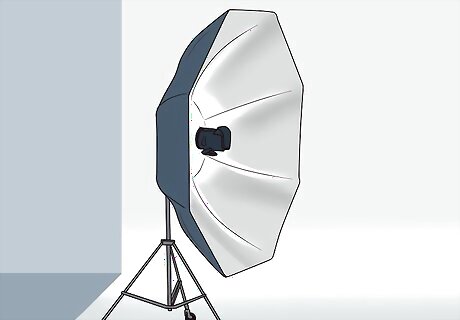
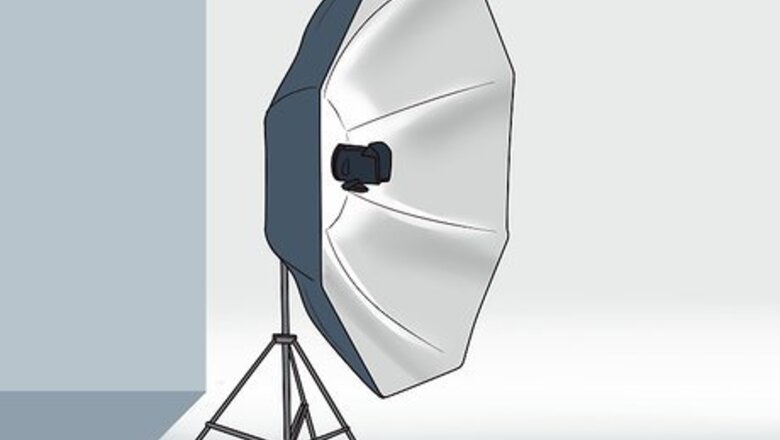
Put a medium-bright light source about 2–4 ft (0.61–1.22 m) above your model. Unlock the height adjustment and raise the adjustment so the light source sits high above your model. You can use a softbox or octa light.
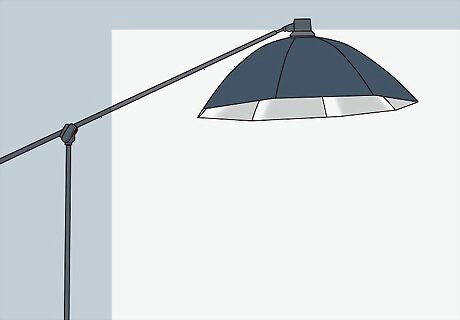
Point your light source at your model’s face. Once you raise your light above your model’s head, angle the light downward so it points towards their face. The contrasting lighting adds shadows to the bodybuilder’s muscles, and this effect is also known as “bathroom lighting.” To help you angle the light, you can use a ladder or step stool. Downward light will cast shadows on the different muscles, showing depth and detail of the bodybuilder’s hard work.
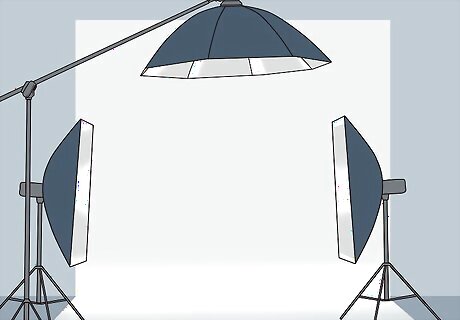
Set one strip box directly on each side of your model to light up the sides. Set the strip boxes about 5–7 feet (1.5–2.1 m) away from your model on either side, position them so they are directly on the sides of your model. This provides more light to illuminate the sides of your model. These lights also help create separation between the bodybuilder and the background.
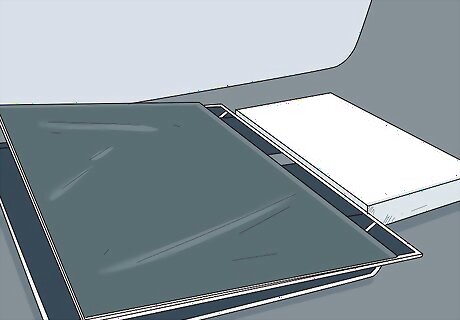
Point a reflector under your model’s chin to reflect the light from above. For extra contrast and definition, use a reflector to bounce back the light from overhead. You can have a friend hold a reflector close to the bodybuilder’s face, or you can set 1 on the floor, propped with a chair. Just make sure you can crop the reflector out of the photograph if it is visible. Use the gold side of the reflector if you want to add warmth to your pictures, or use the white side to add some brightness to dark areas. You can use a reflector 24 inches (0.61 m) or larger for best results.
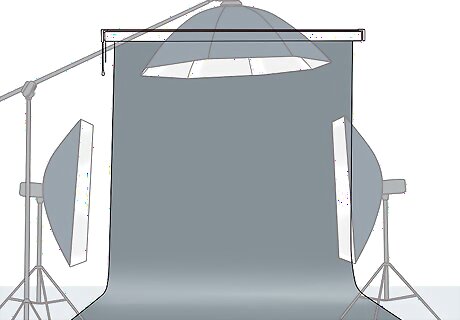
Use a dark background so the bodybuilder is the focal point. You want the bodybuilder’s form and muscles to be the subject of the image, so avoid going with colorful or distracting backgrounds. A solid dark color or black shade works best. You can use a dark colored or black backdrop, or make your own by using a large black sheet or cloth.
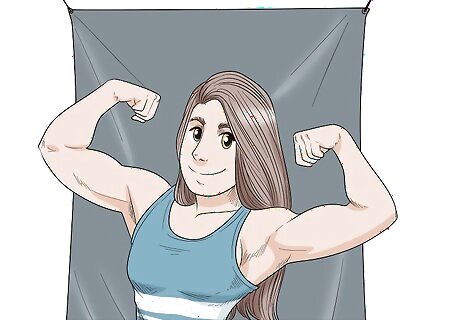
Use less lighting to create dimly-lit, intense shots. During your shoot, you can play around with the light sources for different levels of highlight and lowlights in your images. Try taking some photos using only one light from above to create a dramatic effect. Turn off or move the lights on the side so they are out of the shot. Try using an f 2.8 lens if you plan on shooting in a low light.
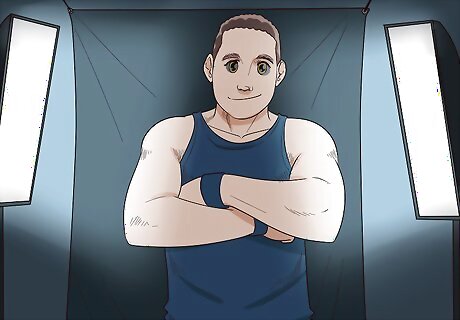
Use additional lighting to show off more detail and increase contrast. You can move your lights on the side closer to your model or try using a larger reflector to increase the brightness in your image. This is helpful to take shots with more definition and increased contrast between light and dark areas of the picture.
Adjusting Your Camera Settings
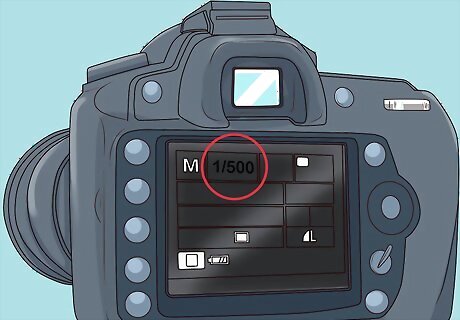
Select a 1/500 shutter speed to catch your images as your model flexes. This will help you take sharp, detailed images even in between poses or while your model lifts weights. Find the shutter priority shooting mode on your camera, and increase or decrease your shutter speed as needed. Take a few test shots and see how the image looks. If the image is blurry, increase the shutter speed up to 1/1000.
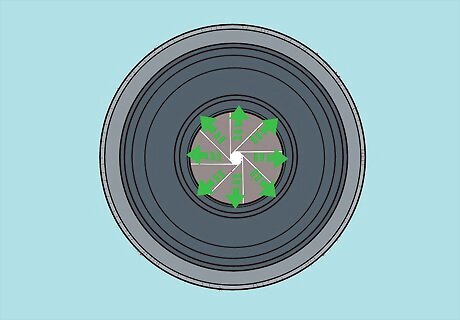
Use a larger aperture to let in more light. When using high shutter speeds, your camera needs adequate light to capture the image in detail. Adjust your aperture size so to let in more light. If you are using a fast lens, set the F-stop 1 or 2 settings below the maximum aperture size (the total number of F-stops will be different for each particular lens). For other lenses, try using the maximum aperture. If your image is too bright after adjusting your aperture, try going an F-stop or 2 lower.
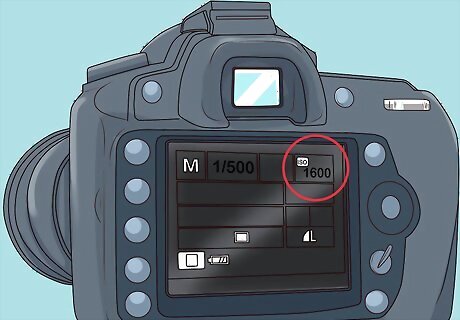
Set your ISO between 800 and 1600. You can shoot at a higher shutter speeds by raising the ISO, so the camera can see more light. Find the ISO feature on your camera, and select the ISO speed you want to shoot with. If you are using newer, high-end cameras, try using the highest ISO and making adjustments as needed. If your camera has an “Auto ISO” feature,” use this to see what your camera automatically adjusts the levels to.
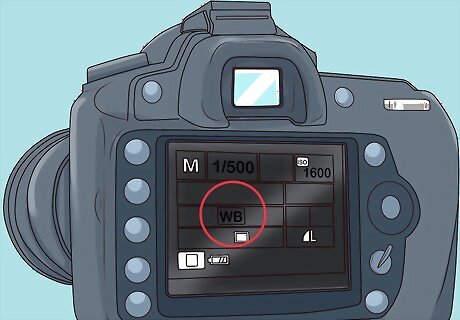
Set your white balance to “fluorescent” since you're shooting indoors. This way, your camera will automatically adjust to your lighting. Find the white balance control on your camera, likely abbreviated as "WB," and press the button until you select the "Fluorescent" setting. Your shots will have a greenish or yellowish tint if the white levels are not balanced.
Posing Your Model
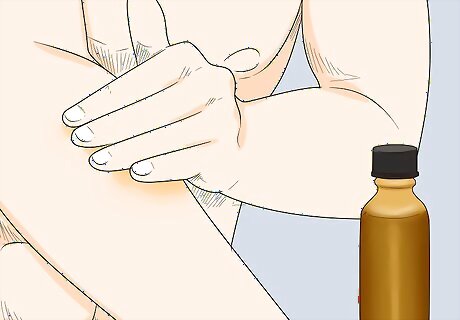
Apply oil to your model’s entire body to make muscles stand out. Have your model squeeze a some oil in their hands and rub oil over their entire body so their muscles look smooth and bold. The oiled up appearance will make the model glow, especially against a dark background. The oil will also help define highlights and lowlights in the image. Avoid using too much oil. The amount will vary depending on the person's size and the type of oil, but you want the model to look realistic, not slippery. You can use baby oil or coconut oil.
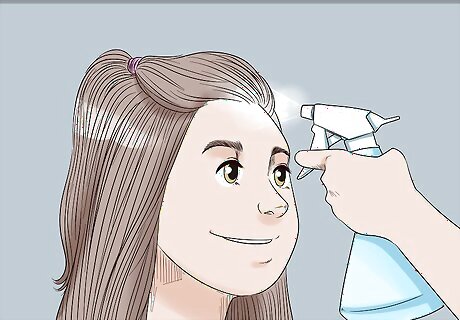
Spray a few drops of water on their hair and face. Using a spray bottle, lightly spray drops of water over the bodybuilder’s forehead, hair, and neck so it looks like they are sweating. To create an authentic image, you want the bodybuilder to look like they just finished a workout. Avoid spraying too much water so it looks like they are wet. Just a few drops will work great! A little water also helps capture highlights.
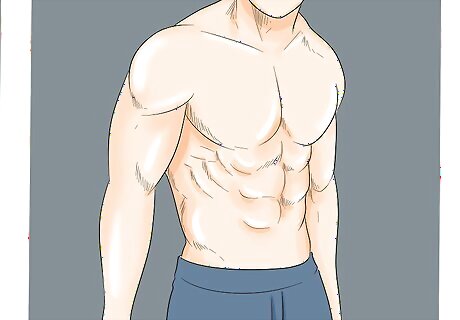
Have your model flex their muscles. Take full-body shots while the bodybuilder flexes their chest, legs, arms, and back. When photographing bodybuilders, you want to show off all their muscles in 1 image. Try out both serious and playful looks.
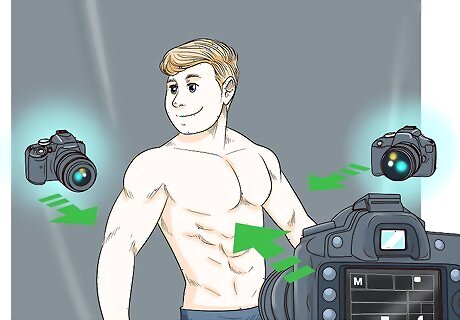
Take shots from the front, back, and sides. Snap some shots with the model facing you directly, then try having them turn around. Ask them to pause as they turn, and take some pictures from different angles. Snap a diversity of images, capturing the bodybuilder’s chest, back, and side muscles.
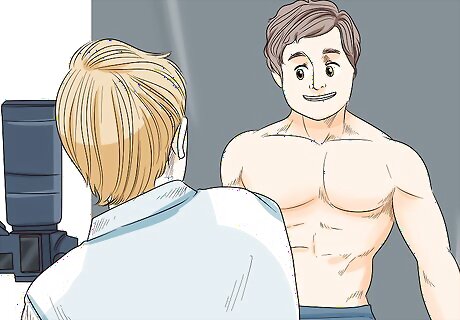
Encourage the model to be themselves in their poses. While you can steer the photo shoot and recommend poses and body placement, it is fun and productive to let the model organically pose and show off their body. Encourage them to smile and be themselves so their individual personality comes out on camera. Give your models some freedom, and you’ll get great shots. Perhaps they love their abs the most and want you to focus on abdominal shots.
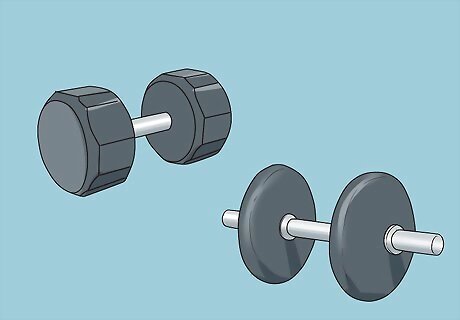
Use props in your image to add some interest. Try taking some photographs with work-out related items in addition to your full body shots. You can use small props like weights or dumbbells in your images. For example, have your bodybuilder pose with a workout machine or standing in a stretching pose with a resistance band. You can also use things like sports balls or free weights.
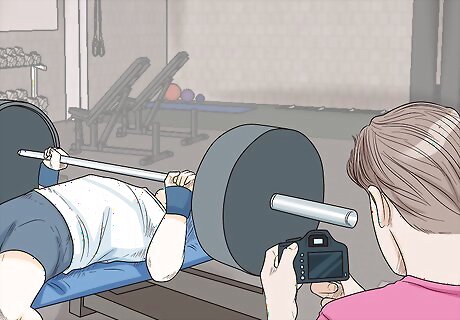
Try taking action shots to capture the bodybuilder in motion. To capture the hard work and pure strength of bodybuilding, take pictures of your models in action. When you take action shots, you should take many imagines quickly in a row, and choose the shots that are most in focus. For example, have your bodybuilder use a bench press, or take a picture of them while they run across the frame. Increase your aperture speed if your images look blurry. When photographing action shots, you can use up to 1/1000.



Comments
0 comment