views
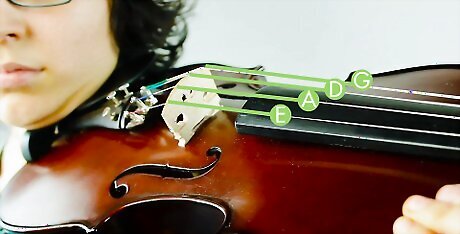
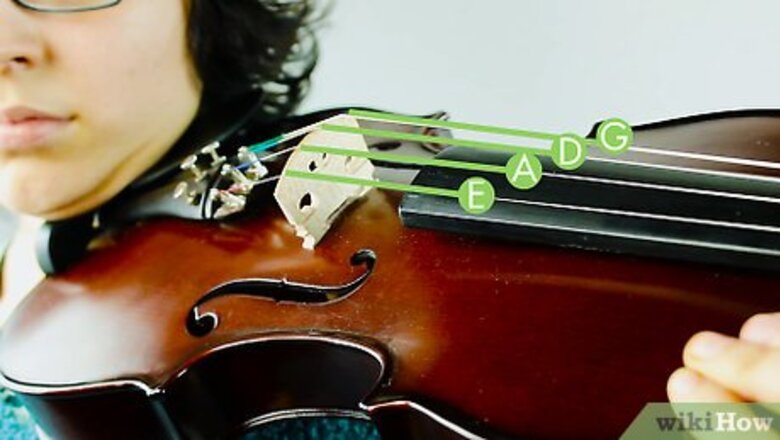
Study the violin. Pluck the strings at the fingerboard. The highest note is E. The lowest is G. The second lowest is D and the second highest is A.
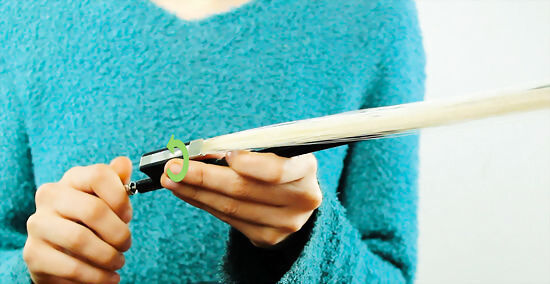
Tighten the bow by twisting the scroll located just below the frog. Put rosin on it. Make sure to scratch newly bought rosin with sandpaper, a key, or a coin so it's no longer smooth. You will need to rosin your bow about every time you practice. After practicing, make sure to wipe your violin with a clean cloth to get rid of any sticking rosin. Also, make sure not to loosen your bow as much as shown above!
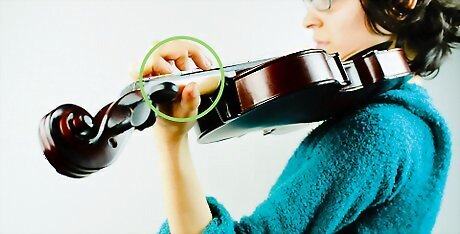
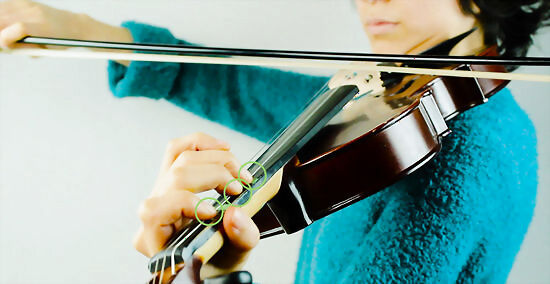
Put your left thumb and four fingers on the neck at the top of the violin. Make sure your wrist is straight, not flat. Remember, "no pancake hands! Make your wrist straight as a carrot!" Flex your fingers and touch the strings. Put the chin rest under your jaw and align the violin with your arm. Don't put the violin right on your arm, a bit beside it.
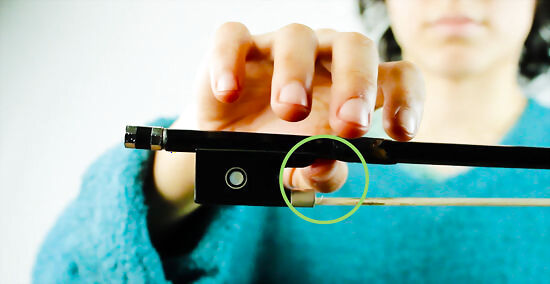
Hold the bow correctly. Put your thumb just next to the frog. Place your middle and ring finger together on the frog(the end or the ‘thick part’). Make sure they don't go all the way around the frog. Your pointing finger should rest on its side at the second knuckle about four centimeters above your middle finger. Lastly, place your pinky finger next to the scroll. Always remember that your pinky should not go around the bow; it's the only finger that stays on top. Relax your fingers. Your fingers will hold it well. You can practice first using an expo marker. It might also be beneficial to place your fingers near the balance point of the bow. To do this, lay out your middle finger (since it has the most balance) and place the bow on it. Move the bow to the right or left until it stays on your finger without falling off. Then put all of your fingers in place - your finger positioning stays the same, you are just placing your hand in a different place.
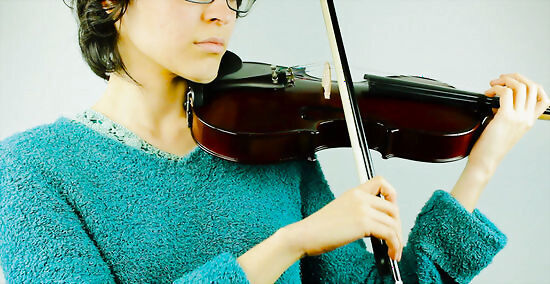
Hold the bow gently but firmly. Be sure that your bow stick is parallel to the bridge. Start with E, the string closest to your right. E is the highest string. Rest the bow on the E string and start at the bottom of the bow. Put the hair on the string and slowly pull the bow down. Flex from your elbow. Remember not to put pressure on your hand; use the weight of your arm to pull the bow.
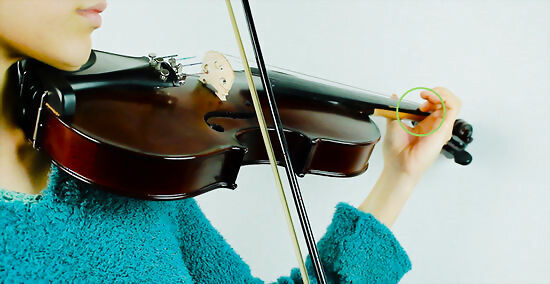
Once you have reached the tip of the bow, put your first finger down. The key is to know where to put your fingers. Put your finger right at the edge of the fingerboard. It's an F. Move it down one fingertip. That should be where you put your first finger.
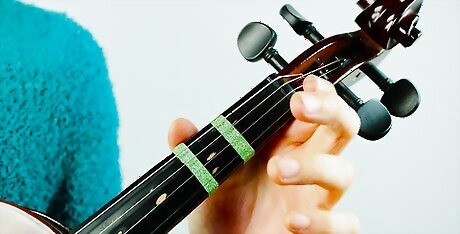
It's your decision if you want to mark the spot or not. Many violin teachers mark the spot so that you always know where to put your finger, although you will get into the habit of looking at your fingers and not relying on your ears.
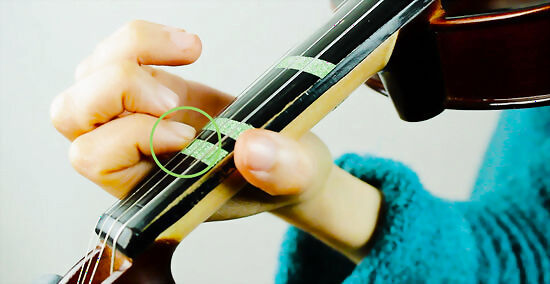
Do the same thing, but this time placing your second finger. Start right beside your first finger and move it down one finger tape. Mark this with tape as well. This note is a G. Play.
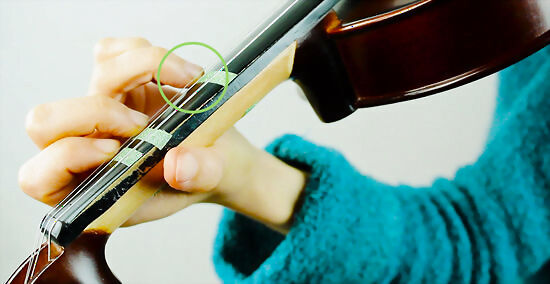
Place your third finger right beside the second finger. Move it down only half a fingertip. Mark this as well. It is an A. Play this note.
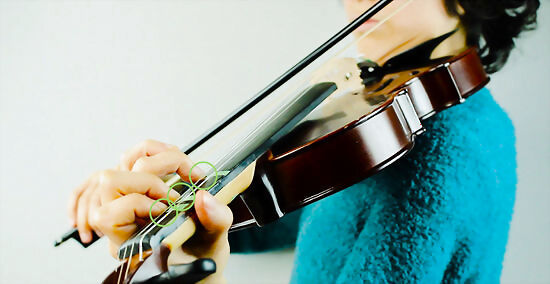
Now move to the next string on the left. It is the second highest. It is called the A string. Play this. Now. You should already have the tape marking where all the notes are. No fingers is A. First finger is B. Second finger is C. Third finger is D.
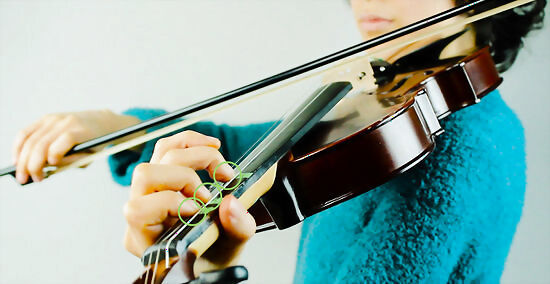
The next string is the D string. Open string: D. First finger: E. Second Finger: F sharp. Third Finger: G.
Do you see a pattern in the strings? Guess the next note. If you guessed G, then you're right. The notes on the G string in ascending order are: G, A, B and C.
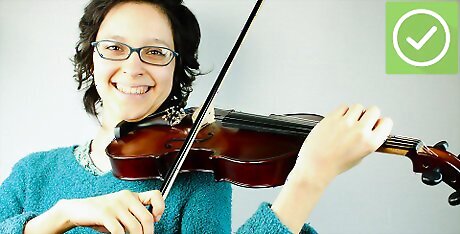
Good luck! Keep practicing and use the help of a teacher.






Comments
0 comment