views
Setting up the Worm Bin
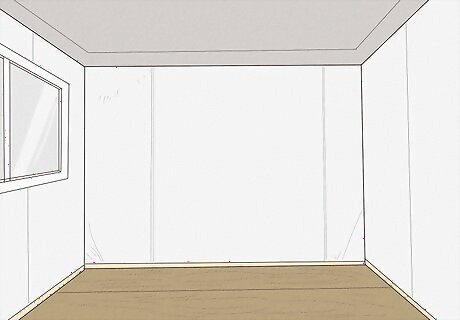
Pick a spot in your house to place the worm bin. The best spots for worm bins keep a consistent temperature and moisture level. Avoid placing it near a heater, oven, air conditioner, or vent. Although worm bins usually don't produce much smell, you may want to keep it out of the main living areas of your home. The ideal temperature for the worm bin is 55 to 75 degrees Fahrenheit, or 12.8 to 23.9 degrees Celsius. Store the worm bin in a closet, laundry room, or other storage room. If you have a large kitchen and are not worried about potential smells, keep it in the kitchen to easily throw food in it.
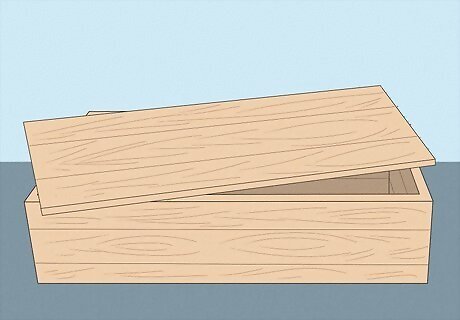
Purchase a worm bin or adapt a storage container. Worm bins are premade vermicompost containers. Many gardening or organic supply stores sell them. If you don’t buy a worm bin, buy a 20 gallon storage container from the store. Make sure it’s opaque so light won’t get in. This container holds the bedding, food scraps, and worms. It also regulates the amount of moisture in the bedding and blocks light. Make sure that whichever container you buy has a lid. Otherwise, you’ll have to improvise and cover it with black plastic, like a trash bag.
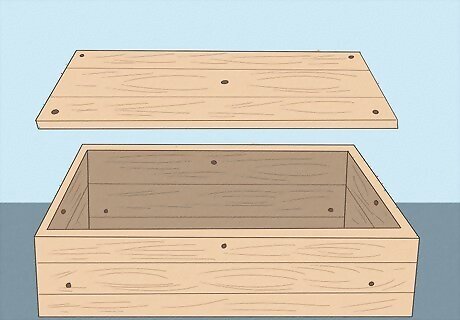
Drill holes in the bin for air flow. If you buy a premade worm bin, it may have air holes already. If you buy a storage container, use a power drill to cut ½ inch (1.27 cm) holes in the bottom, sides, and lid of the bin. Drill about 20 holes in the bin. Drill five holes each in the lid and the bottom, and at least three holes on each side of the bin. The worms won't leave through these holes because of their aversion to light, but you can cover the holes with wire screen or mesh if you want.
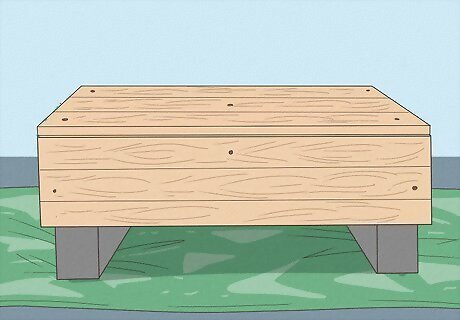
Set the bin on blocks with plastic under it. Get two cinderblocks, two chunks of 4 x 4 in. (10.16 x 10.16 cm) wood, or something else that will keep the bin off the ground. Lay out a large sheet of plastic in the part of your house where you want the worm bin. Put the blocks on the plastic and put the bin on the blocks.
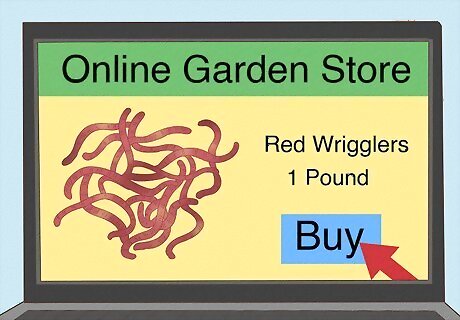
Order worms online or buy them at a garden store. The best worms to use in a vermicomposting operation are red wigglers. African earthworms and composting worms are also good options. Search online for worm sellers to have them shipped to you. Call local organic-gardening or other garden stores to see if they sell worms. If not, research online. You’ll find many companies or individuals to order worms from. Worms are generally sold by the pound, and one pound (.45 kg) tends to be around 1000 worms. 1000 worms is generally enough to start a worm bin.
Making the Worm Habitat
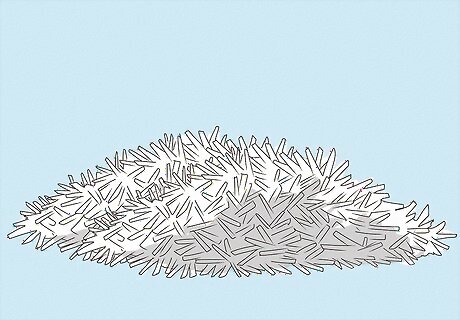
Shred up newspaper or corrugated cardboard for bedding. Worms need bedding that retains moisture well, so newspaper and cardboard are ideal. Tear the newspaper into long, 1 inch (2.5 cm) wide strips. Shred cardboard into similar sized strips. Shred enough to fill the bin about eight inches (20.3 cm) high. Paper from a phone book also works well. Don’t use glossy paper or paper with ink other than the ink used for newsprint. It may be harmful for the worms. Torn up strips of toilet paper or paper towel rolls and cardboard egg cartons work great, too. Regardless of the material you use, the strips should be 1 inch (2.5 cm) wide.
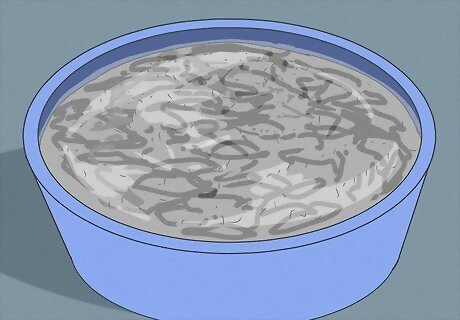
Soak the bedding with water. Your worms need moisture to live and breath, so it’s important for the bedding to be wet before you add the worms later on. Soak the bedding after you shred it or run water over it after it’s in the bin. Make sure that all of the bedding is completely wet. It may work best to shred the bedding and then soak it in water in a separate container for 15 minutes or so. It’s better for it to be slightly too wet than too dry. Don’t wet the bedding until you are ready to fully construct your worm bin. Otherwise, it may dry out and need to be wet again.
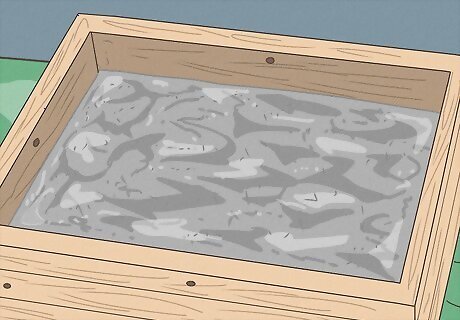
Throw the bedding into the bin. When water has soaked into the bedding, spread it evenly across the bottom of the bin. The bedding should fill at least the bottom eight inches (20 cm) or so of the bin, so that there is enough room for the worms to settle in. Fluff it up as you spread it around.
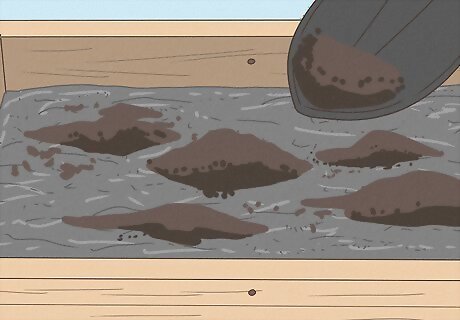
Sprinkle a scoop of dirt on top of the bedding. Since worms naturally live in the soil, they’ll feel more at home in your vermicompost bin if you add some soil. Get a shovelful of debris-free soil from outside, or purchase some regular potting soil from the garden store. Spread it as an even layer across the bedding. Soil is necessary because it adds grit to the worms diet which helps them digest the food better. If the soil is dry, be sure to soak it completely with water before adding it to the bin.
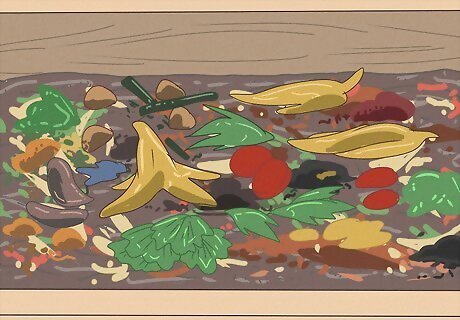
Put an even layer of food scraps on top of the soil. Save about one pound (.45 kg) of food scraps and spread it across the soil. The best food scraps to use are peels, rinds, cores, leaves, and seeds from fruits and vegetables. Crushed eggshells, tea bags, and coffee grounds also work well. It’s especially important to avoid adding meat or bones and any type of dairy product. Also avoid bread and excessive amounts of citrus. Research what is good for vermicompost before you put it in the bin. If you have something you want to add but you aren’t sure, check before you add it.
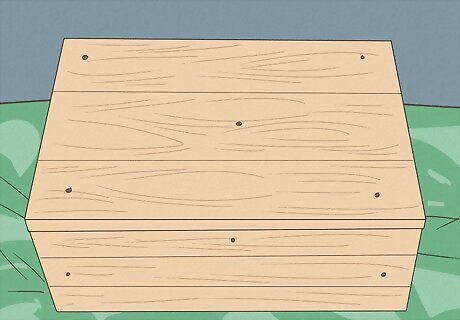
Close the lid and wait three days to two weeks. Worms typically eat food that has already broken down quite a bit. For this reason, it’s helpful to let the food decompose in the worm bin for a little bit before you add the worms. Three days is a minimum, but don’t wait longer than two weeks to add the worms. If you’re worried about the smell, set the bin outside for this initial decomposing period. Once the worms are in the bin, they help keep the smell down.
Starting to Vermicompost
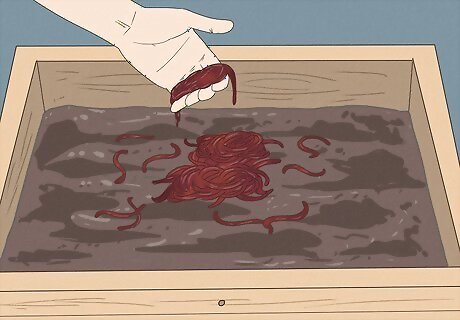
Place the worms into the bedding. Open the lid of the worm bin and spread a hole in the middle of the bedding. Pour the worms into this hole, rather than across the top. The worms will feel more at home this way, like they are partly underground. If this feels like they are too cramped, make two holes in the bedding and put about half of the worms into each hole.
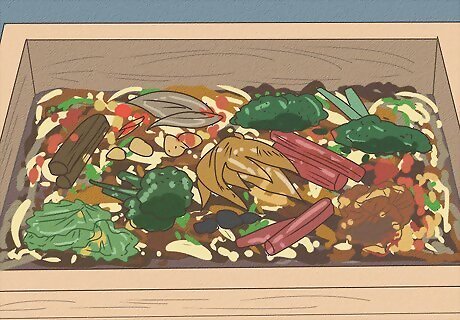
Add about ½ pound (226 g) of food per day for each 1000 worms. Vermicomposting is not always an exact science. Generally, 1000 worms can compost ½ pound (226 g) per day. If you know your family will create more waste than that, add more worms to the bin. If you produce more food on some days, save the food scraps and add them later so that it averages out to about four pounds (1.8 kg) total for the whole week. These worms reproduce in the worm bin, so you’ll eventually have more than 1000 anyway. However, the rate of reproduction is inconsistent and you can’t count the worms very easily.
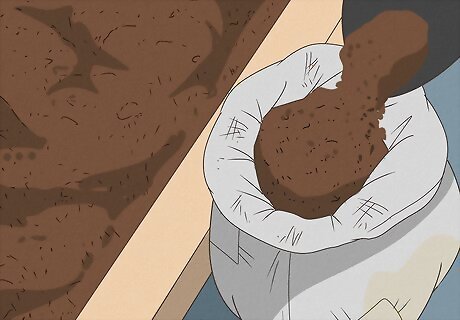
Harvest your vermicompost after about six months. Check the bin weekly to see how much bedding is left. When all of the bedding has been converted to compost, it’s harvest time. Push it all to one side, then add new wet bedding. Slowly scoop out the compost but leave the worms in the bin. Again, this is not an exact figure. You may have some compost ready after two or three months. If you want, harvest the compost a little bit at a time rather than taking it all out at once.


Comments
0 comment