
Using WinRAR for Windows
Install WinRAR on your PC. If you don't already have this free archive tool, see Use WinRAR to learn how to get it.
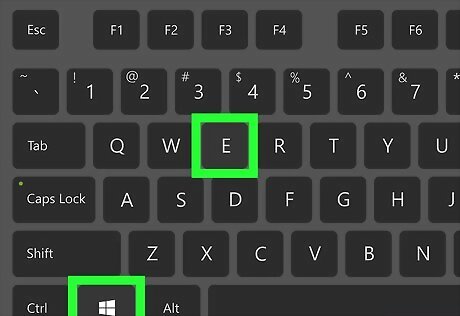
Press ⊞ Win+E. This opens the File Explorer.
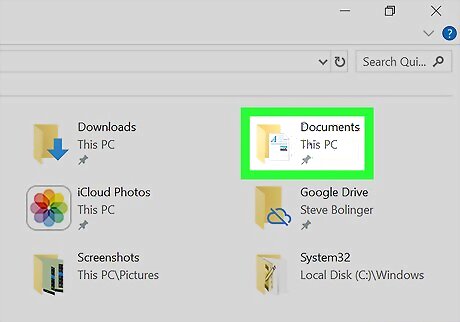
Browse to the folder with the files you want to zip.
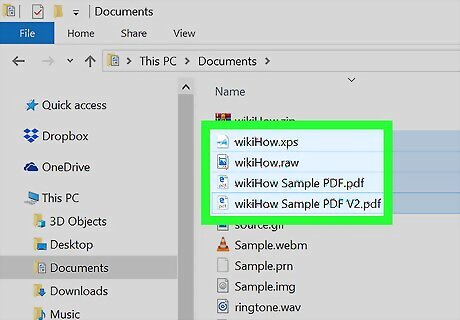
Select the file(s) and/or folder(s) you want to zip. To select more than one file and/or folder at a time, hold Ctrl as you click each file or folder name.
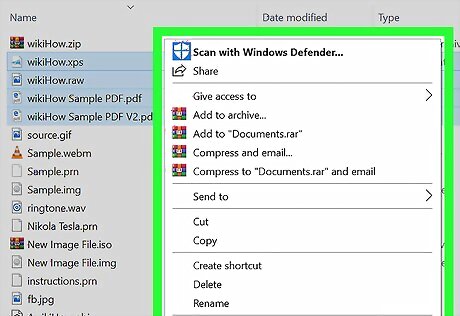
Right-click the highlighted file(s). A context menu will expand.
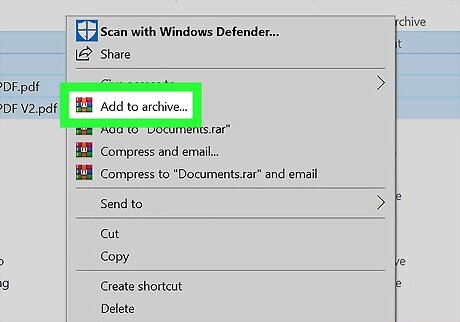
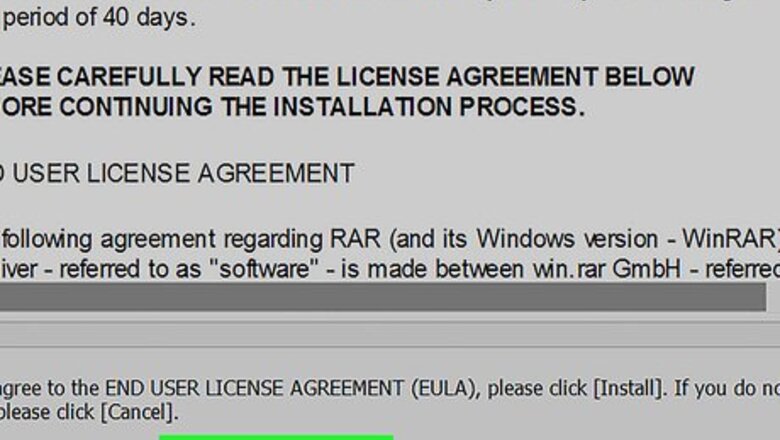
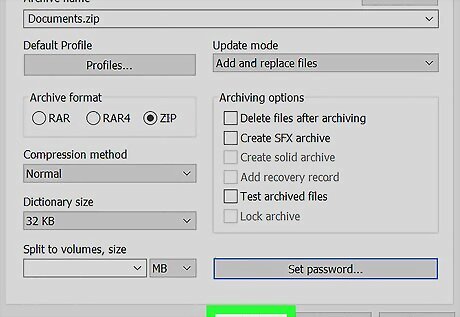
Click Add to archive…. This opens a WinRAR window called “Archive name and parameters.”
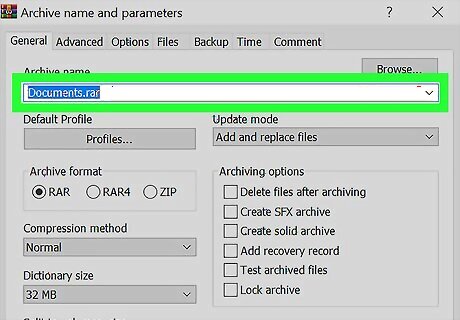
Name the file. You can type a different file name by erasing the default under "Archive name." Leave ".zip” at the end of the file name to show that it's a zip file. For example, archive.zip.
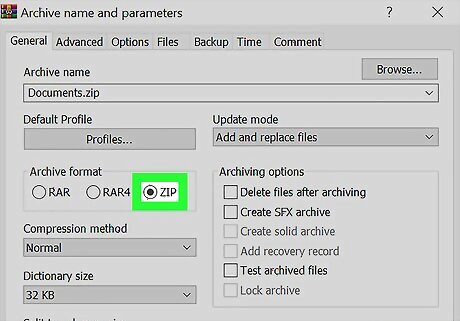
Select ZIP under “Archive format.”
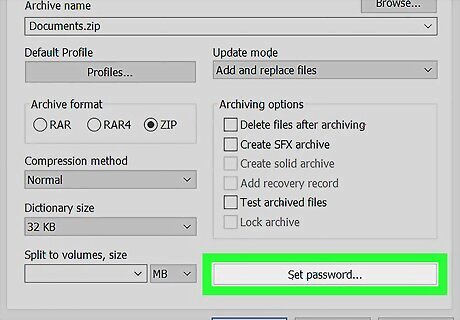
Click Set password…. It's at the bottom-right corner of the window. A password entry window will appear.
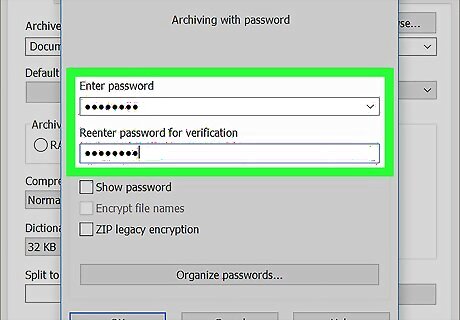
Enter and confirm a password. You must type the password exactly the same into both blanks.
Click OK. It's at the bottom-left corner of the password window.
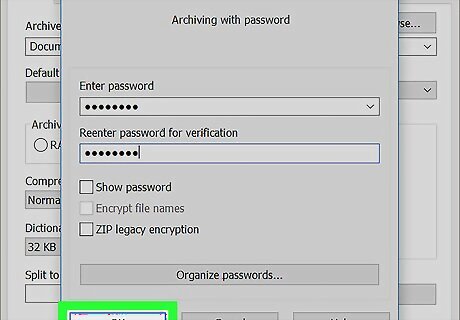
Click OK. It's at the bottom-center part of the archive window. This creates the zip file and protects it with the password you entered.
Using Zip for macOS
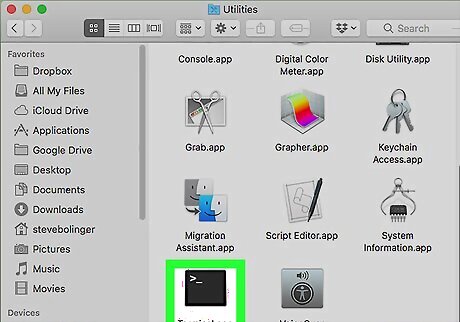
Open a Terminal window on your Mac. You'll find Terminal in the Applications folder in a sub-folder called Utilities.
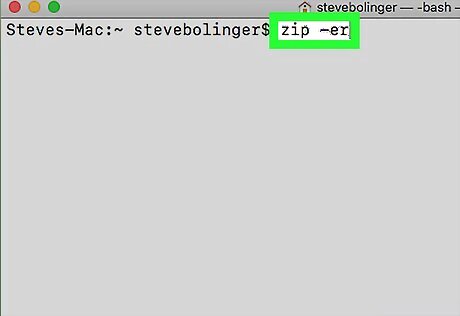
Type zip -er at the command line and press ⏎ Return. This tells your Mac to create an encrypted zip file.
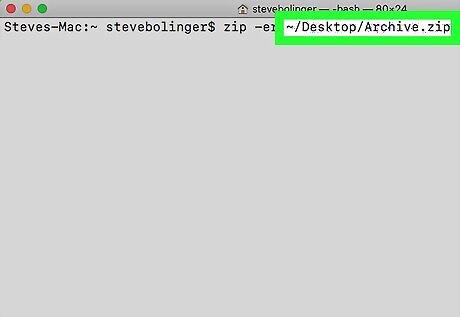
Type the name and location of the zip file you want to create, followed by a space. Make sure to end the new file name with “.zip” to show it's a zip file. For example, if you want to create a zip file called Archive.zip on your desktop, type ~Desktop/Archive.zip and then type a space.
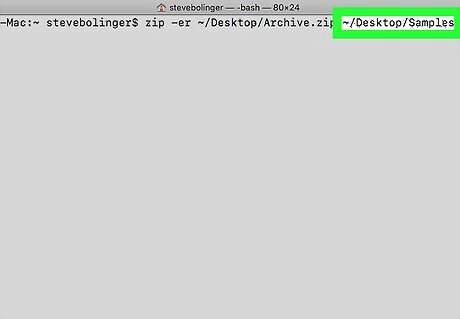
Type the name of the folder you want to zip and press ⏎ Return. Type this right after the space after the path to the new zip file. You'll then be prompted to enter a password. For example, if you want to zip a folder on your desktop called Samples, type ~Desktop/Samples after the space and press ⏎ Return. The entire command would look like this ~Desktop/Archive.zip ~Desktop/Samples.
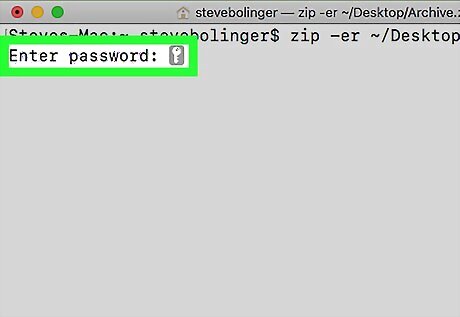
Type a password and press ⏎ Return. This is the password you'll need to enter when unzipping the archive. A confirmation message will appear.
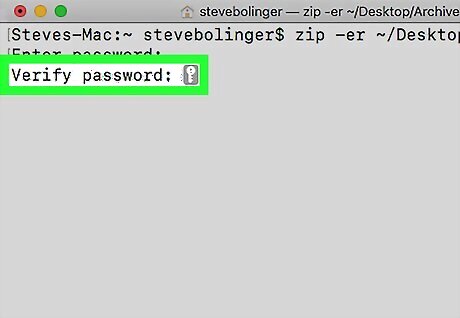
Re-enter the password and press ⏎ Return. This compresses the folder and files into a password-protected zip file.


Comments
0 comment