views
Selecting the Proper Anchor
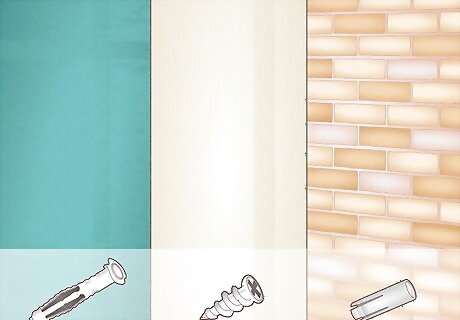
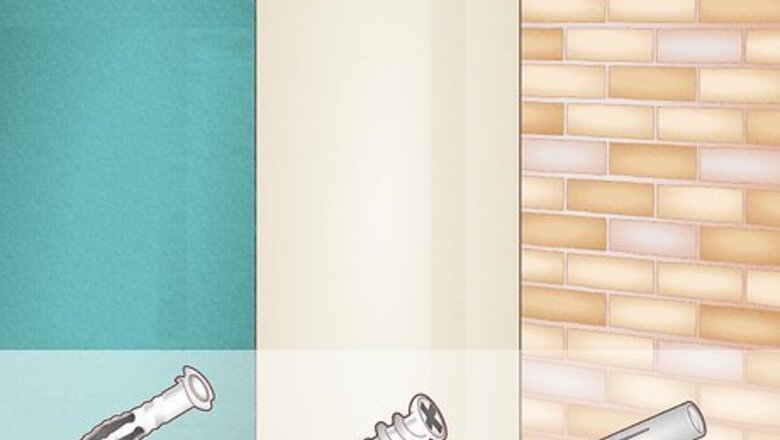
Determine what type of wall you will be installing the anchor on. What is it made out of? Different types of walls will require different types of anchors and may require a different installation process. Plaster walls begin as wooden frames that have been constructed from narrow strips of wood cut from a lathe. These frames are then coated with several layers of plaster until the desired density is achieved. Plaster wall was the standard during the early 1900s. Drywall is made from a plaster sheet that has been sandwiched between paper. Drywall became popular in the United States and Canada during the late 1950s as a lighter-weight replacement to plaster wall. Brick and mortar, and concrete walls are also common.
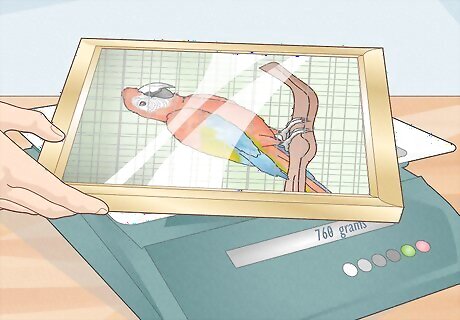
Weigh the object. This is the second most important factor to consider when selecting the proper type of wall anchor. Cabinets, because of the way that they hang, put more stress on an anchor. It is therefore not recommended to hang a cabinet with an anchor. Depending on the size of the cabinet, you may find a smaller piece that will work with an anchor.
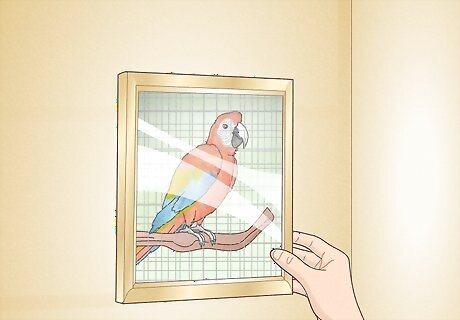
Plan where you want to hang your picture frame or mirror. The angle that you will be installing the anchor and the weight of the object being hung will affect which type of anchor you should use. The amount of stress on an anchor affects how much it can support.
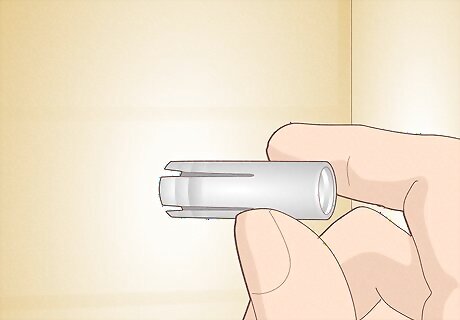
Select the proper anchor screw. This can only be done if you know ahead of time what type of material the anchor will be screwed into, the approximate weight of the object being hung, and angle of the anchor (as in the case of a ceiling). Plaster wall: anything under 20-pounds can be hung with a plastic expansion anchor. Use a molly bolt for anything weighing more than 20-pounds. Drywall: use a threaded anchor screw for anything weighing less than 20-pounds. Anything weighing more should be anchored with a molly bolt. Hanging anything more than a few pounds--such as a smoke detector--is not recommended on drywall ceilings. Concrete or brick and mortar walls require expansion anchors. Be sure never to install any anchors in-between seams of concrete or brick. Anchors should only be installed in the brick or stone itself, ever in the grout. The amount of weight that the anchor can hold will be determined by the strength and condition of the wall itself (e.g., old brick and mortar walls that are in poor condition tend to be brittle and can crumble; this directly impacts how much weight an anchor can support).
Installing an Expansion Anchor
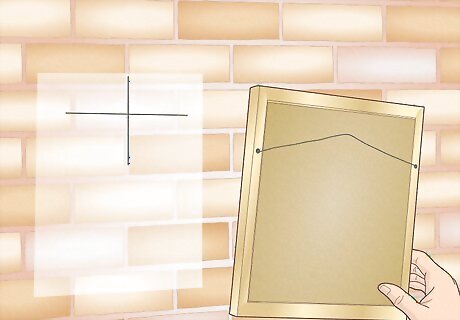
Determine exactly where you want your picture frame or mirror to hang. If your picture frame or mirror has a wire-hanger in the back, be sure to take into account the amount of slack when figuring-out where you want the picture or mirror to hang.
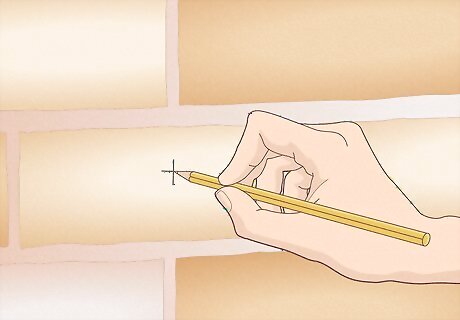
Make a small pencil mark where the center of the screw will go. If the picture frame or mirror has multiple hooks on the back, be sure to measure the distance between them. Use a level to measure the spot for your second anchor. Make another small pencil mark where the second anchor will be installed. You can also apply a bit of grease or lipstick on the hooks of the item you will hang. Place the item where you want it on the wall and gently press it against the wall. The grease or lipstick will leave a mark to show you where to install your anchors.
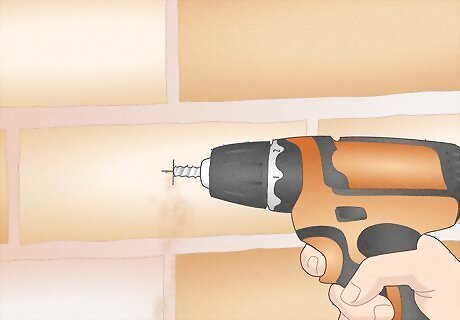
Drill a hole in the spot(s) you marked. Be sure that you hold the drill perpendicular to the wall so that the anchor will sit parallel to the ground: an anchor that is not installed straight will not be able to support as much weight. You should drill a hole that is approximately the same size as the anchor itself (the screw will force it to expand outward). Make sure the hole you drill is deeper than the anchor is long.
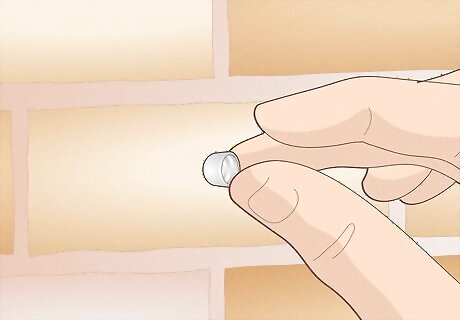
Slide the expansion anchor into the hole. If the hole is too small, the anchor will collapse onto itself and may not install properly. Push it in until the anchor sits flush against the wall. Do not bang on the screw because it could bend or break. If needed, tap the anchor with a rubber mallet lightly to get it to sit flush against the surface of the wall.
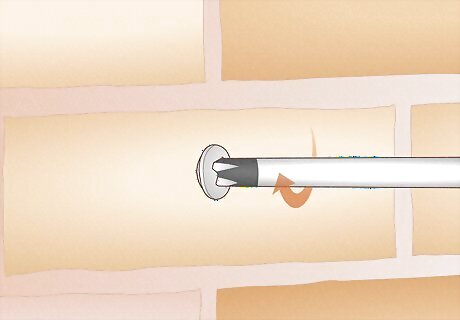
Screw the support screw into the anchor. Line up the screw and the anchor and, using either a philips or flat head screwdriver, turn the screw clockwise just until the base of the screw comes to rest against the base of the anchor. If the object you are hanging has a mounting bracket, you may need to slide the screw through the bracket before screwing it into the anchor.
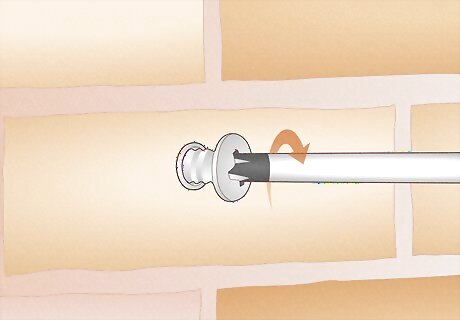
Back the screw out slightly by turning it counter-clockwise. Be sure to leave just-enough of the screw exposed to "catch" the hanger on the back of picture frame or mirror. A good rule of thumb is to leave about a 1/4" of screw exposed for hanging.
Installing a Threaded Anchor Screw
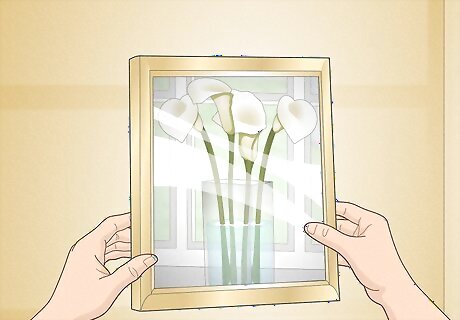
Determine exactly where you want your picture frame or mirror to hang. If your picture frame or mirror has a wire-hanger in the back, be sure to take into account the amount of slack when figuring-out where you want the picture or mirror to hang. Threaded anchor screws are mostly used in drywall.
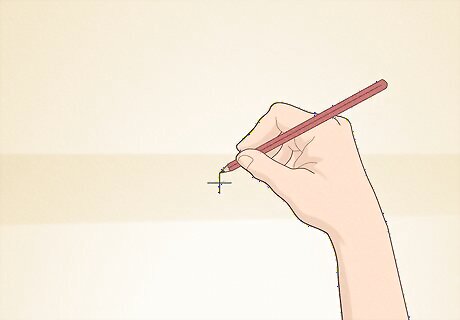
Make a small pencil mark where the center of the screw will go. If the picture frame or mirror has multiple hooks on the back, be sure to measure the distance between them. Make another small pencil mark where the second-anchor will be installed (in-line with the previous mark, spaced the same distance as the hooks on the picture farm or mirror).
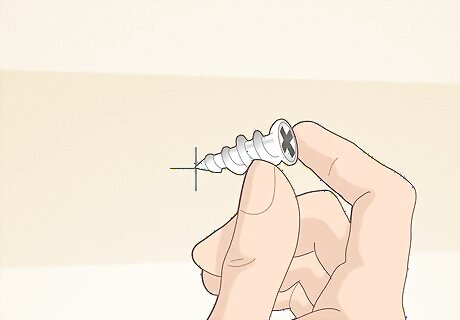
Place the tip of the threaded anchor on the spot you marked. Because these anchors are self-threaded you do not need to pre-drill any holes. Although this is not absolutely necessary, you can use a nail to make a tiny indention on your mark. This indentations will hold the tip of the anchor as you begin screwing it into the wall.
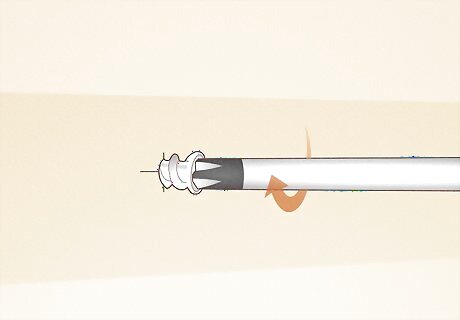
Screw the anchor in using a screwdriver. You will have to use a drill to install the anchor. Be sure to hold the screwdriver or drill perpendicular to the wall to ensure that the anchor is installed perfectly straight. Clockwise is "in." Make sure you are applying enough pressure to allow the threads to catch. Otherwise, the tip of the anchor will keep spinning in place. Screw the anchor in until it rests flush against the wall.
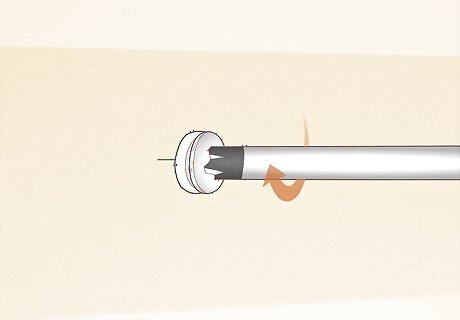
Screw the support screw into the anchor. Line up the screw and the anchor and, using either a philips or flat head screwdriver, turn the screw clockwise just until the base of the screw comes to rest against the base of the anchor. If the object you are hanging has a mounting bracket, you may need to slide the screw through the bracket before screwing it into the anchor.
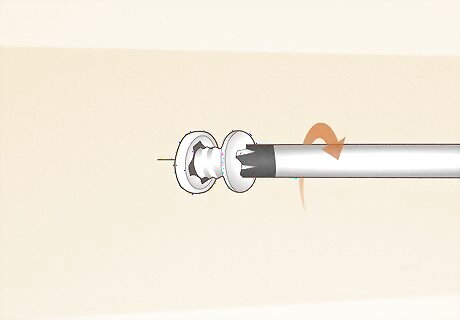
Back the screw out slightly by turning it counter-clockwise. Be sure to leave just-enough of the screw exposed to "catch" the hanger on the back of picture frame or mirror.
Installing a Molly Bolt
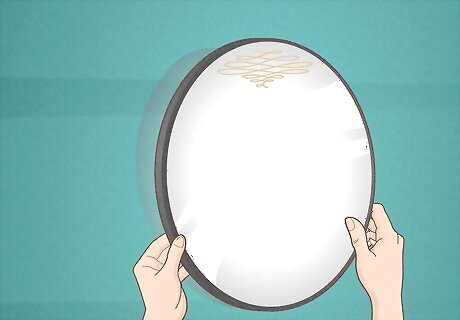
Determine exactly where you want your picture frame or mirror to hang. If your picture frame or mirror has a wire-hanger in the back, be sure to take into account the amount of slack when figuring-out where you want the picture or mirror to hang.
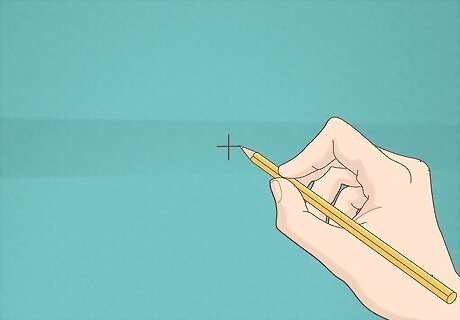
Make a small pencil mark where the center of the screw will go. If the picture frame or mirror has multiple hooks on the back, be sure to measure the distance between them. Make another small pencil mark where the second-anchor will be installed (in-line with the previous mark, spaced the same distance as the hooks on the picture farm or mirror).
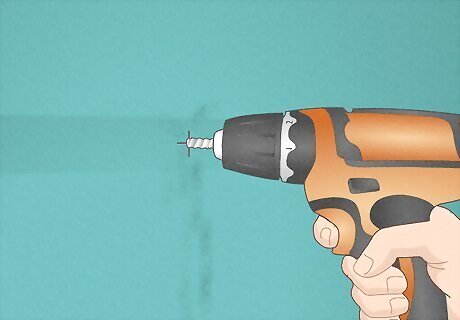
Drill a hole in the spot(s) you marked. The hole should be slightly larger than the molly bolt. You can measure it by folding the wings and measuring its width. As the molly bolt is screwed in its wings will compress and create tension, filling any gap. Be sure that you hold the drill perpendicular to the wall so that the anchor is installed perfectly straight. All wall anchors should be installed parallel to the ground. Make sure you hole you drill is deeper than the anchor is long.
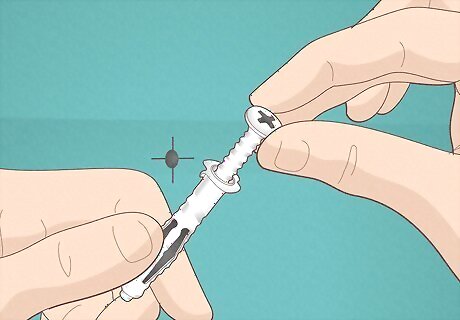
Insert the screw into the bolt. Unlike the other two types of anchors, which require the anchor and the support screw to be installed separately, the molly bolt and screw are installed at the same time. Prepare the molly bolt by screwing the support screw into the winged-bolt.
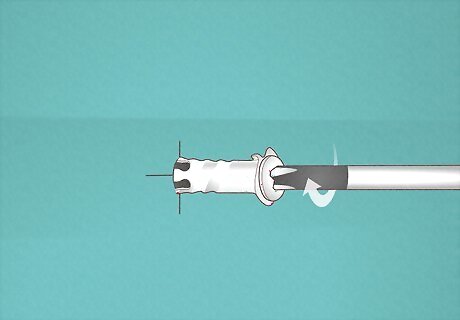
Screw the bolt in using a screwdriver. Be sure to hold the screwdriver perpendicular to the wall as you are turning it clockwise. This will help ensure that the anchor is installed perfectly straight. Since the hole you drilled earlier is larger than the molly bolt, you should not have to use a drill. Don't over tighten, the molly bolt will flare as you screw it into the wall. Just make sure that it is snug.







Comments
0 comment