
views
Testing a Urine Sample

Collect a urine sample to be tested. Find the specimen cup included with the kit. If you’re testing someone else, ask them to fill the cup with urine to the line indicated on the side of the cup. If there is no line that indicates how much urine needs to be in the cup, fill the cup about halfway. Check the temperature strip on the collection cup to confirm that the sample falls within 90–100 °F (32–38 °C). If the urine sample appears completely clear, it could be diluted with water. Ask the subject to provide another sample.

Insert the dip card or strip into the urine if the test uses one. Use the dipstick or card included in the kit to test the urine. Place the dip card into the urine up to the indicated line. If the kit you have has a panel attached to the inside of the cup, you don’t need to do anything except collect a sample. Make sure the panel is saturated with urine.
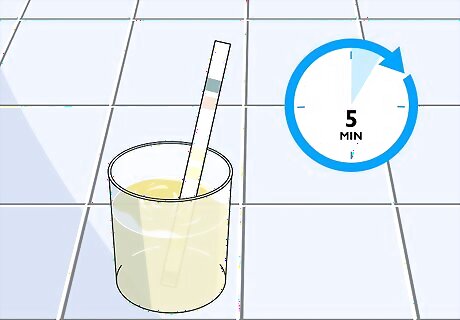
Wait 5 minutes before you read the results. Once the dip card is in the urine in the collection cup, allow the testing chemicals to react with the urine to identify any drugs that may be present in the sample. Five minutes is enough time to allow the testing process to be completed. Don’t wait more than 10 minutes after a sample is collected or the results could be inaccurate.Tip: Set a timer on your phone or a clock for 5 minutes so you know when the test is ready.
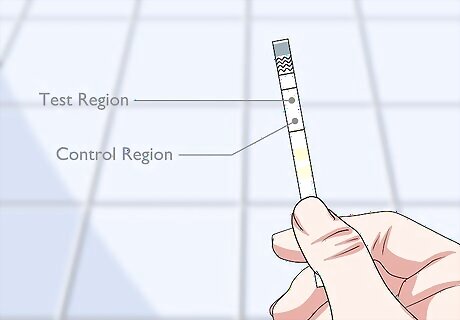
Find the control and test regions on the panel. The control region is designed to always react to a urine sample to show that the test is functional. In addition to 1 control region, there will also be a test region that is specific to the drug being tested. If you’re using a multi-panel test, there will be multiple test regions that each correspond to a different drug. Oftentimes, the control region is marked with a “C.” If there’s a single test region, it may be marked with a “T.” Most employment drug tests in the US are a 5-panel test, meaning they test for the 5 drugs that are required by federal employment laws. For example, a panel could have a control region at the top and regions labeled “Marijuana” or “Cocaine.”
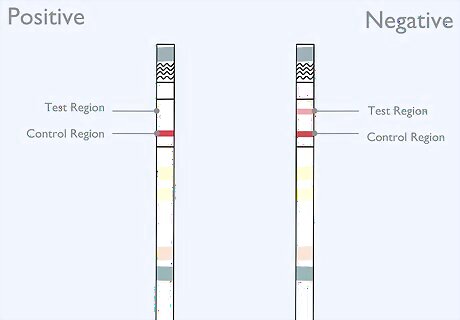
Note that the test is positive if there is no line in the test region. The control region will always have a solid line appear. Check for a colored line next to the test regions. A colored line next to both the control region and the test region indicates that the test is negative for that drug. If there is a line in the control region but no line in the test region, then the result is a positive for that drug. The color of the lines may vary depending on the testing kit that you have. The intensity of the color line is irrelevant. A faint or fading line doesn’t mean that the sample contains a small amount of the drug.
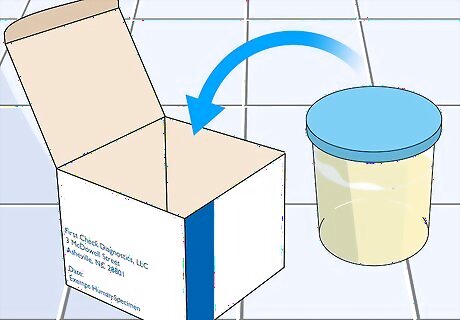
Mail a positive test to the lab for further testing. If the panel does indicate a positive result, the only way to be completely sure that it’s accurate is to have further analysis in a lab. The packaging on the test includes a mailing address for you to send the panel to in order for the sample to be tested in a lab to confirm the presence of a particular drug. False positives do occur, so mail-in a test to be sure that a drug is present in the urine that you tested.
Interpreting a Lab Test
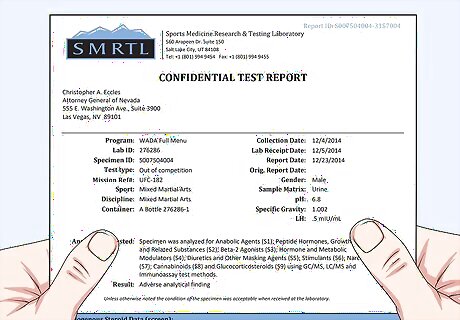
Match the results with the subject’s name and identification number. When you get your lab results, check to make sure that the results are for the person that was tested. Check the name and identification number listed on the results to be sure that they are correctly linked. If the results are for the wrong person, contact the lab immediately to inform them of the error. Don’t read results that are for a different person or you could violate someone’s medical privacy.
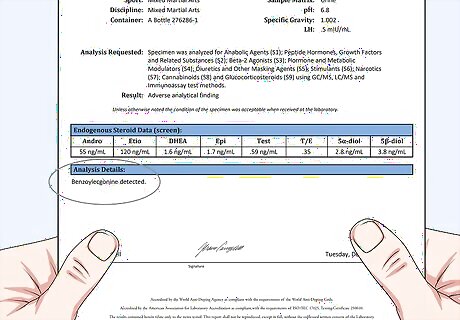
Look for a positive or negative result for each drug. The report will include a list of substances with a positive or negative result next to them. Look through the list of substances and identify which tested positive. That means that the subject has taken that drug. A 5-panel drug test will include the results for the 5 drugs that were tested. A 10-panel test will include a list of the 10 drugs tested and whether or not they were detected in the sample.Tip: The report may have a plus sign (+) to indicate positive and a negative sign (-) to indicate negative.
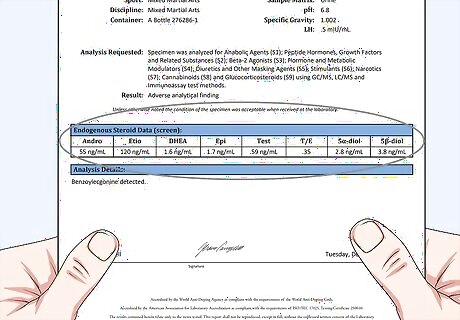
Read the interpretation if there is one. The lab report may include notes that explain the test results. If the sample tested positive for a specific drug, the notes may say in clear language that the sample contains traces of the drug. The interpretation could also say that the sample was clear of any of the drugs that were tested.
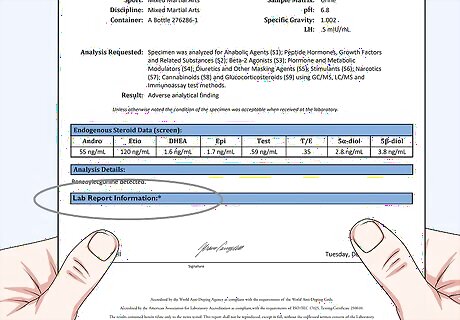
Check for any notes or abnormal test results. If the lab detected something abnormal when they tested the sample, they’ll mention it in the lab notes. They could indicate that they believe the sample was tampered with or that the results are inconclusive. The lab report may draw attention to abnormal results with an asterisk (*). If you suspect that the results were tampered with or if the lab notes that the results are inconclusive, administer the test again to be sure that the person tested positive for a drug.








Comments
0 comment