
Using Voice Recorder & Audio Editor
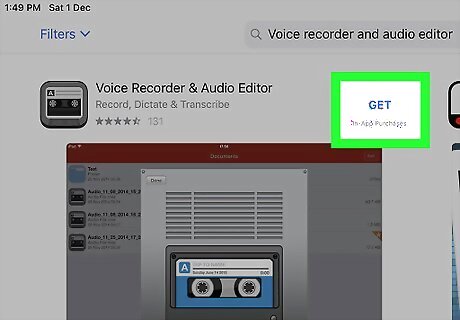
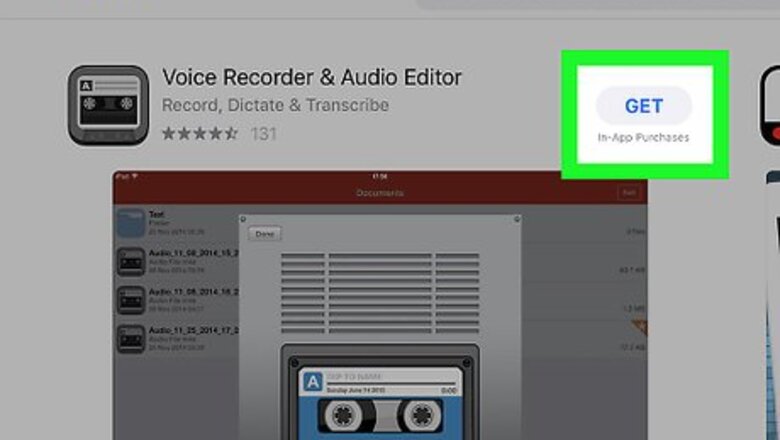
Download the Voice Recorder & Audio Editor app. This app will allow you to record and store spoken audio for free. To download it, do the following: Open your iPad's iPhone App Store Icon App Store. Tap the "Search" text box in the upper-right corner. Type in voice recorder & audio editor, then tap Search. Tap GET to the right of the grey cassette app icon. Enter your Apple ID password, Touch ID, or Face ID when prompted.
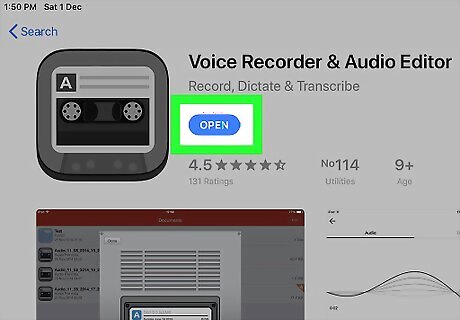
Open Voice Recorder & Audio Editor. Tap OPEN in your iPad's App Store, or tap the cassette-shaped app icon on one of your iPad's Home Screen pages.
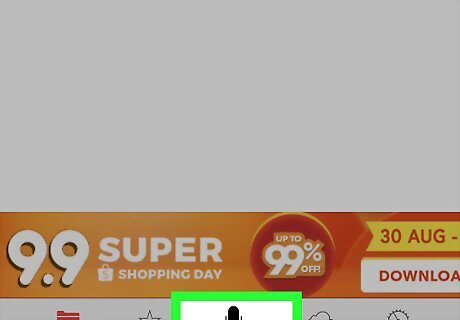
Tap the "Record" tab. It's a black microphone-shaped icon at the bottom of the screen.
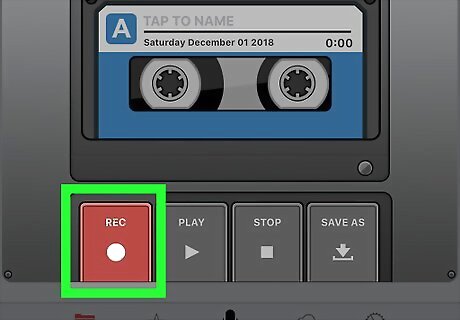
Tap REC. This red button is in the lower-left side of the screen.

Tap OK when prompted. Doing so allows Voice Recorder & Audio Editor to access your iPad's microphone. At this point, your iPad will begin recording. Voice Recorder & Audio Editor will remember your answer to this question, so you won't have to do this for future recordings; tapping the REC button will just start recording.

Record your audio. Speak clearly, making sure to aim your voice (and the voices of any participants) toward the iPad's microphone near the top of the iPad's housing. You can pause and then resume the recording by tapping the red PAUSE button and then tapping the red REC button.
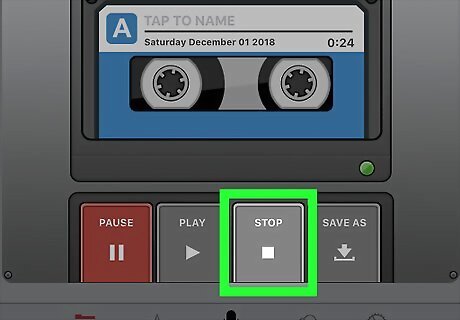
Stop the recording. Tap STOP at the bottom of the screen to do so.
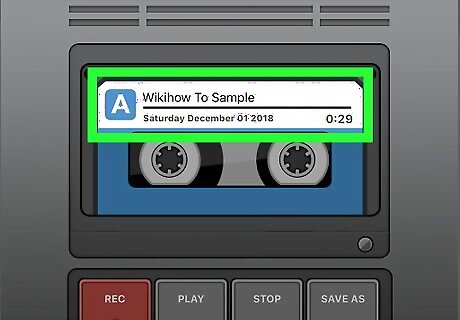
Add a title. If you want to save the audio under a specific title, do the following: Tap the "TAP TO NAME" text box in the middle of the screen. Type in a title. Tap return on the keyboard to save the title.
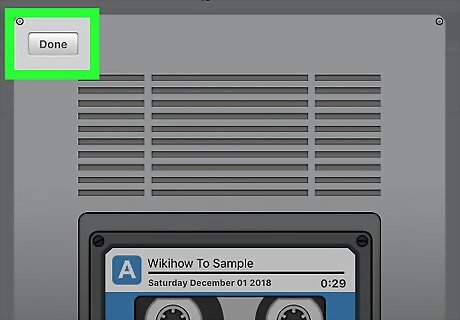
Tap Done. It's a grey button in the upper-left side of the screen. Doing so saves your recording and takes you back to the main page. You can play the recording by tapping its name on this page.
Using GarageBand
Open GarageBand. Tap the GarageBand app icon, which resembles a white electric guitar on an orange background. If you don't have GarageBand installed on your iPad, you can download it for free from the App Store.
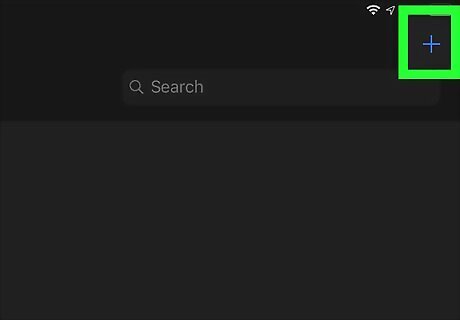
Tap +. This is in the top-left corner of the screen. Doing so opens the instrument selection page. If GarageBand loads to a project, first tap the My Songs button in the top-left corner of the screen to go back to the "Recents" page.

Select AUDIO RECORDER. Swipe left or right until you find this microphone-shaped option, then tap it once to select it.
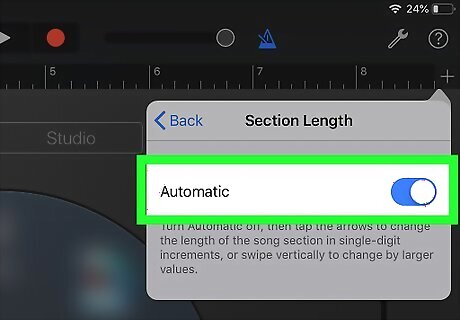
Make sure your recording doesn't stop automatically. You can disable the automatic cut-off limit by doing the following: Tap + in the top-right corner of the screen. Tap Section A. Tap the white "Automatic" switch iPhone Switch Off Icon to turn the switch green iPhone Switch On Icon. Tap Done.
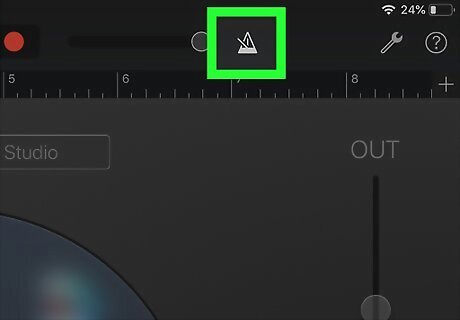
Turn off the metronome. If you don't want the metronome sound effect in the background of your recording, tap the blue triangular metronome icon at the top of the screen to turn it off. If this icon is grey, the metronome is already turned off.
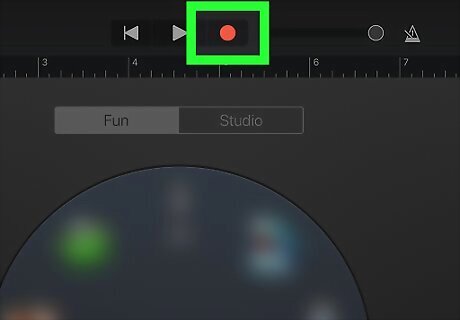
Tap the "Record" button. It's a red circle at the top of the screen. Your iPad will begin recording audio.
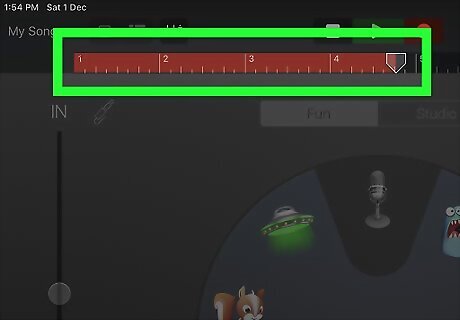
Record your audio. Speak clearly, making sure to aim your voice (and the voices of any participants) toward the iPad's microphone near the top of the iPad's housing. If you need to pause and resume the recording, tap the red "Record" circle once while recording to pause, then tap it again to turn back on the recording.
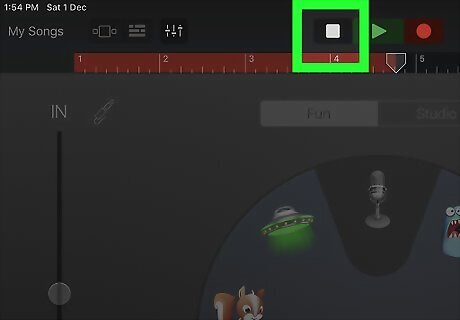
Stop the recording. Tap the white, square "Stop" button at the top of the screen to do so. This will save your recorded track.
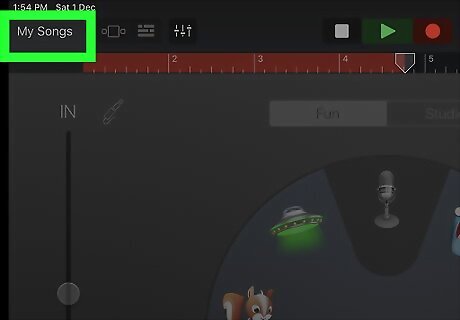
Save your recording. Tap Android 7 Dropdown in the top-left corner of the screen, then tap My Songs in the resulting drop-down menu. This will save your recording as a file on the "My Songs" page of GarageBand.


Comments
0 comment