views
Asking the Recipient for Backup Messages
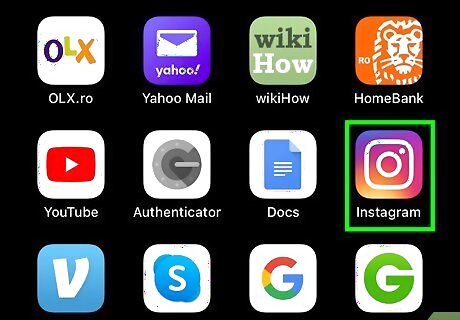
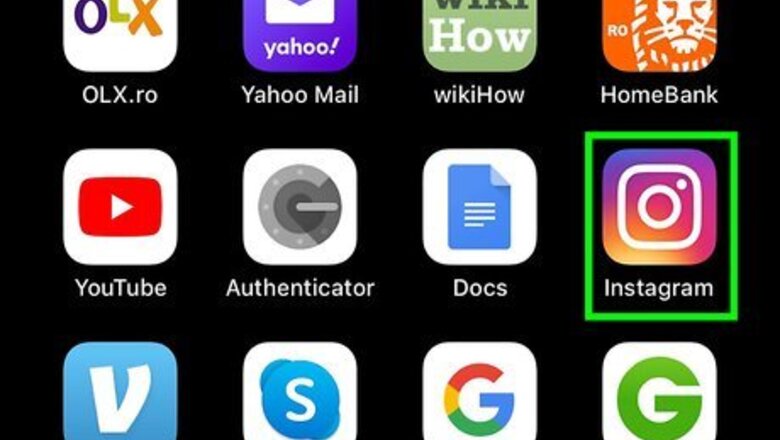
Open the Instagram app. This has a gradient purple-orange icon with a camera in it that can be accessed from your apps folder. If you aren’t already logged in, make sure to do so by entering your Instagram username and password into the login menu.

Tap the paper plane icon and select New Message. This will create a new message which you can then send to the recipient of your choice.
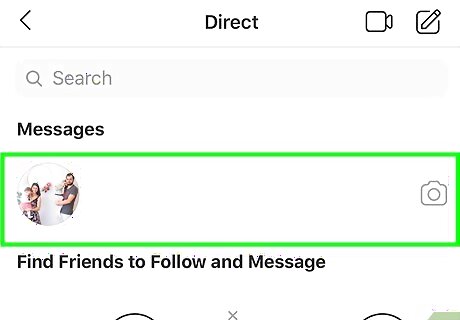
Select the person you want to contact. Make sure you have the right user selected for contacting about sending backups of your messages.
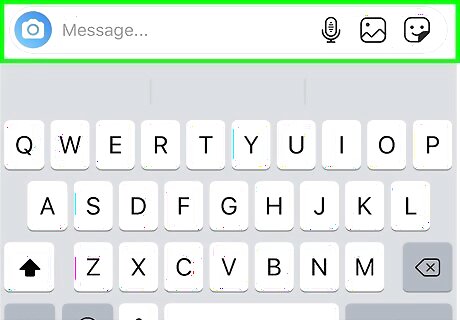
Send that person a message asking for message backups. Once you have the message and contact set up, write a brief message explaining that you would like copies of any messages you sent them for backup.
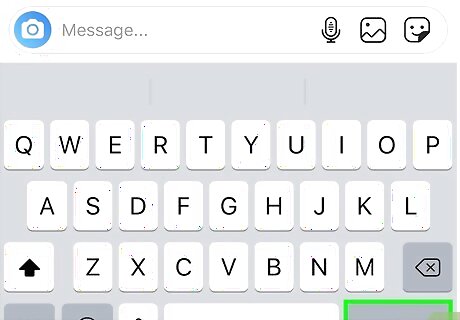
Await their response. Once you’ve sent your message, there’s a 50/50 chance of getting the kind of reply you’re looking for. If they have any of your messages saved, they should send a screencap or some other copy of your messages. If you don’t hear any reply back, or if the recipient doesn’t have any copies of your messages, read ahead in “Using an iCloud Backup” and “Using PhoneRescue for iOS” for other methods of recovering Instagram messages.
Using an iCloud Backup
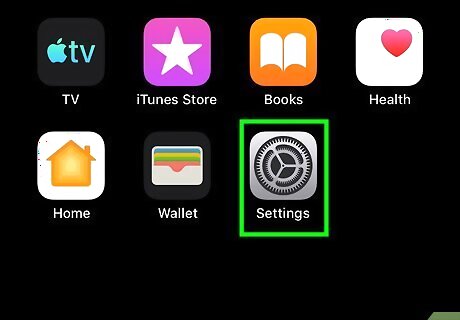
Open the Settings iPhone Settings App Icon app. This usually has a gear-shaped icon and can be accessed from your home screen. Make sure to store your messages in an iCloud folder, either by taking a screenshot of the messages and saving the photos to a folder on your phone that you can set to backup by going into the iCloud option in the Settings menu and selecting Back Up Now or by setting iCloud to regularly backup automatically.
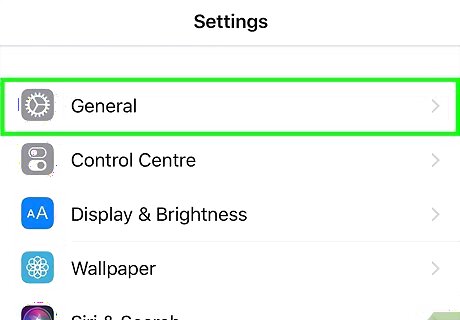
Scroll down and tap General in the menu. This pulls up a new page with more options.
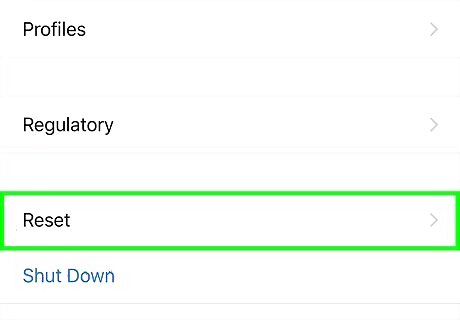
Start a system reset of your iPhone. In order to pull up any system backups for your iPhone, you need to reset it first. Tap Reset in the General menu. Select Erase All Content and Settings. Type in your iPhone’s passcode. Tap Erase iPhone twice. Let your iPhone reset.
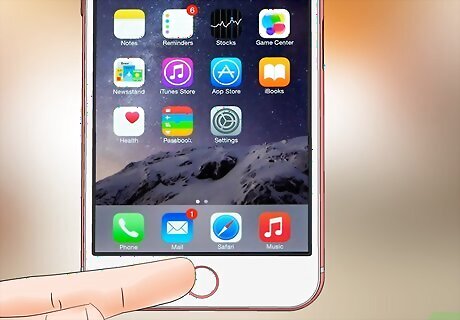
Press the Home button. This is the white circular button at the bottom-center of the front of your iPhone.
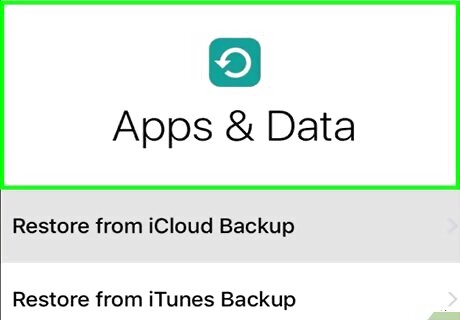
Complete the initial setup process. Once you do this, you should see an option for recovering previous settings.
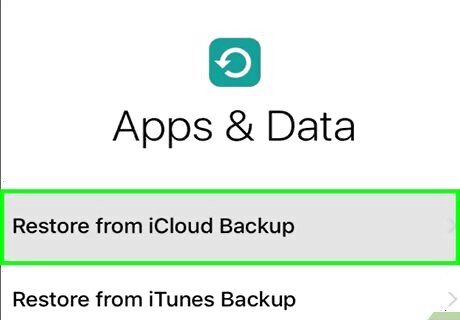
Tap Restore from iCloud Backup. This will let you select a backup file from your iCloud account as the restore point for your iPhone.
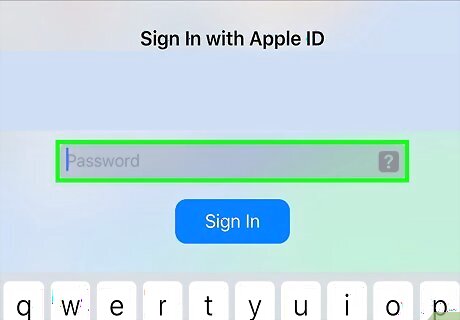
Type in your Apple ID and password. In order to proceed with restoring your messages from iCloud, you’ll need to confirm your identity with your ID and password.
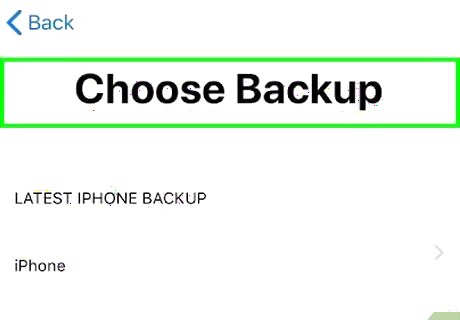
Tap Choose Backup. This will pull up a list of different backup files in iCloud listed by date.
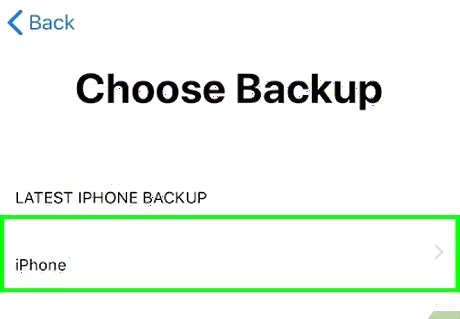
Select the date when your messages were saved as your backup. In order to pull up the messages you want to retrieve, you’ll have to pick a backup date when your Instagram messages were still saved on your iPhone.
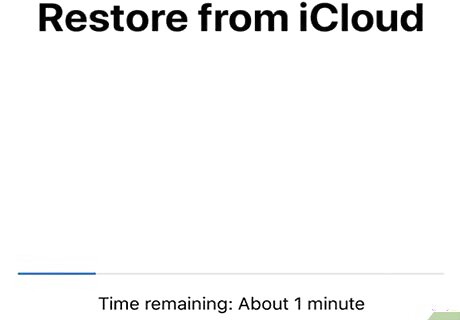
Wait for your iPhone to finish restoring. Once you’ve selected the backup date, your iPhone will then start restoring all files and content from the backup date you’ve chosen. In some cases, you may need to repeat the reset process more than once in order to select the most recent backup file for your iOS device in iCloud. If you can’t find your Instagram messages in any of the backup files in your iCloud, then you may need to use iPhone data recovery software like what’s described in “Using PhoneRescue for iOS”
Using PhoneRescue for iOS

Open your computer’s Web browser and navigate to imobie.com. This is the website for PhoneRescue for iOS, which is designed to recover data from most iPhone or iPad models. PhoneRescue isn’t the only data recovery program of its kind, but it is one of the most reliable programs with a free download available. There are other programs like it, which you can review before deciding to install.

Click Free Download. This is the light-blue button at the top-center of the product page for PhoneRescue and clicking it will download the program onto your computer.
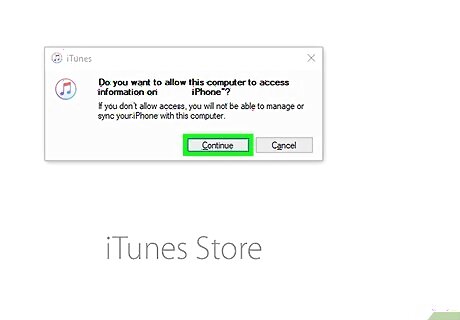
Connect your iPhone to your computer via USB. Once you have PhoneRescue installed on your computer, you’ll need to connect your iPhone to your computer so that it can be scanned by PhoneRescue.

Open PhoneRescue for iOS. You can double-click on the program’s icon on the desktop screen to pull up its menu.
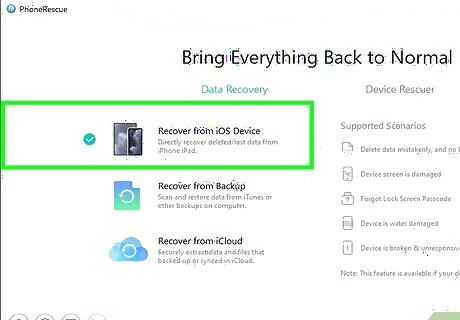
Select Recover from iOS Device. Usually, PhoneRescue detects your iOS device automatically once you plug it in, so just make sure it’s set to run the recovery for iOS devices specifically.
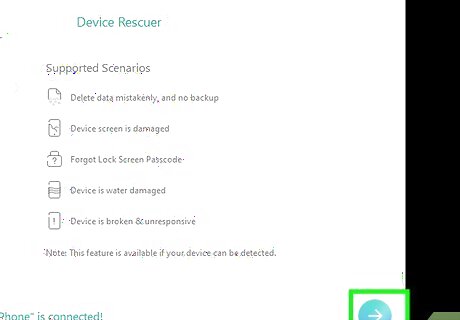
Tap the Next (→) button. This will direct you to a new page where you can select the type of data you want to recover.
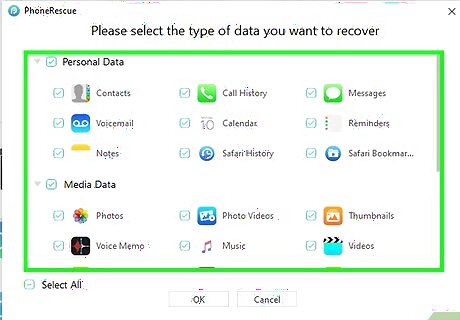
Select the data you want to recover. Since you’d want to recover messages, you can select Messages as the data you want PhoneRescue to recover.
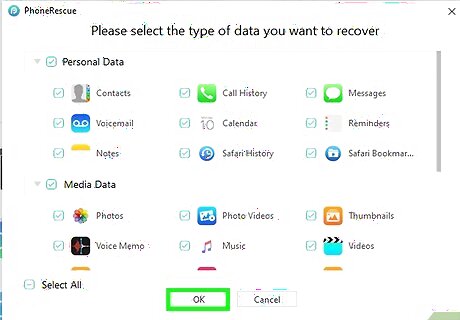
Click OK. This will start the scanning process, which could take a few minutes if your device has a lot of data on it.
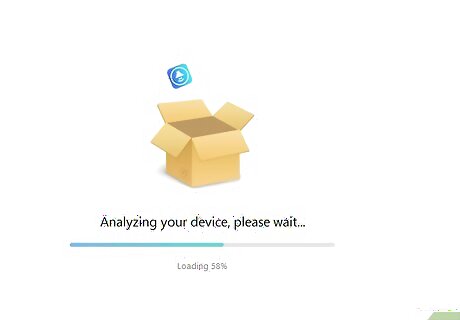
Search for the deleted messages you want to recover. Once the scan process is complete, you’ll see a list of all files in that category detected by PhoneRescue. You can display deleted items only by clicking the arrow under the List all items tab in the top-left corner of the scanning menu and selecting Only list deleted in the drop-down menu.
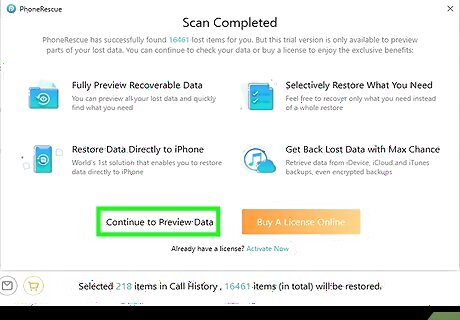
Select the messages you want to recover. Once you’ve filtered the displays to show the files you want, click on the blue box next to any messages you want to recover to select them.
Click the Recover to Device button. This has a vertical rectangle with an arrow in it and is found in the bottom-right corner of the scanning menu. Once you click it, the messages will then be restored to your iOS device. You can unplug your iPhone or iPad from your computer once all your messages have been restored.




Comments
0 comment