views
Measuring the Salinity
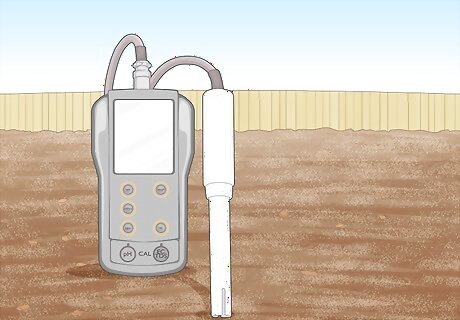
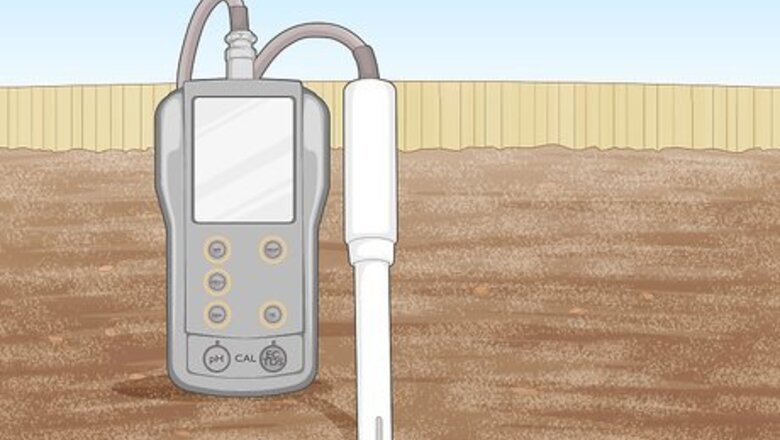
Get an electrical conductivity (EC) meter designed for testing salinity in soil. An EC meter is a small device with a screen and 1-2 metal probes. Since salt is highly conductive, you can get a sense for how much salt is in the soil based on how quickly an electrical current passes through it. This is the best way to get a solid sense of whether your soil is highly saline or not.Warning: Do not purchase an EC meter that is designed for testing water. These meters do not have probes for soil, and they tend to give inaccurate readings when used to assess salinity in anything other than water. Since it’s a specialized tool, you’ll need to buy your EC meter online. Expect to spend $75-300 on an EC meter. These meters work by sending an electrical signal through the probe and measuring how long it takes the current to travel. The faster the current travels, the more salt there is in the soil. There are other ways to measure salinity in soil, but this is the easiest way to do it without laboratory equipment or multiple instruments.
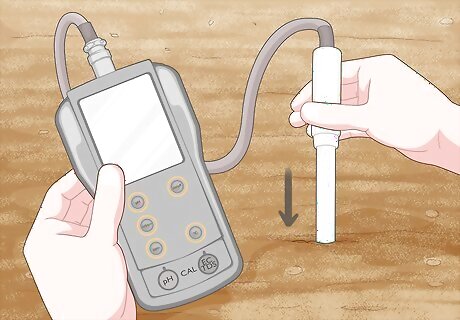
Turn the meter on and stick the probes into the soil you’re testing. Press the power button to turn the EC meter on. Then, take the metal probe and stick it 2–3 inches (5.1–7.6 cm) into the soil. If there are 2 probes, stick both of them in the soil 6–12 inches (15–30 cm) away from one another. Hold the probes in steady and wait for the meter to send and read an electrical current. Some EC meters have a temperature setting to determine how hot or cold soil and water is. If the screen reads “F” or “C,” your EC meter is in temperature mode. To change it, press the button that says “Conductivity” or “EC” to switch the meter over to read conductivity.
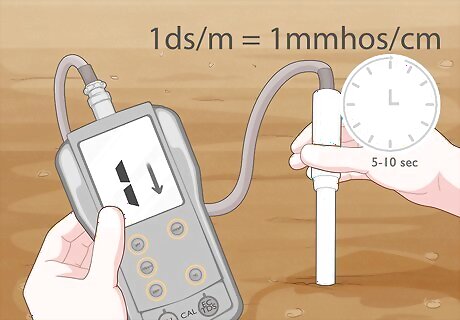
Use the reading to figure out the salinity. The numbers on the screen will jump up and down as the probes continue to send and receive readings. After 5-10 seconds, simply take the highest number as your reading. You technically aren’t getting a reading for salinity when you do this. You need to convert your decisiemens to millimhos to determine the salt in the soil. Luckily, this is really easy, since 1 decisiemen per meter equals 1 millimho per centimeter (mmhos/cm).
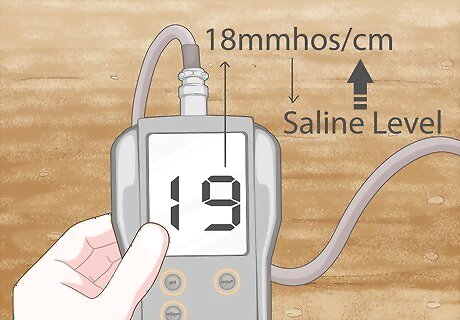
Plan to amend the soil if the saline level is 18 mmhos/cm or higher. Generally speaking, more than 18 millimhos per cm is considered highly saline. If you have 9-18 mmhos/cm, your soil is slightly saline. Readings between 4.5-9 mmhos/cm is considered low. Any reading lower than 4.5 is technically considered non-saline, since the amount of salt in the soil doesn’t exceed natural ranges. Soil naturally has salt in it, so don’t worry if you register a reading higher than 18 mmhos/cm. Really sensitive vegetation may struggle in soil that’s 9-18 mmhos/cm, but most plants should be okay.
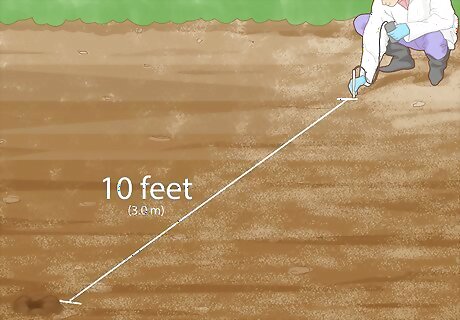
Perform this test in other areas to find the salinity of a larger area. If you’re trying to get a sense for the salinity levels in a larger area of soil, repeat this test in another area at least 10 feet (3.0 m) from your original testing location. Do this test as many times as you’d like to get a sense for the overall amount of salt in an area. Generally, you should notice a distinct difference between soil that is highly saline and soil that is lowly or moderately saline. Highly saline soil will be much drier, and less colorful than healthy soil.
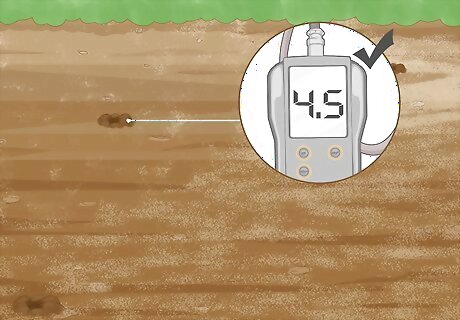
Test a healthy patch of soil nearby to set a baseline for a healthy salt level. Different soils require diverse levels of salt. If there is a flourishing section of land nearby, repeat the test there to figure out how drastically you need to reduce the salt. Use this reading to set a goal for the highly saline soil you’re treating. Dense clay in a desert climate will naturally have more salt than loose loam in a humid climate. This doesn’t mean that clay is less healthy for vegetation than loam, just that different environments and soils handle salt better than others.
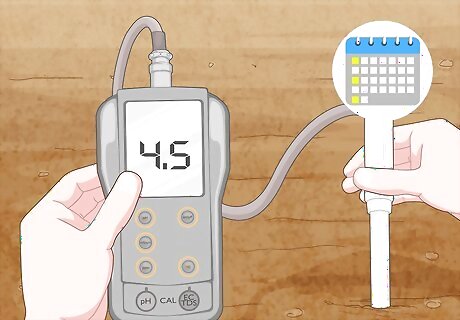
Repeat this entire process to check the saline after taking next steps. Whether you decide to wash the salt out, plant salt-consuming plants, or let the soil restore itself over time, you must use the EC meter to reassess the state of your soil. Retest the soil every 2-3 weeks after you’ve treated it to determine whether your treatment is having a positive impact in the soil. This test shouldn’t take you more than 5-10 minutes, so it shouldn’t be hard to fit this into your schedule. Set a reminder on your phone or jot a note in your calendar to retest regularly. Every time you retest the soil, write the number down to track how the salt levels are changing over time.
Washing the Salts Out
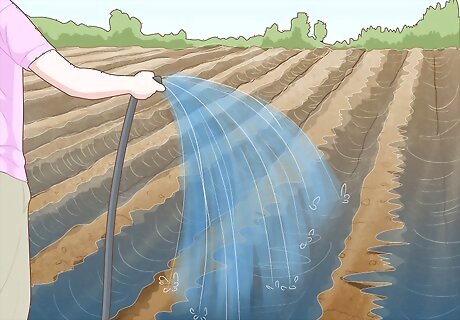
Pour water over the soil if it’s irrigated or has built-in drainage. You can either use a ruler to make a hash mark 6–12 inches (15–30 cm) in a bucket to measure the water out, or spray your soil liberally with a hose to do this by eye. Pour roughly 6 inches (15 cm) of water to the entire surface to reduce the salinity by 50%. To reduce the salinity by 80%, use roughly 12 inches (30 cm) of water. If you’re using a bucket, refill it to the hash mark and pour it slowly over an area that matches the size of your bucket. Refill it and keep working in sections until you cover the entire surface of the soil. Using more than 12 inches (30 cm) of water will have diminishing effects—it’s impossible to remove all of the salt at once, and even if you could, it’d be bad for your soil. A little bit of salt is natural and healthy. The water will soak the soil thoroughly and flush the salt out.
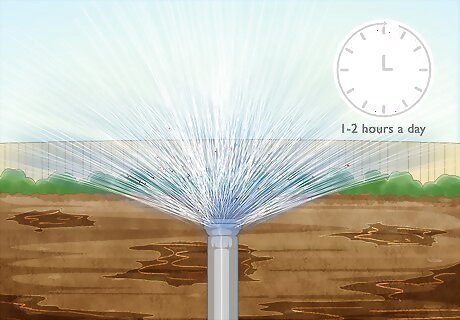
Use sprinklers to leach the salts over time if the soil doesn’t drain well. You can try leaching the soil over the course of a few weeks or months if your soil isn’t irrigated, well-drained, or resting on a slope. To do this, set sprinklers out and turn them on for 1-2 hours a day. If the water isn’t soaked all the way into the soil the next day, stop for a week and let the soil drain naturally. This process can take anywhere from 1 week to 2 months depending on how difficult it is for the water to drain, how much salt is in the soil, and the amount of water that you use.
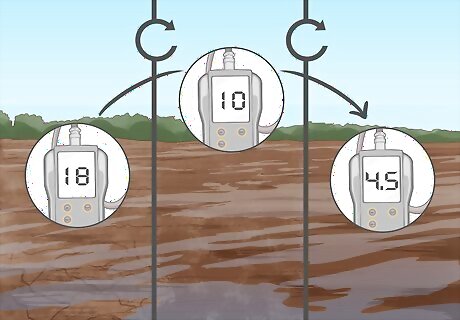
Monitor the salinity of the soil regularly while leaching and drying it. The more readings you take with your EC meter, the easier it will be to see if the leaching process is working. Take a reading with your EC meter daily. Test the same location to figure out if the salt is dissipating or not. You can test the soil while it’s still wet. You’ll still get an accurate reading. Avoid excessive leaching. Simply monitor the salinity over the course of a few weeks before taking next steps. If you keep washing the soil in water, you’ll end up stripping the phosphate, nitrogen, and magnesium, all of which are important for the health of the soil.
Reducing Salt Levels over Time
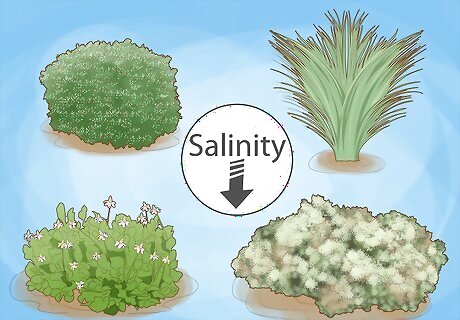
Use plants that extract salt to reduce salinity naturally in warmer climates. Plant willow shrubs, saltbushes, switchgrass, or yerba mansa in the soil if you live in a warmer area. These plants all remove the salt from the soil and thrive in highly saline conditions. You can use a handful of plants to slowly remove salt from a smaller area, or plant a large number of these plants over a larger area to reduce salt levels quickly.Tip: This practice is known as phytoextraction. Unfortunately, most of these plants will struggle to thrive in cooler climates. The good news is that highly saline soil is more likely to naturally restore itself over time if you live in a more temperate area. This can take anywhere from 1-2 weeks, or 1-2 years to restore the soil. If you recently leached the soil, plant some yerba mansa. This plant really loves being planted in wet soil and is more likely to thrive than other plants.
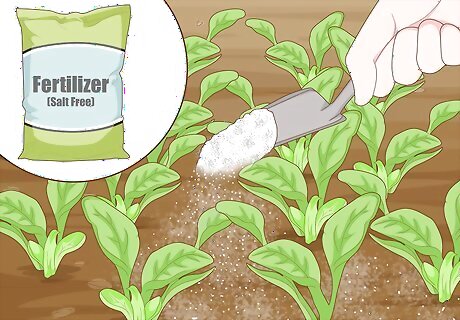
Use salt-free fertilizers to grow crops and plants and prevent salinization. If you rely on fertilizers to cultivate and grow your plants and crops, use a nitrogen-rich fertilizer with a 0% salt content. Many commercial fertilizers have trace amounts of salt in them. Even in small amounts, adding more salt can seriously stilt the process of desalinization.
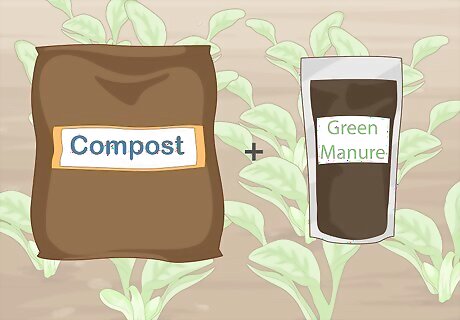
Switch to organic compost and green manure to keep salt from building up. If you’re using synthetic materials to cultivate your plants or crops, switching to natural compost and green manure will prevent salt from accumulating in the soil. Create your own compost bin or pile to replace store-bought varieties. Swap out manures made of synthetics or animal waste and replace it with green manure. To create a compost pile or bin, create alternating layers of green and brown organic materials. For the green layers, use trimmed leaves, grass clippings, and vegetable scraps. For the brown layers, use newspaper, coffee grounds, bark, and spent soil. Let the materials break down naturally over 3-4 months before using them. To use green manure, cut or uproot healthy plants work them into the topsoil you want to cultivate. Let the plants break down naturally over time. These plants will basically release their nutrients and minerals into the soil, allowing your rooted plants to thrive.
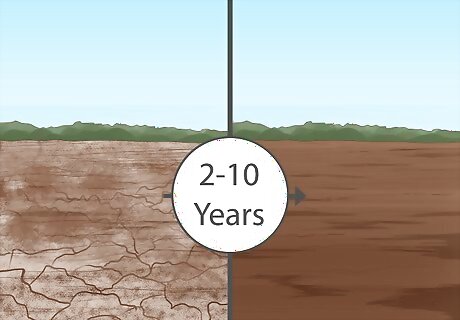
Wait for the soil to restore itself naturally over 2-10 years. Unless your area experiences frequent droughts, the rain will naturally leach the soils out of the soil over time. Unfortunately, this can take quite a long time. In some cases, it may take a few months. In other cases, it will take up to a decade. It really depends on the salinity of the soil, the temperature, and the weather where you live. If you aren’t actively growing anything in the soil and you don’t have any pipes, cables, or buildings near the soil, you don’t actually need to actively reduce the salt levels. The more temperate your climate is, the more likely the soil is to restore itself over time.





Comments
0 comment