
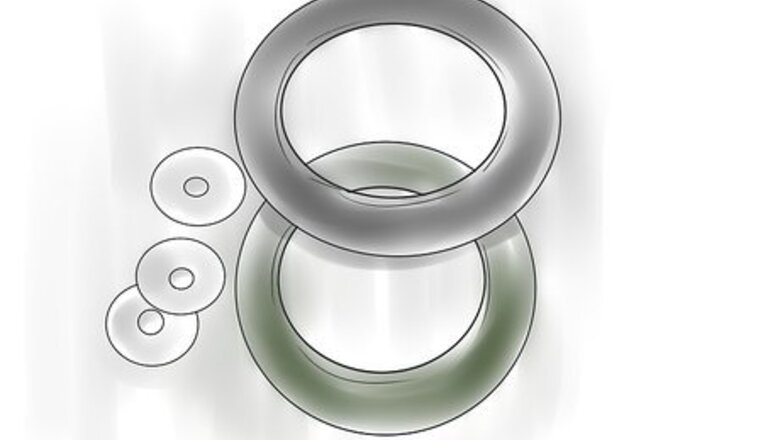
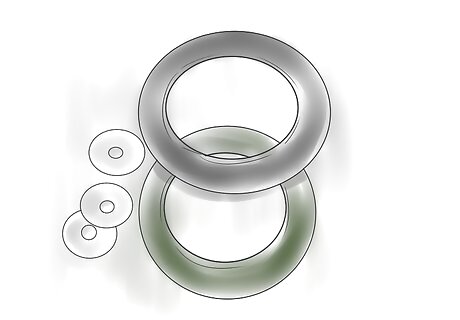
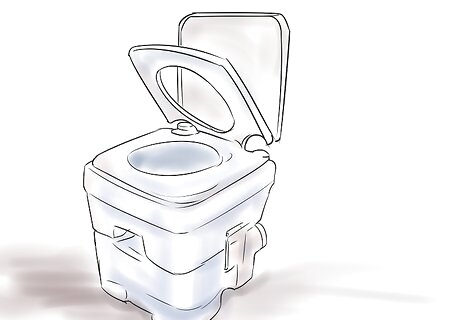
Purchase a new RV toilet seal, making sure to get one for your RV make and model.
Park the RV on a level surface.
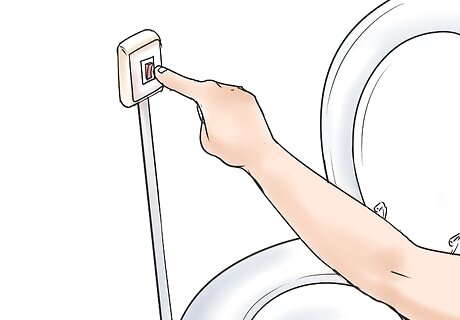
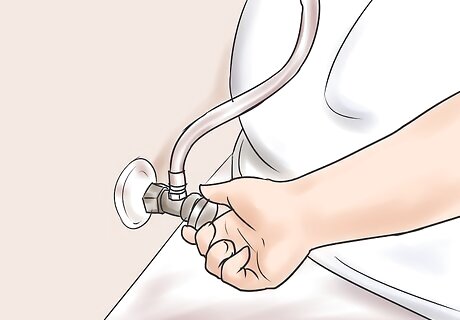
Turn off the water pump and disconnect any lines to outside water sources.
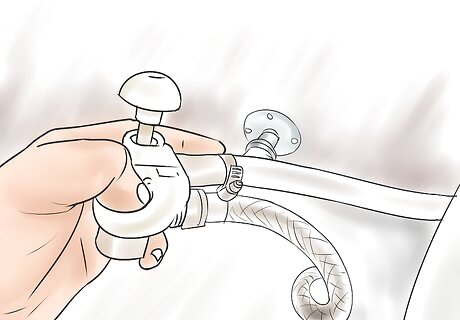
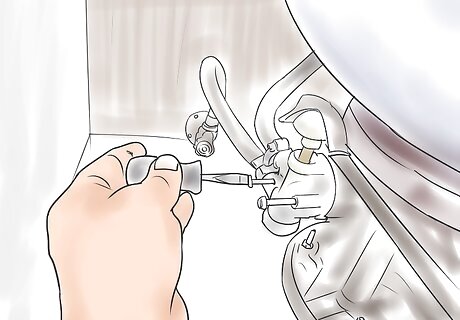
Turn off the water supply to the toilet. There is normally a valve at the rear of the toilet that you can turn with a wrench.
Flush the toilet to remove as much water as possible from the bowl and dry it out with a rag.
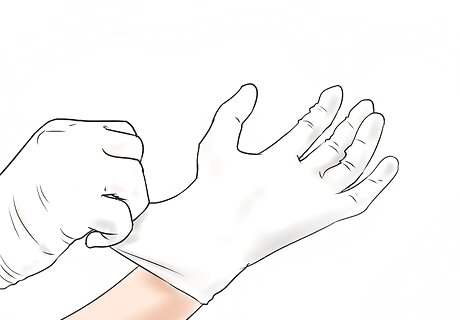
Put on rubber gloves to protect your hands from waste debris. You may want to put on a face mask for added protection.
Remove the waste water holding tank under the RV following the instructions in your RV owner's manual. While not strictly necessary to remove the holding tank, it will make the job far more pleasant to do and remove the fear of reclaiming a lost tool from the tank.
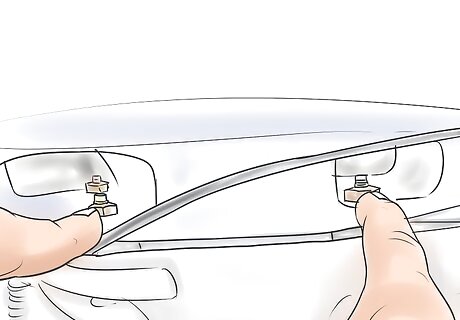
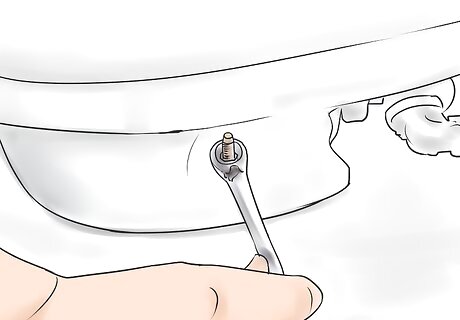
Locate the bolts holding the toilet to the floor and remove them. There are usually only 2 bolts, but some of the larger RV toilets have 3 bolts.
Lift the toilet up and set it aside.
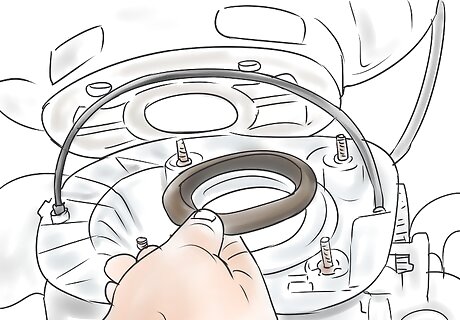
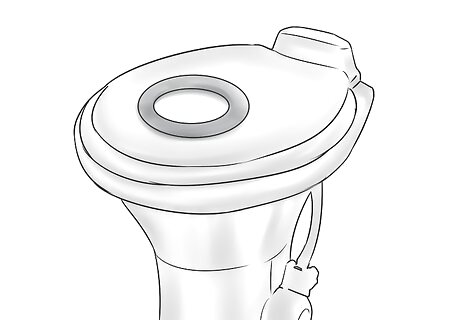
Remove the old seal. It may be made or rubber or wax. It should lift out easily but if it won't, carefully work on it with a flat-head screwdriver to loosen it so it can be removed and discarded.
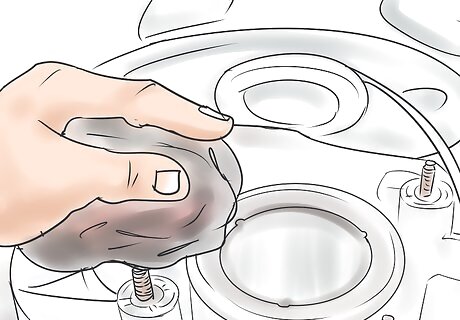
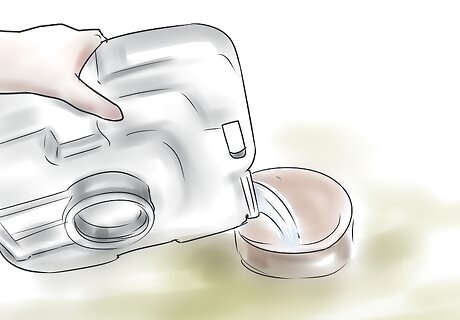
Scrub out the flange that holds the seal and all of the area around it that you can reach.
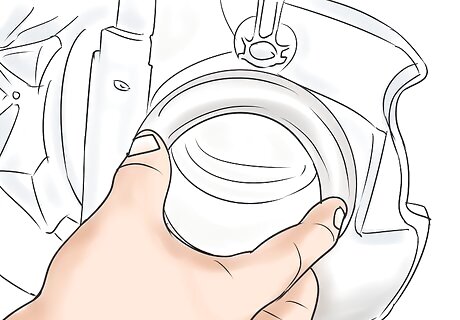
Place the new RV toilet seal in the flange, using plumber's sealant to help seat. Allow to dry before proceeding.
Set the bolts back in their holes, and lower the toilet onto the new seal. Carefully tighten the bolts.
Connect the outside water lines and turn on the water pump.
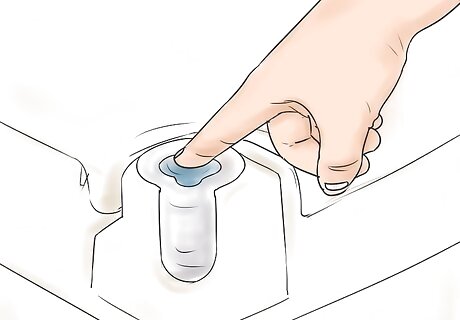
Open the water valve to the toilet and flush to check for problems.


Comments
0 comment