


The only thing you require for this DIY project. Hammer, Cordless drill, Tape measure, Caulk gun, Level, Pliers, Putty knife, Utility knife & Protractor
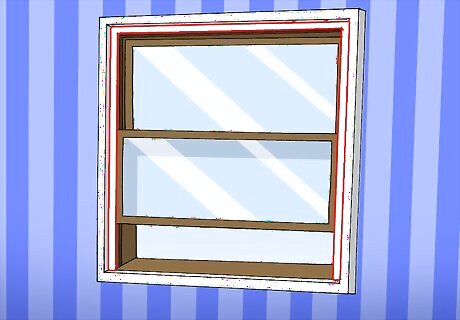
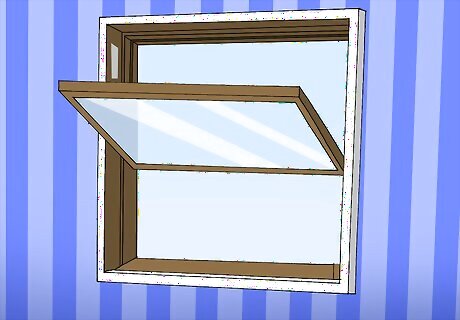
Remove the first sash. Pry off the molding around the window. This is usually three pieces of either shoe molding, quarter round, or some other thin decorative wood. Once removed, the bottom "sash" (another term for window) will have the ability to swing outward into the room. Once the bottom sash is able to "swing" simply cut the ropes that are tied to it. The weights in the walls will fall to the floor with a loud thud, don't panic.
Remove the second sash. The harder of two. There's a divider strip between the two sashes which is usually stuck in tightly. This will easily come out with a smack on well placed chisel. This may take a few tries, depending on how much paint is on them, but they should come out in long whole pieces. With the divider strips out, the top sash is removed the way the bottom one was..
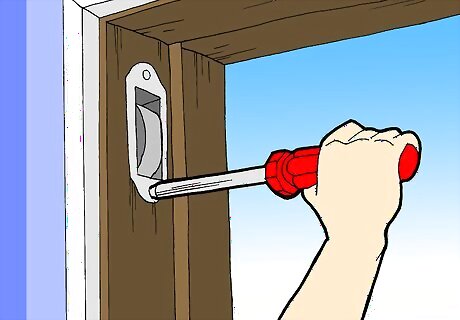
Clear the opening. Scrape away any loose paint or wood. Remove the pulleys that guided the ropes.
Remove the old storm window assembly.
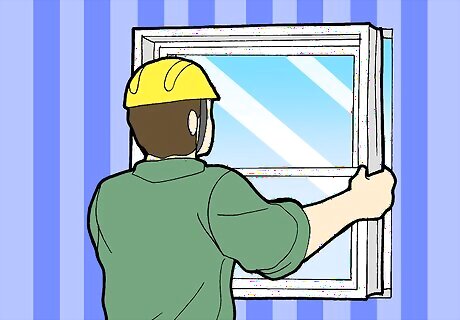
Insert the new vinyl window in the closed and locked position, if possible. Vinyl window frames are fairly flexible. The sash (the glass part) will help hold the frame square during installation. Use shims to adjust the window unit to the plumb, level and square position and screw the window frame to structural lumber. If the manufacturer specifies screw placements hidden by the sash, insert the new vinyl window frame with the sash removed. Get it plumbed and level. Once screwed in (6 screws is good), insert the vinyl sashes.
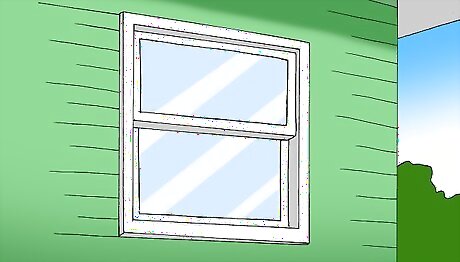
Re-install the old or new strips of molding on the interior side of the window. The exterior side of the window will either need trim or caulking or both.


Comments
0 comment