
System Setup

Plug the AC adapter into the bottom of your Nintendo Switch. The AC adapter is a large cord with a brick-like plug on one end and a USB-C plug on the other. Plug it into the wall, and then insert the adapter into the bottom of the tablet console. The tablet console is the rectangular, black portion of your device.
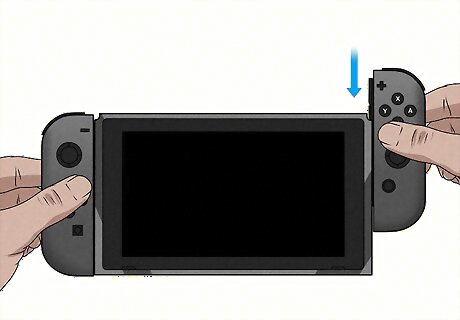
Slide and click the Joy-Con controllers into the tablet console. The Joy-Con controllers have a “+” or “-” sign in each corner, and slide directly into the sides of the tablet console. You’ll hear a “click” when each Joy-Con is locked in place. Skip this step if you have a Nintendo Switch Lite (since there aren’t any detachable Joy-Cons).
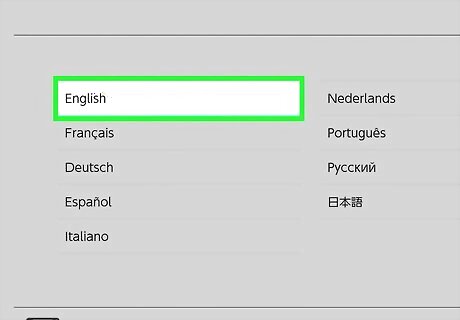
Choose your console’s language and region. Your Switch will power on and give you a list of languages to choose from: English, French, German, Spanish, Italian, Dutch, Portuguese, Russian, and Japanese. Select the language you’d like, and then choose which region you live in (The Americas, Europe, Australia/New Zealand, or Japan).
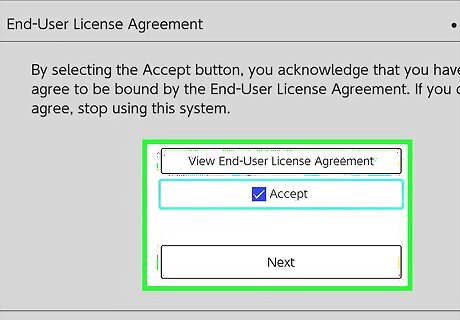
Accept the prompted terms and conditions. Nintendo requires you to accept the provided End-User License Agreement (EULA) before you can start using the console. Hit “View End-User License Agreement” if you’d like to read through it, or simply hit “Accept” and “Next” to continue.
Connect your Nintendo Switch to Wi-Fi. Choose your home’s Wi-Fi network from the list of networks on the screen, and manually type in the passcode. Wait a minute or two for your console to test and finalize the connection before giving you the seal of approval. If you’d rather skip this step, hit “X” on your right Joy-Con controller.
Select your timezone. Scroll through the provided list until you reach the correct timezone for your area.
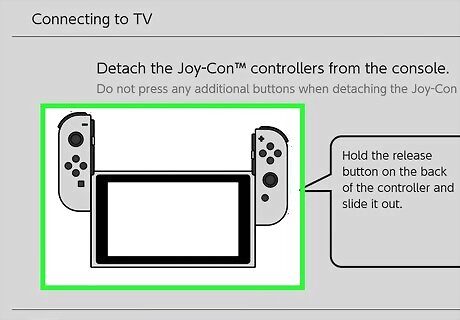
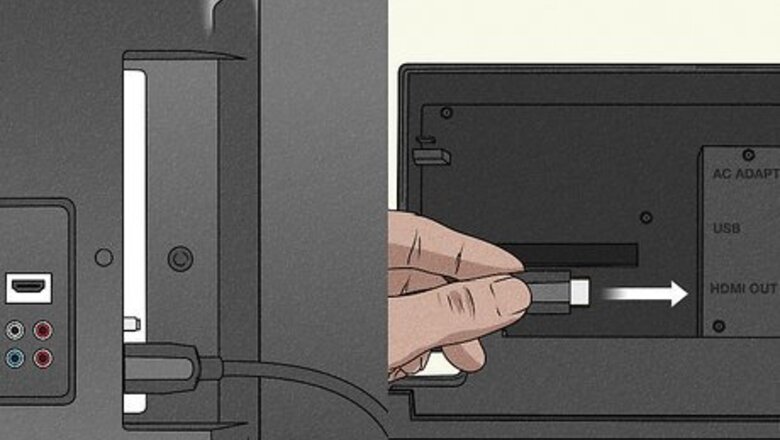
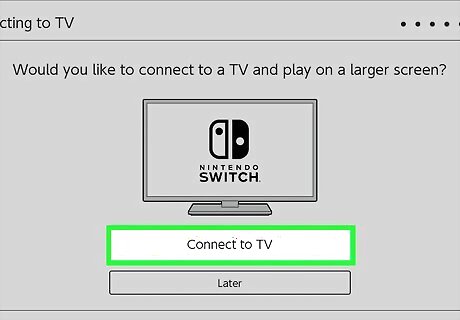
Hook up your Switch to the TV. Remove the Joy-Cons from the tablet console by pressing the circular release button on the back while sliding them out. Prop up your tablet console on a flat surface using the kickstand attached to the back. (Note that the OLED model has a significantly larger kickstand than the standard Switch.) Then: Select “Next” using the “A” button on your right Joy-Con. Open up the panel on the back of the dock and plug the AC adapter into the top-most cord plug. Plug one end of your HDMI cable into the bottom-most cord plug. Then, plug the opposite end of the cord into the HDMI port on your TV. Snap the kickstand closed and slip the touchscreen console into the dock (with the screen facing away from the cord panel). Wait for the TV screen to light up, and hit “Success.” If you run into issues, hit the “No Image on TV Screen” option instead.
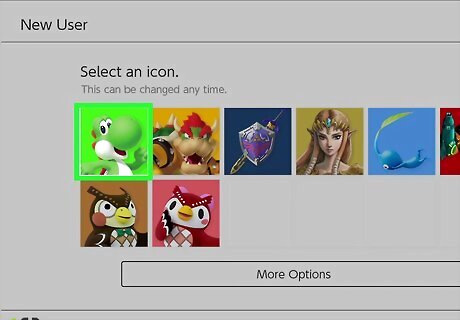
Create your user profile. Hit the “Create a New User” option and pick a premade icon of a Nintendo character (e.g., Yoshi, Bowser, Zelda, Pikmin, Samus, Blathers, Celeste, etc.) or make a custom icon with your Mii. Enter the nickname for your user profile, and link your Nintendo Account if you'd like. To link your Nintendo Account, follow the on-screen prompts to sign into said account (either manually or with a smart device) or make a new one altogether. If you choose to create a new Nintendo Account, choose the “Send account-creation instructions via email” option and enter your email. After setting up your account, you’ll get a 5-digit verification code from Nintendo that you’ll enter into your Switch to complete the setup process. Optional: Hit “Configure Parental Controls” on the following screen if you’d like to set up parental controls for a younger member of your household. Otherwise, hit “Skip.”
Hit the “Home” button to complete the setup process. You’re all done with the setup process and are ready to enjoy your Switch.
Extra Features
Insert a game into the game card slot to pull it up on the main menu. Look along the top edge of the tablet console to find the game card slot. Insert the game card so the game card’s label/design faces the same direction as the touchscreen. Then, push the card down until you hear a click. When the game is inserted correctly, it will pop up on the main menu within the game.
Insert a microSD card to give your console more storage. If you have a classic or OLED model Nintendo Switch, lift up the back kickstand to access the microSD slot; if you have a Nintendo Switch Lite, simply open up the cover. Slip the card into the slot so the with the label facing up—it’ll click when it’s correctly installed. To take the microSD card out, press along the edge of the card so it snaps out. A microSD card gives your system extra storage and allows your system to hold more games.
Download new games and apps in the Nintendo eShop. On the Home screen of your console, scroll down and select the icon with a gold/orange outline of a shopping bag—this takes you to the Nintendo eShop. Use the provided menu options and the search function to find a variety of different games and programs that you can download to your Switch. Did you know? You can download programs like Hulu, YouTube, and Crunchyroll on the Switch.
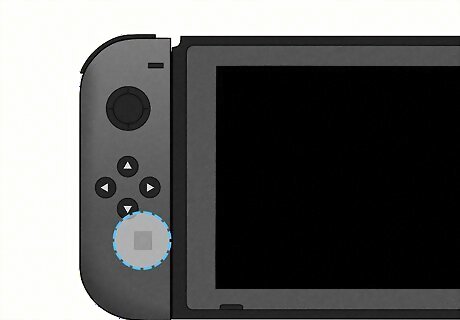
Press the video capture button to collect screenshots and screen recordings. Find the capture button toward the bottom of the left Joy-Con (or beneath the Control Pad, if you’re using a Nintendo Switch Lite). While playing a game, press this button once to screenshot a single frame of the game, or press and hold the button to record the past 30 seconds of gameplay. To access your footage, select the blue “Album” icon on the Home page.
Set up a Nintendo Online membership to unlock online features in games. Head to the Nintendo eShop and scroll down to the “Nintendo Switch Online” option. Here, you can choose to purchase an individual membership for yourself, or a family membership (which serves up to 8 people). You can also click/tap here to set up a Nintendo Online membership (just make sure you’re logged into your Nintendo Account).


Comments
0 comment