views
Using Web-based Tools
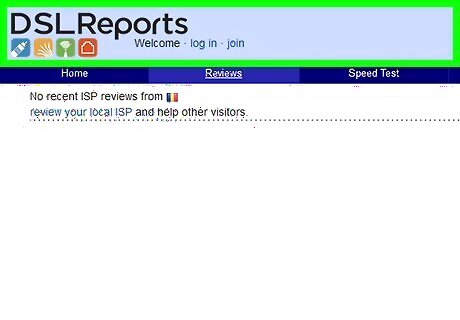
Select your testing site. A variety of websites provide access to internet testing tools, your internet service provider (ISP) likely has some tools on their portal, but two popular testing sites are from Speakeasy and DSLReports. The following steps use the tools available from DSLreports, as they provide a comprehensive set of diagnostic tools. Navigate to www.dslreports.com. Select Tools from the top toolbar menu.
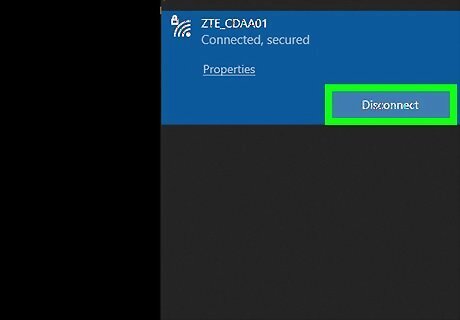
Get other users off your network. If other users are on your home network, the speed test report may be impacted by the shared use of network resources. Speak with the other users of your network. Ask them to get off the network until you have completed testing for connectivity issues. If you are experiencing problems with your connectivity, you may want to connect your computer directly to your internet modem with an ethernet cable to run these tests, instead of via your wireless network, to further isolate the problem.
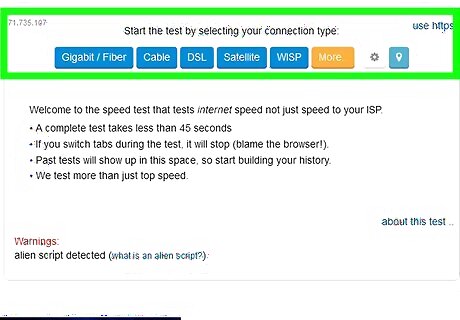
Run a Speed Test. Speed test will tell you the download and upload speed you are actually getting between your computer and the test site, which you can compare to the speed you have contracted for with your ISP. Click on the start button. On the right side of the Speed Test box there is a start button, this will start the speed test. Select the connection type. On the test page, select the type of connection you have from the list of Gigabit/Fiber, Cable, DSL, Satellite, WISP, or other. Run the test. The test will run, testing download speed, upload speed and reporting latency.
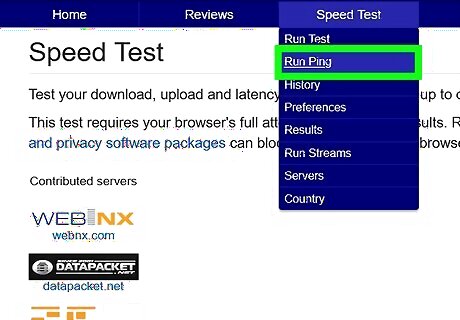
Run Ping Test. The ping test checks the time it takes a packet of data to travel from your computer, to a remote server and back to your computer. This particular test will test multiple servers simultaneously reporting back to you an overall grade of the performance. Normal latency varies by the type of connection from 5 - 40ms for cable modem, 10 - 70ms for DSL, 100 to 220ms for dial-up and 200 - 600 for cellular. The distance to the remote server also adds to latency, you can estimate an additional 1ms in latency for every 60 miles (100km) the data travels. Run Ping Test. From the tools page, select Start, in the Ping Test (Real Time) box. This will advance you to a page indicating that all of the listed servers will be ping-ed twice per second and every thirty (30) seconds a report on your connection from A to F will be provided. Click Start. A radar plot will show along with a chart of the various server locations, their IP address and the real time statistics about the connection latency. View the report. As the test is running, your connection’s grade will appear on the left column, with a new grade every 30 seconds. When the test is complete you will be given the option to test again or share your results.
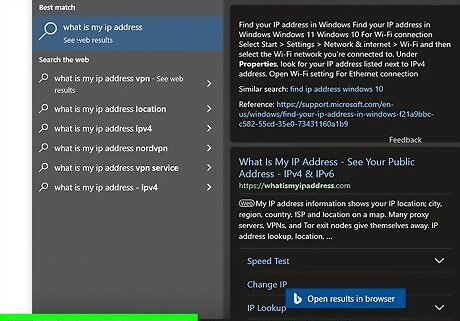
Find your IP address. While not an actual test the “What is my IP address” tool reports the public IP address where your computer is can be found. This is not the actual IP address of your computer because of the proxy services your router provides. This tool also lists the common IP addresses of the components of your network, which is helpful if you need use the Windows utilities to help find the source of your network or internet latency. Run What is my IP address. Click start within the What is my IP address box. This will advance you to a page that displays your IP address as well as any other addresses relevant to your computer. Record your IP address. If you plan on doing additional diagnostic tests on your network / internet connection write down the IP address displayed, as well as any of the common IP addresses from the list below.
Using Windows Command Prompt
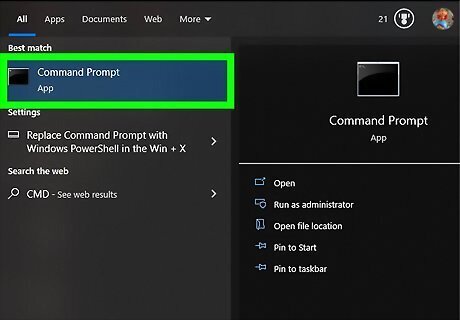
Access the Command Line Prompt. You can enter the commands for testing network and internet latency directly at the command line. Click on Start, select Run. Type cmd, and press OK. This will launch the command line window where you can simply type the test commands to execute them. You can also search for cmd.exe in the windows search
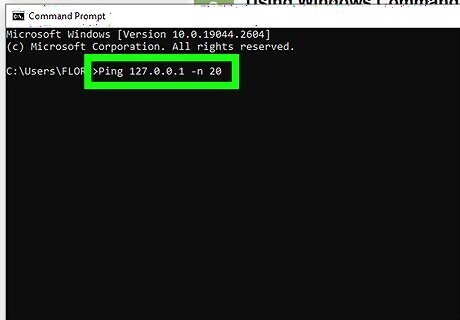
Run Ping Loopback test. The Ping loopback test will test your computer’s connection to verify that there are no local hardware problems causing the network or internet latency issue. Type “Ping 127.0.0.1 -n 20”. This IP address is the same for nearly all built in network connections, the “-n 20” extension will send 20 packets of data before terminating the test. If you forget to type “-n 20” you can cancel the test by entering Ctrl+C. View the statistics. The time it took for the packet of data to travel locally should be less than 5ms and there should be zero packet loss.
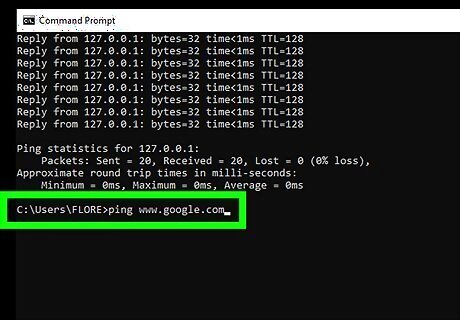
Run Ping to a remote server. Now that you have verified that your local port is working, you can Ping remote servers to test the latency. Again, normal latency varies by the type of connection from 5 - 40ms for cable modem, 10 - 70ms for DSL, 100 to 220ms for dial-up and 200 - 600 for cellular. The distance to the remote server also adds to latency, you can estimate an additional 1ms in latency for every 60 miles (100km) the data travels. Type “Ping” followed by the IP address or site URL you wish to ping and hit enter. You may want to start with the URL of your internet service provider and proceed to other sites you commonly access. View the report. As the test pings the remote address, it will report back the results, the final number after the “time = “ is the time it took, in milliseconds, for the packet to travel to the remote site and back to your computer. Note: the “-n 20” extension works with this command, as does the “Ctrl+C” should you forget to enter it.
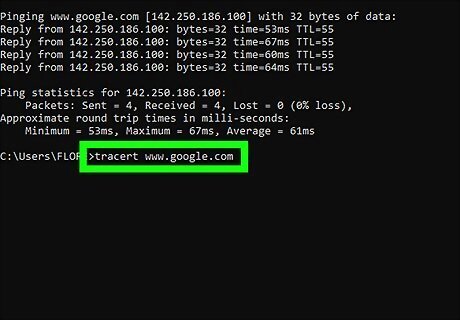
Run Traceroute test. The traceroute test will show the path that data travels from your computer to the remote server and any delay in that path. This can be helpful in determining the source of network or internet delays. Type “tracert” followed by the IP address or site URL you wish to route and hit enter. View the results. As the test traces the path it will display each address along the way and the time it took for a data packet to travel and acknowledge receipt for each “hop” along the path. The more “hops” or other devices the data packet needs to route through, the more delay you will experience.
Using Mac Utilities

Access Network Utility. The software tools you need to test for network and internet latency can be found within the Network Utility application on your Mac OSX machine. Open Finder and navigate to Applications. Navigate to the Utilities folder. Locate Network Utility and click on the application icon to open the application.
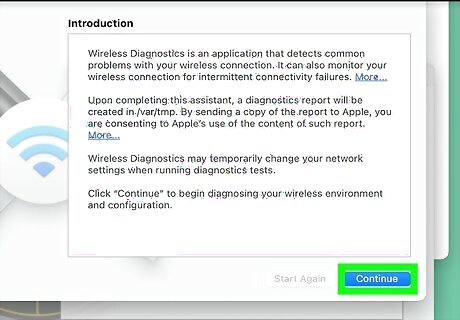
Select your network connection. The network utility will allow you to test connectivity across your ethernet (wired) connection, Airport (wireless) connection, Firewall or Bluetooth connection. On the Info Tab, select your connection from the network interface drop down menu. Verify that you have selected the active connection. If the connection is active you will see information in the hardware address, IP address, and Link Speed fields, additionally the Link Status field will say “Active”. (An inactive connection will only have information in the hardware address field, and the Link Status field will say “Inactive”.)
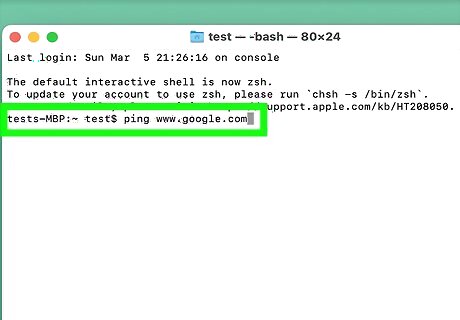
Run Ping test. The Network Utility Ping test will allow you to enter the address of a site you wish to Ping and the number of times you wish to Ping it. Normal latency varies by the type of connection from 5 - 40ms for cable modem, 10 - 70ms for DSL, 100 to 220ms for dial-up and 200 - 600 for cellular. The distance to the remote server also adds to latency, you can estimate an additional 1ms in latency for every 60 miles (100km) the data travels. Select the Ping tab within the Network Utility menu. Enter the IP address or URL of the site you wish to Ping. You may want to start with the URL of your internet service provider and proceed to other sites you commonly access. Enter the number of times to Ping the site (default is 10). Click the Ping Button. View the results. As the test pings the remote address, it will report back the results, the final number after the “time = “ is the time it took, in milliseconds, for the packet to travel to the remote site and back to your computer.
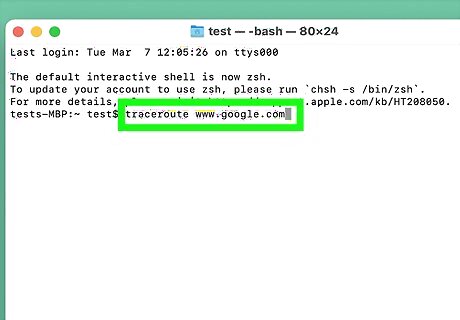
Run Traceroute test. The traceroute test will show the path that data travels from your computer to the remote server and any delay in that path. This can be helpful in determining the source of network or internet delays. Select the Traceroute tab within the Network Utility menu. Enter the IP address or URL of the site you wish to route. Click the Tracerout Button. View the results. As the test pings traces the path it will display each address along the way and the time it took for a data packet to travel and acknowledge receipt for each “hop” along the path. The more “hops” or other devices the data packet needs to route through, the more delay you will experience.


Comments
0 comment