views
Creating Projects and Designs
Go to https://www.figma.com in a web browser. Figma is designed to be used in a web browser like Chrome, Safari, or Edge. Because your data is stored in the cloud, your designs will always be available anywhere you log in to Figma. If you'd rather download a desktop app for Windows or macOS, you can get it from https://www.figma.com/downloads.
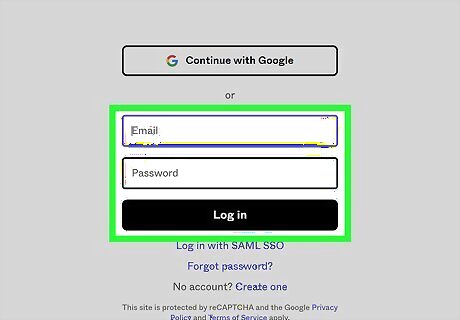
Log in or create an account. You can sign in to your Figma account with a Google account or your email address by clicking the Log in button at the top-right. Logging in takes you to the file browser. If you haven't already signed up for Figma, you can click Sign up at the top-right to create your free account now.
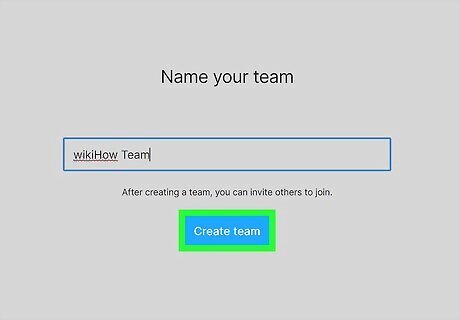
Create or select a team. If you want to use Figma with others and don't already have a team to join, you can easily create one. Just click Create new team on the left side of the file browser, enter a name, and then click Create team. If you already have a team, click its name in the left panel to open its file browser. Once you create a team, you'll be asked to invite other collaborators to work on a project with you. If you have the free starter version of Figma, you can create one project with up to three interface designs per project. With Figma Pro, you can create unlimited projects for each team with unlimited designs in each project.
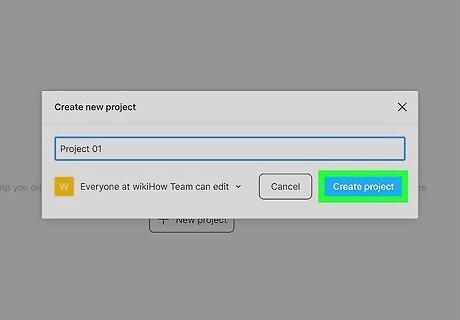
Create a new project. To start a new project, click New project at the top-right corner of the team's file browser and enter a name for the project. Choose who on the team can view and edit the project's files and then click Create project. All projects belonging to a team appear below the team's name in the left panel. You can also select an existing project to work on it by clicking its name in the left panel.
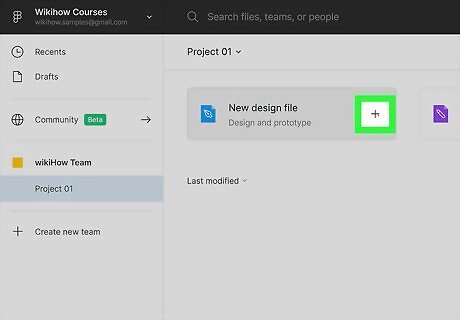
Add a design file to your project. Designs are files that contain the design you're working on, such as an app or website. To add a design file to a project, click + New at the top-right corner and select Design file.
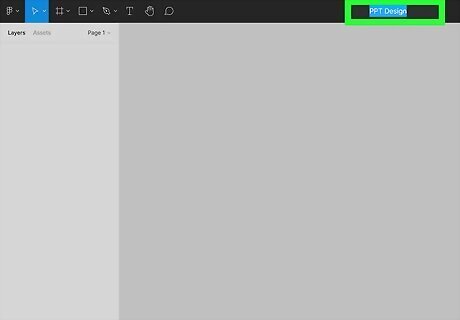
Give the design a descriptive name. The file's name will be "Untitled" by default. To change the name, click Untitled at the top, type a new name, and then press Enter or Return. When you want to work on this design in the future, you can do so by selecting the team in the file browser, clicking the project's name, and then clicking the name of the design. You can return to the file browser at any time by clicking the "F" menu at the top-left corner of Figma and selecting Back to files.
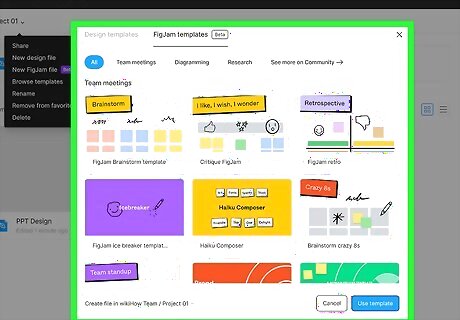
Explore Figma's community templates. Now that you know how to create a new design file, you can start working on your wireframe, prototype, or design. But before you get started, check out Figma's community templates. You may find a wireframe kit, responsive layout, or mobile app design you can use as a starting point. Just go to https://www.figma.com/community/explore or click the Community link on the left side of the file browser. If you find a template you want to use, click Duplicate at the top-right to open a copy in your Figma project. You can then click the drop-down menu next to the design's name and select Rename to give it a new name.
Adding and Modifying Frames
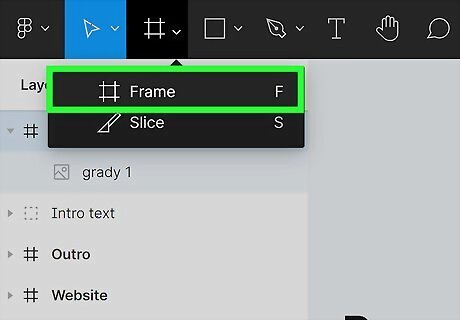
Click the Frames tool. The Frames menu looks like a hashtag, and you'll find it in the upper-left area of Figma. Frames are containers for your designs on a canvas. Your designs should always be placed into frames, and frames can be nested within other frames. You can also open the Frames menu by pressing F on the keyboard.
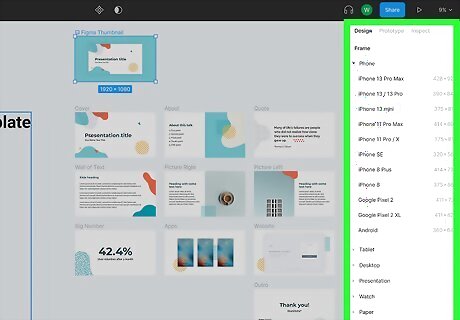
Select a frame size from the Design panel. The Design panel is the panel on the right side of Figma. Figma has pre-sized frames for different screen sizes, operating systems, social media posts, and even for print designs. As soon as you click a frame size, a frame will appear on the canvas. You can also draw your own frame by clicking and dragging the mouse at the desired location. To create a frame around an existing object, such as an image, press Option + Command + G (Mac) or Ctrl + Alt + G (Windows).
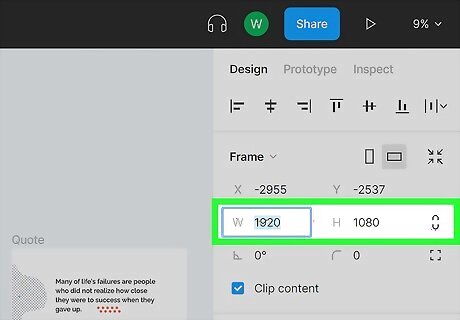
Edit a frame's properties. When you have a frame selected, the Design panel on the right will display the properties you can assign to the frame, including Fill (to fill it with a color), Stroke (to surround it with a line of any width, color, or style), and Effects (to add effects like shadows and blurring). You can change the preset size for a frame by clicking the current size and selecting something else. To change the size of a frame, just click it and drag its corners to the desired size. Alternatively, you can manually enter a new size into the "W" and "H" areas on the Design panel.
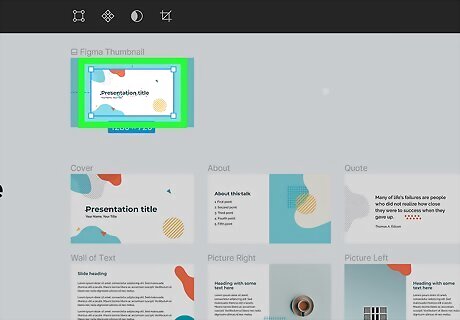
Place another frame inside a frame (optional). You can nest frames inside of other frames to keep things organized. To create another frame, press F on the keyboard and draw the desired size frame inside the existing frame. The largest frame is called the top-level frame, and any frame inside the top-level frame is called a nested frame. The objects you place into a frame later (such as text or images) are called child objects.
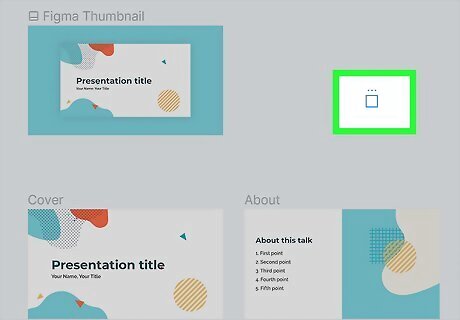
Add non-nested frames for other screens or pages. If you're creating more than just a screen or page, you'll want to add top-level frames for each of those screens. Just press F or A on the keyboard again and select the next frame size—the new frame will appear to the right of the existing frame(s). If you want the frame to automatically resize itself to shrink or grow to fit the child objects you place inside of it, select the frame by clicking it, and then click the icon of 4 arrows in the "Frame" section of the Design panel.
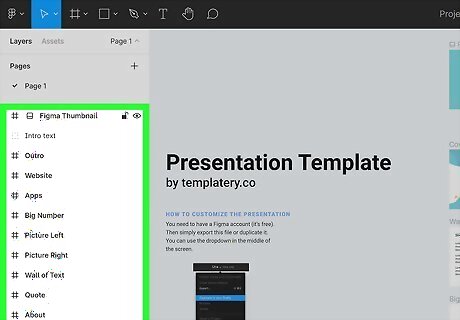
Identify frames in the Layers panel. When you create a frame (or add any other elements to your design, including text, images, and other objects), a layer will be added to the Layers panel. To keep things organized, make sure you give your layers descriptive names. Click Layers at the top of the left toolbar to view all layers. All top-level frames are prefaced by hashtag symbols on the Layers panel. Nested frames are prefaced with equals symbols. Double-click any frame on the Layers panel to make its name editable. Type a new name and press Enter or Return.
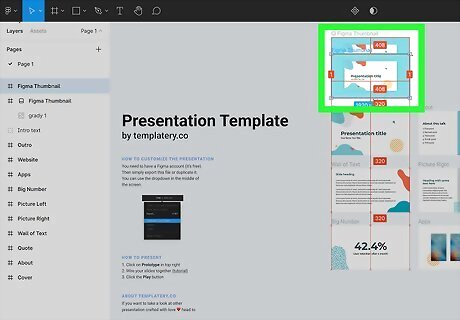
Move a frame. If you need to move a frame or any other object in Figma, click the frame, and then press V on the keyboard to activate the Move tool. You can then click and drag the mouse to move the frame to the desired position.
Inserting Images, Objects, and Text
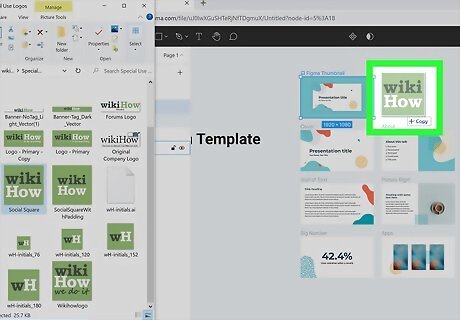
Drag an image from your computer into your design. This is the simplest way to add an image to your design in Figma. There are several other ways to add images: Copy an image from another app or file and paste it into Figma. Click the Shapes menu (the square) at the top-left, select Images, choose one or more images, and then click Open. If you selected multiple images, click Place all when prompted. Otherwise, just click the place you want to insert the image. Copy an image from another place in Figma and paste it into the desired location.
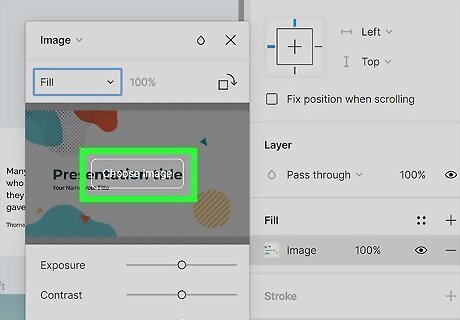
Fill a frame or object with an image. If you've created a frame or shape that you want to fill with an image as its background, here's how you can do it: Click the Layers panel on the left and select the frame or shape you want to fill. On the Design panel on the right, click the current Fill color to open the color wheel. Click the drop-down menu at the top-left corner of the color wheel and select Image. Hover your mouse over the placeholder image in the smaller window and click Choose image. Select an image and click Open.
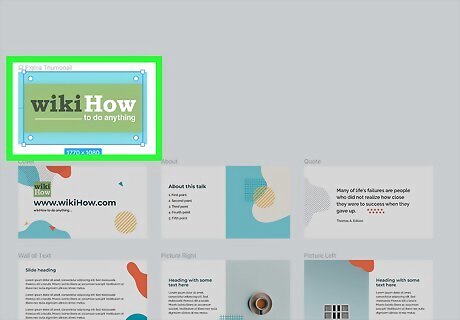
Double-click the image to edit it. This brings up the editing tools in a separate window that says "Image" at the top. If that doesn't work, click the name of the image first in the Layers panel, and then double-click the image. With the image open for editing, you can do any of the following: To modify the color and contrast of the image, use the provided sliders. To fit the image to the size of its parent frame, click the drop-down menu that says "Fill" and change it to Fit. If you'd rather crop the image, click the menu that says "Fill" and select Crop. Drag the blue edges to surround the part of the image you want to keep, and then press Enter or Return. To resize an image, drag any of the bounding boxes on its corners until the image is the desired size. Use the Stroke and Effects panels on the Design tab to stylize the image. To rotate the image, hover the mouse cursor just outside of any of the 4 bounding boxes until it turns into a curved line, and then click and drag in the desired direction.
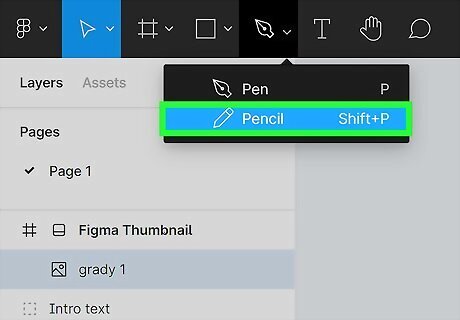
Use the pencil tool to sketch. You can sketch anywhere on your design—including on the canvas outside of your frames. To activate the pencil tool, press Shift + P on the keyboard, select a color and stroke size, and then click and drag to draw. Don't forget to rename the layer in the Layers panel to something relevant when adding any objects, including drawings and shapes.
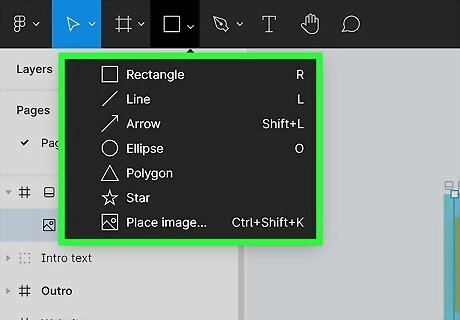
Click the Shapes menu to select and draw shapes. The Shapes menu is the square in the upper-left area of Figma. You can draw rectangles, lines, arrows, ellipses, polygons, or stars. After selecting a shape, you can click and drag the mouse to draw it in the desired size. If you want the shape to have equal proportions, hold down the Shift key as you draw it. Select the shape to modify it using the options on the design panel, including Fill (to change its color) and Stroke (surround it by a line/border).
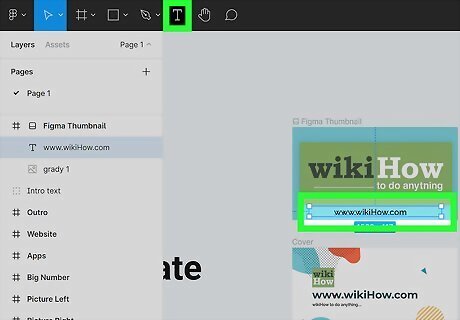
Click the T to add text. This opens the text tool, which allows you to add text in two different ways: To create a new text layer with a text box that automatically expands as you add more text, click once at the desired location, and start typing. To draw a pre-sized text box, click and drag the mouse to draw the box, and then start typing inside of it. There are many ways to edit text in Figma. Select the text with your mouse and use the Text area of the Design panel on the right to adjust its font face and size. Use the Fill area of the Design panel to change the color of text.
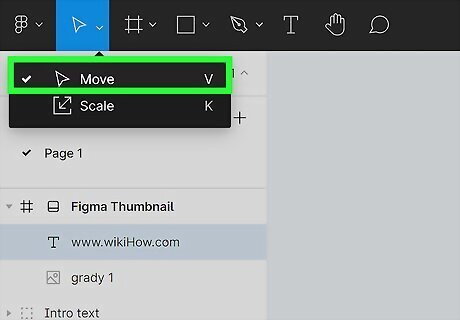
Move objects around. To move any object, press V to activate the Move tool, and then click and drag the object to another position.
Creating and Applying Styles
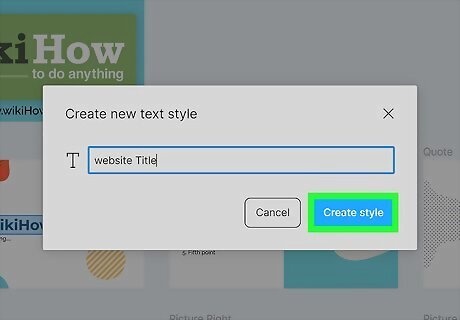
Create a text style. Text styles are a great way to set specific properties for text in various areas of your project. For example, if you want all of the body text on your website to be the same size, font face, and weight, you can create a style called "Body" that has those properties and then just apply the "Body" style to any text that should look that way. Here's how to create a text style: Select a text layer that has properties you want to reuse. Click the Style icon, which is the 4 dots at the top of the Text area of the right panel. Click +. Name the style and click Create style.
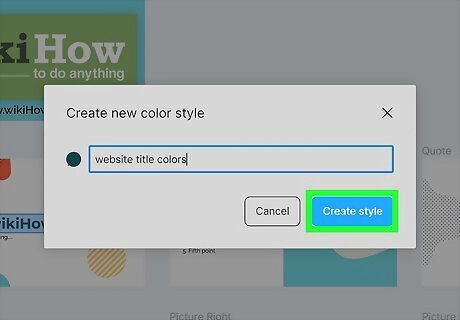
Create a color or effect style. A color style lets you choose a color and/or gradient that you can easily reuse in other designs or projects. Effects styles are similar, but allow you build styles for effects like drop shadow and blurring. To create a color or effect style: Select an object that has the color or effect you want to turn into a style. Click the 4 dots at the top-right corner of "Fill" or "Effects" in the right panel. Click +. Give the style a name and click Create style.
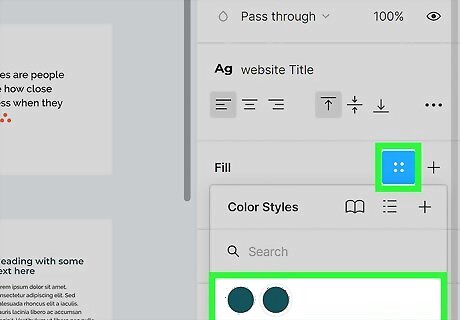
Apply a text, color, or effect style. Now that you've created a color, text, or effect style, you can apply it to one or more objects. Here's how: Select the layer(s) you want to want to apply the style to. In the right panel, click the 4 dots at the top-right corner of the type of style you want to apply (e.g., Text, Fill, or Effects). Select the style.
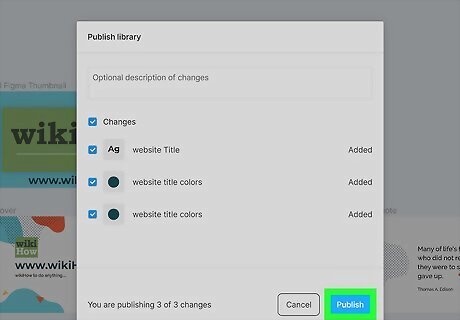
Publish a style to your team library. When you create a style, it'll only be available in the file you're working on unless you publish it to your team library. You can publish styles to your team library with all Figma plans, including the free Starter plan. Here's how: Click an empty spot on the canvas to ensure nothing is selected. Click the down arrow next to the file's name at the top of Figma. Click Publish styles and components and follow the on-screen instructions.
Creating Reusable Components
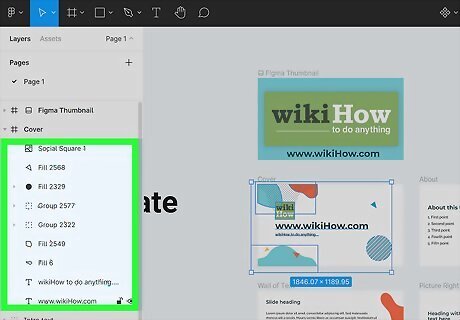
Select the layers you want to include in your component. A component is a collection of objects or layers that you can reuse elsewhere in your design. For example, if you created a button that includes both a shape and text, you can add the shape and text to a component called "Button" that you can easily add to another frame. To select multiple layers, hold down the Shift key as you click each layer you want in your component. If your team is on the Pro or Enterprise plan, you can also publish your components to the team library so you can use them in other files.
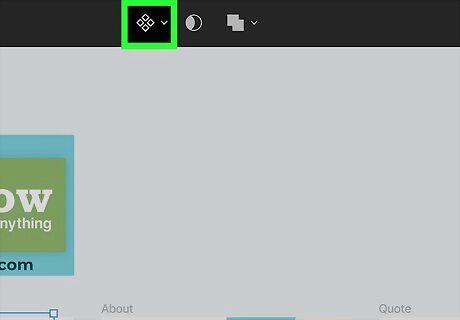
Click the Component icon. This is the diamond made up of 4 smaller diamonds at the top-center part of Figma. You'll see that the layers you selected are now joined into a single layer called "Component 1" under the parent frame in the Layers panel. You can click the small arrow next to the name of the component to view and edit the layers individually. To rename the component, double-click its current name, type a new name, and then press Return.
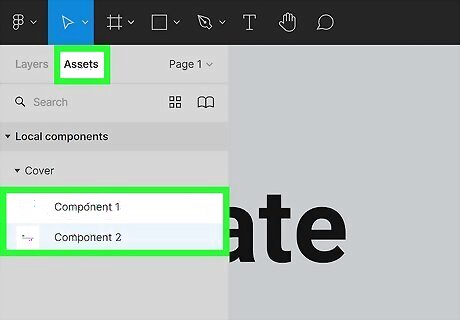
Create an instance of a component. An instance is any use of the component in your design that isn't the original (main) component. Click the Assets panel in the left toolbar—it's the tab next to the Layers tab. You'll see your component(s) here. Click and drag the name of the component to the desired place on your canvas. This creates an instance. You can now edit the instance separately without affecting the main component.
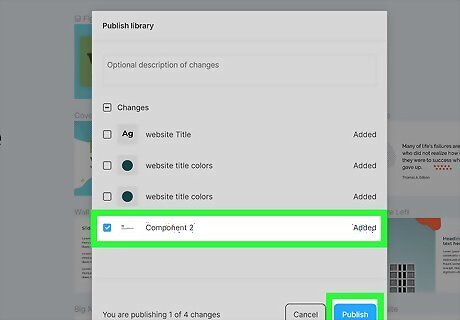
Publish a component to your team library (Pro or Enterprise only). To share your components with your team for use in other files and projects: Click an empty spot on the canvas to ensure nothing is selected. Click the down arrow next to the file's name at the top of Figma. Click Publish styles and components and follow the on-screen instructions.
Testing and Sharing Interactive Prototypes
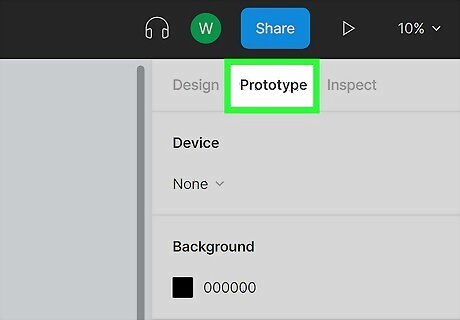
Click the Prototype tab. This tab is at the top of the Design panel, which runs along the right side of Figma. A prototype is sort of like a test run of your design—you'll get to see your design in action as if you've already coded the finished app or website.
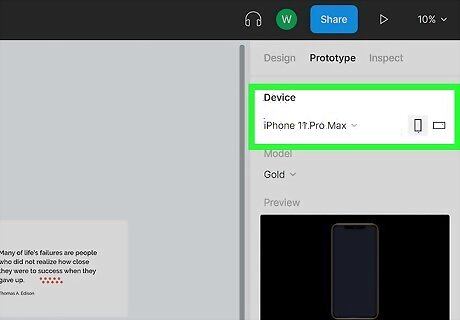
Select a device type from the Device menu. It's at the top of the Prototype panel. This allows you to choose the type of device on which you'll be previewing your design.
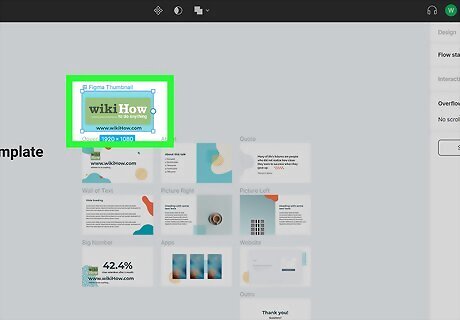
Select the first frame you want to include in your prototype. This should be the top-level frame that contains first screen of your design. You can select it by clicking its name in the Layers panel.
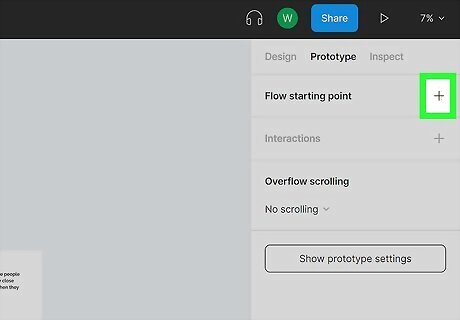
Click the + next to "Flow starting point." It's at the top of the Prototype panel. This places a blue-and-white arrow at the top-left corner of the first frame, indicating that it's the first point in the flow of your design. You can remove the starting point by right-clicking the frame's name and select Remove starting point.
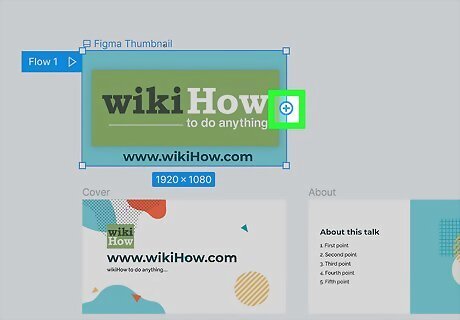
Select a hotspot on the starting frame. A hotspot is an area the user should click or tap to be taken to the next page or screen. You'll see a blue circle on the right side of the selected hotspot.
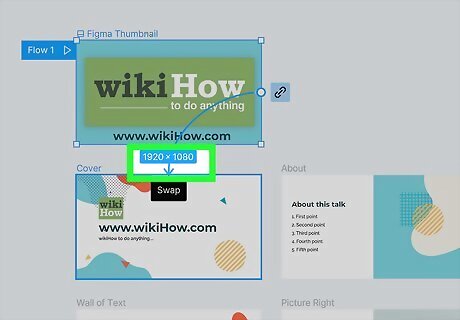
Click and drag the + on the hotspot to the next screen or page. You'll need to hover your mouse over the circle on the right side of the hotspot to bring up the plus sign. A blue arrow will appear to link your hotspot to the destination. You'll also see the "Interaction details" panel.
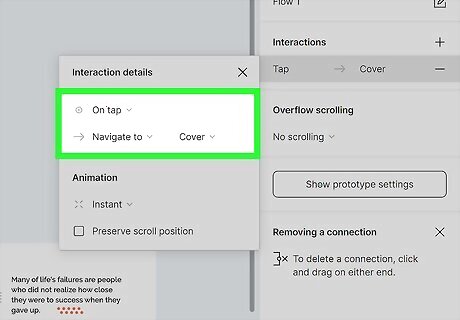
Select the interaction type. For example, you'd choose On tap if the user should tap the hotspot to get to the next area, or While pressing to show the next area only while the user continues to press that location. You can select an animation from the menu to choose an animation as a transition between the two screens.
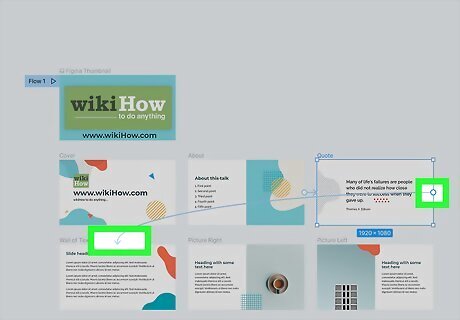
Create more connections. To practice, try a back button. To do this, choose a hotspot on the second screen in your connection that, when clicked or tapped, links back to the original screen.
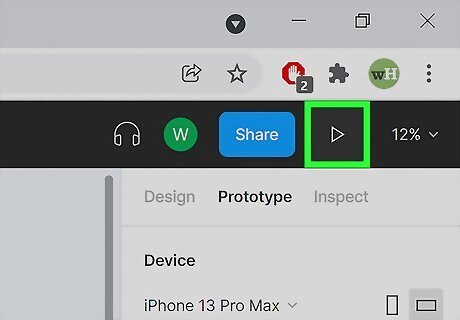
Click the Play button. It's the sideways triangle at the top-right corner. This displays a preview of your app or site on the selected device. When you tap or click the hotspot, you'll go to the destination.
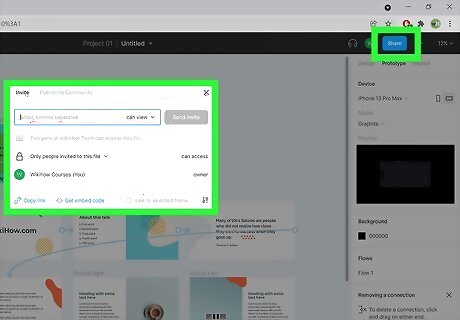
Share your prototype. When it's time to share your design with your team or stakeholders, click Share prototype at the top-right, enter the email addresses (separated by commas) of the recipients, and then click Send invite.







Comments
0 comment