views
- You can import video, photo, and audio files into iMovie to use in your video projects.
- You can drag and drop files into the project timeline to rearrange them exactly how you want.
- If you have a large video file, exporting your video may take over an hour.
Create a Project
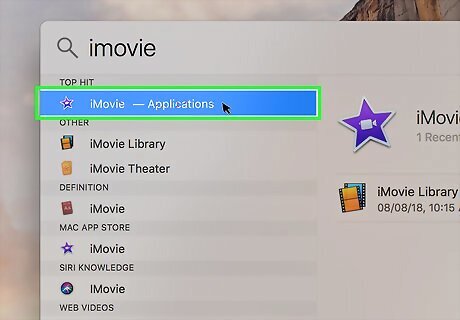
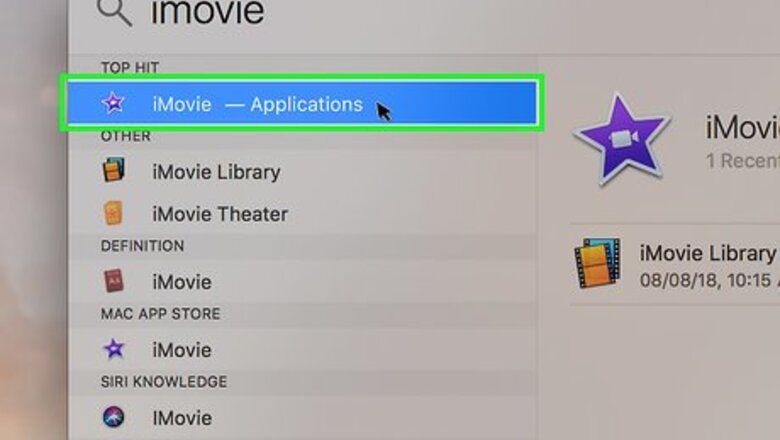
Open iMovie. Click the iMovie app icon, which resembles a white video camera and star on a purple background. You should have this icon in your Mac's Dock. If iMovie isn't in the Dock, you can click Spotlight Mac Spotlight, type in imovie, and double-click iMovie when it appears.
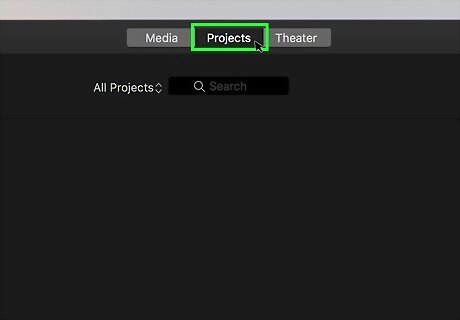
Click the Projects tab. It's at the top of the iMovie window.

Click Create New. You'll find this option on the left side of the Projects page. Clicking it prompts a drop-down menu to appear.
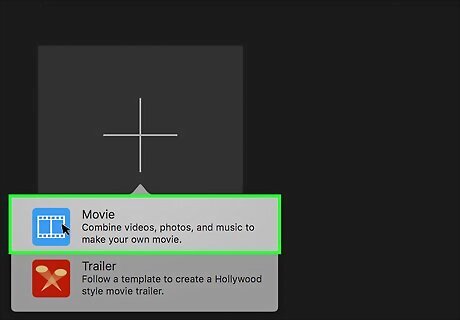
Click Movie. It's in the drop-down menu. This creates a new blank iMovie project. The default project name is "My Movie 1" unless you have other projects saved, in which case the number might be different.
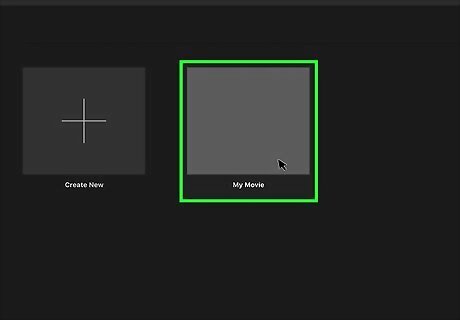
Resume work on your project at any time. Ongoing iMovie projects are accessible in the Projects tab, so you can close iMovie at any time without worrying about your files being lost. Each time you open iMovie you can view your projects from the Projects tab.
Import Files
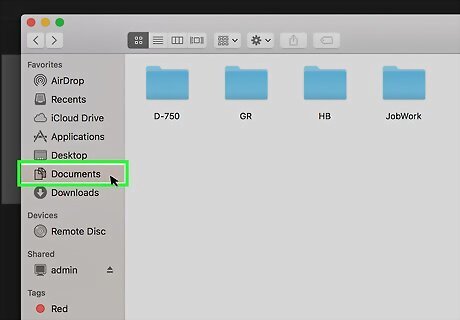
Add the files to your Mac if necessary. If you want to use files from an SD card or flash drive, plug the item into your Mac beforehand. You will most likely need a USB-C SD card adapter for your Mac if you want to plug in an SD card. You can use USB-C flash drives with modern Macs, but you'll need a USB 3.0 to USB-C adapter if you have a traditional flash drive.
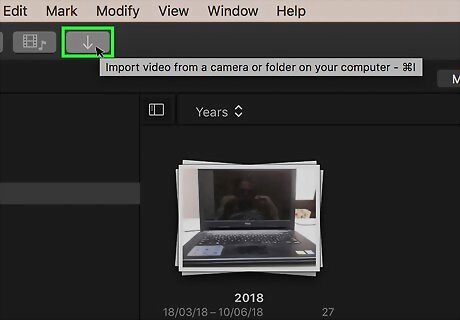
Click the Import Media button. It's a downward-facing arrow in the top-left section of your iMovie project. This will prompt a window to open.
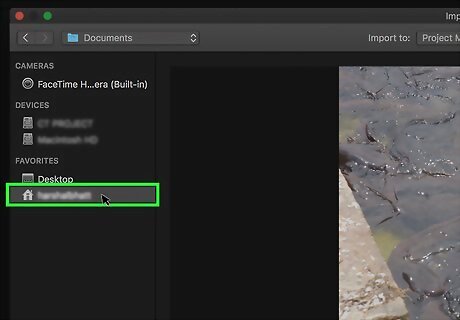
Select a file location. On the left side of the window, click the folder from which you want to import videos and/or photos. To browse your Mac's available folders, click the Macintosh HD item on the left side of the window. If you're using videos from removable storage, such as a thumb drive or a camera that's connected, you'd click the removable storage's name on the left side of the window.
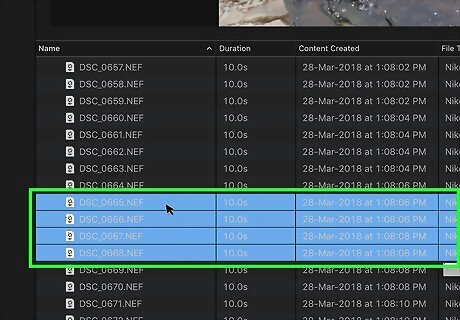
Select the photos or videos you want to use in your movie. Hold down ⌘ Command while clicking each video clip and/or photo you want to add to iMovie.
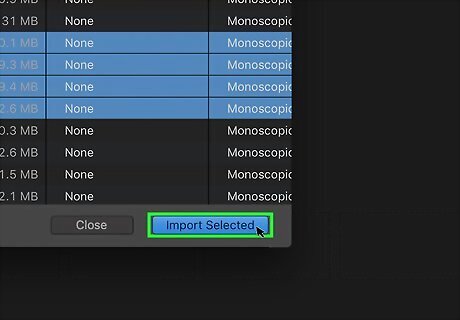
Click Import Selected. It's in the bottom-right corner of the window. Doing so will add the selected video and photo files to the pane in the upper-left side of the Media tab.
Add Photos & Videos
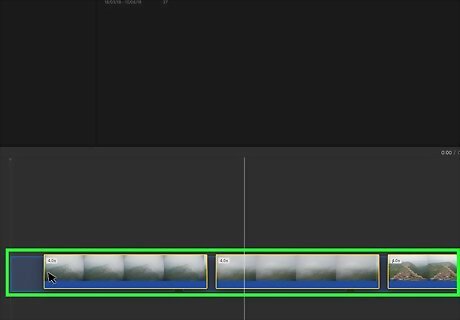
Add video and photo files to the timeline. Click and drag each photo and video you want to add to the timeline pane at the bottom of the iMovie window. To add all of your media at once, click one file in the media pane, press ⌘ Command+A to select all of the files, and click and drag the selected files into the timeline.
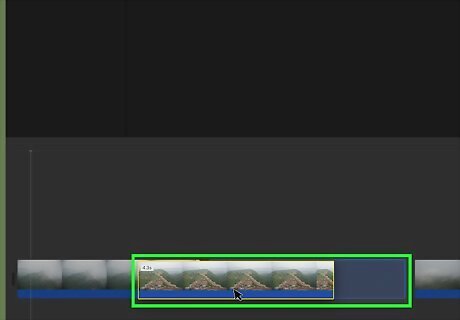
Rearrange files in the timeline. To move a video clip back or forward in the timeline, click and drag the clip left or right in the timeline pane. You can do this with photos as well.
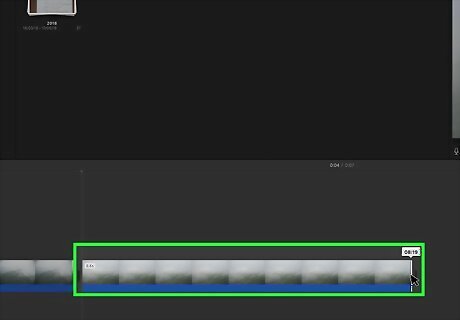
Crop a video clip. If you want to shorten a video clip by removing part of its beginning or end, click and drag the left or right side of the video's box in toward the center of the video. For example, to shorten a video by removing part of its beginning, click and drag the far-left side of the video's box in the timeline to the right until you've removed the section.
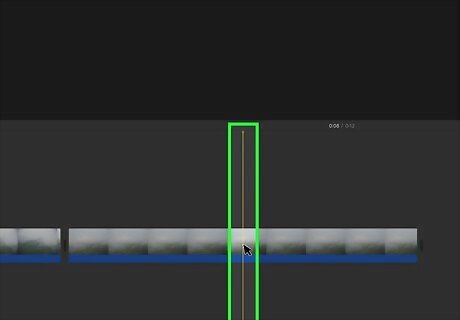
Split a video clip. To create a split in a video, drag the vertical playhead to the section in which you want to insert the split, then press ⌘ Command+B. This will cut the video into two segments; you can then reposition the segments independent of one another. This is useful when attempting to break up a larger video or when placing transitions in the middle of clips.
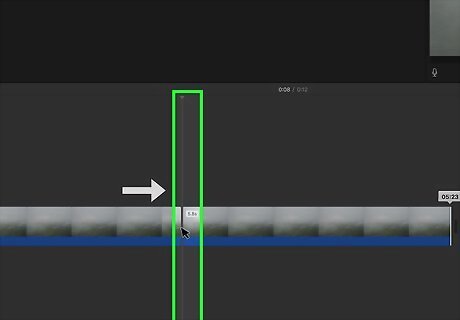
Change a photo's display length. Dragging the right end of a photo left or right will shorten or lengthen the amount of time for which the photo remains on-screen during the movie.
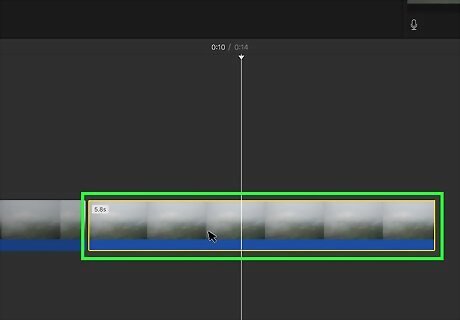
Remove an item from the timeline. Click a clip you want to remove, then press the Delete key to remove the clip from the timeline. You can combine this feature with clip-splitting to remove sections from a video.
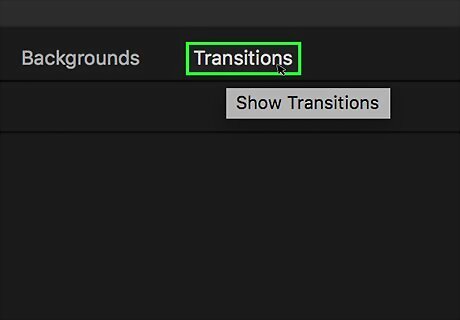
Create a transition between two clips. Click the Transitions tab at the top of iMovie, then click and drag a transition you want to use onto the timeline between two video clips. Selecting a transition with your cursor will allow you to preview the transition.
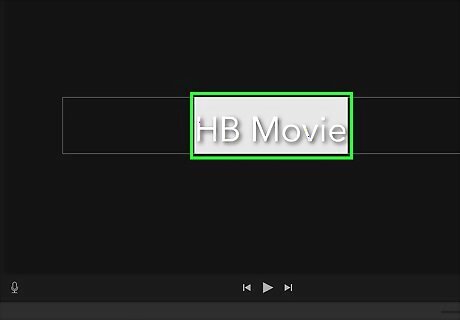
Create a title for your movie. Click the Title tab at the top of the iMovie window, then select a title template and replace the template's placeholder text with your own. This will add a several-second-long title slide to the beginning of your iMovie project.
Add Audio
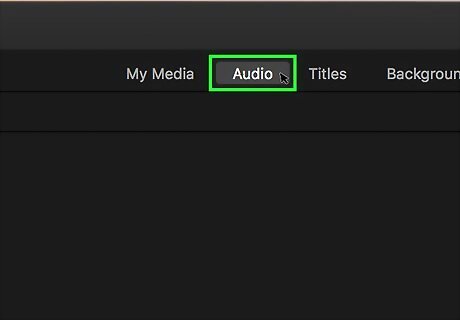
Click the Audio tab. It's near the top of the iMovie window, just right of the Media tab. Doing so will bring up a list of available audio options.
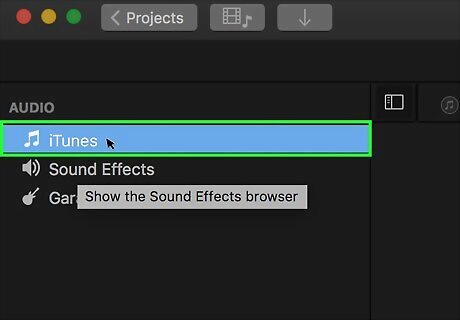
Select iTunes. This tab is on the left side of the window. A list of iTunes songs will appear in the pane.
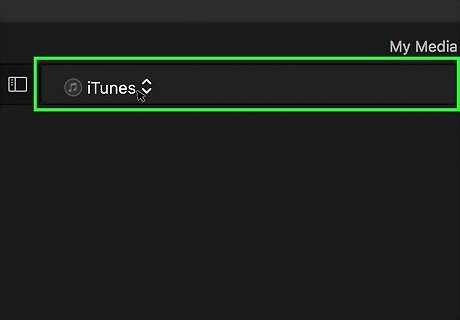
Select a folder. Click the iTunes folder above the list of songs, then click the folder you want to use to browse for music files. If you're content using iTunes music here, skip this step.
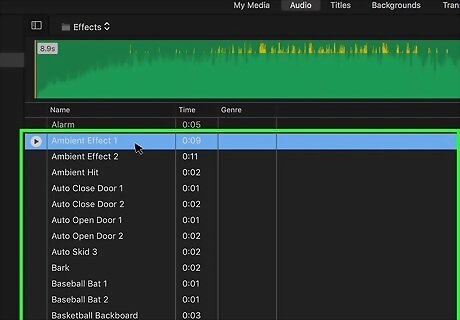
Find a song to use. Scroll down through the list of available iTunes songs until you find one you want to use.
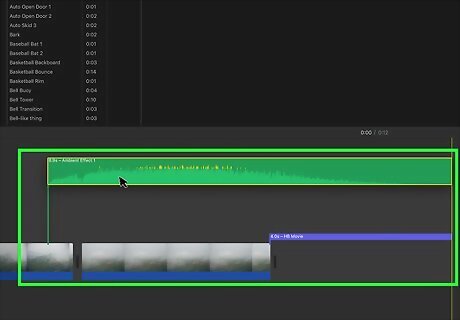
Add the song to the timeline. Click and drag the song from the pane down to the bottom of the timeline, then release the mouse. The song will snap onto the timeline. You can adjust the song's position on the timeline by clicking and dragging the song's bar. To shorten or lengthen the song, click and drag one end of the song's bar.
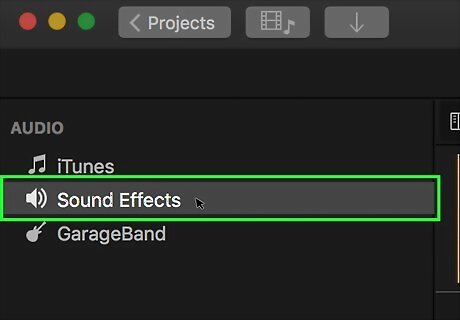
Browse sound effects. To see iMovie sound effects, click the Sound Effects tab on the left side of the window, then scroll through the iMovie sound effects. Just like any other file in iMovie, you can add sound effects to the timeline by clicking and dragging.
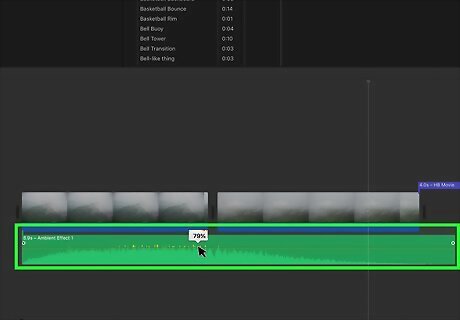
Adjust audio volume. If you need to raise or lower a track's volume, click and drag the horizontal line that runs through the track's green bar up or down. You can mute an audio track by selecting the track and then clicking the volume icon in the timeline.
Publish Your Movie
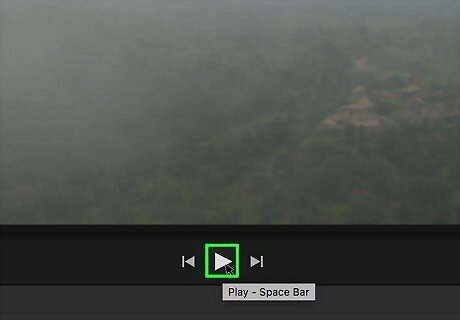
Preview your movie. In the preview pane on the right side of the iMovie window, click the Play Android 7 Play icon. Your movie will play, allowing you to make sure that what you see here is what you want to publish. If you see any issues during the preview, you can edit the movie's files in the timeline before proceeding.

Click the "Share" iPhone Share icon. You'll find this option in the upper-right corner of the window. A drop-down menu will appear.
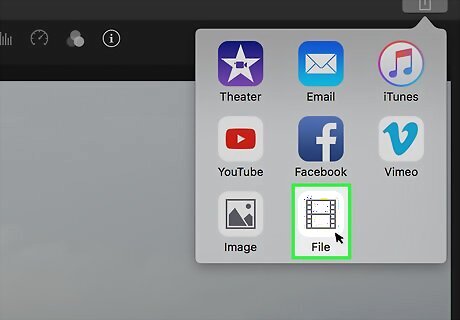
Click File. It's in the drop-down menu. Doing so will open a pop-up window. If you want to publish your iMovie project directly to a video site such as YouTube or Vimeo, you can instead click the site's option (e.g., YouTube) in the drop-down menu and follow the instructions.
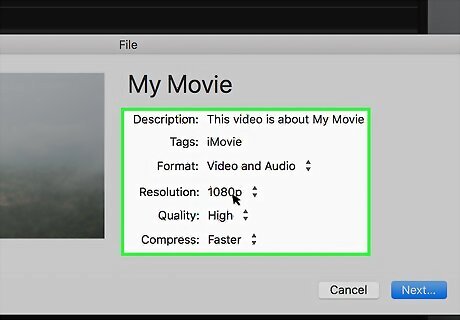
Edit the file's save options. You can change the following information depending on your preferences: Description — Click the current description to enter your own description of the movie. Tags — Click the current tag (iMovie) to add more tags. Format — Allows you to change the movie's file type. iMovie files are saved in "Video and Audio" format by default. Resolution — Allows you to change the resolution of the video. This can impact the video's quality. Quality — Allows you to adjust your video's quality. The higher the quality, the larger the file size will be.
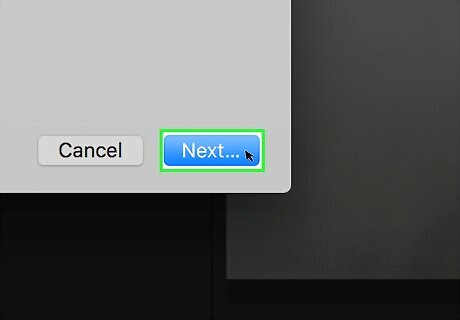
Click Next…. It's in the bottom-right corner of the window.
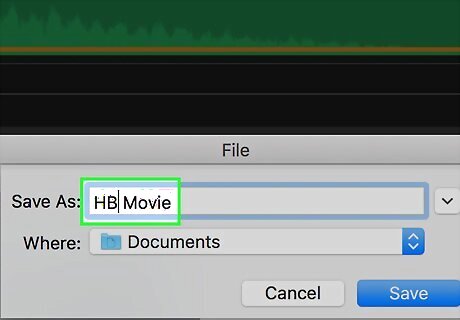
Enter a name when prompted. In the pop-up window which appears, type whatever you want to name your iMovie file into the "Name" text box.
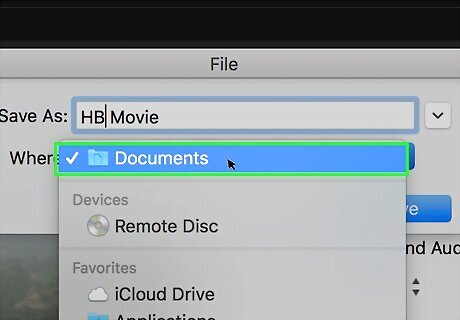
Select a save location. Click the "Where" drop-down box in the middle of the pop-up window, then click the folder in which you want to save your iMovie file.
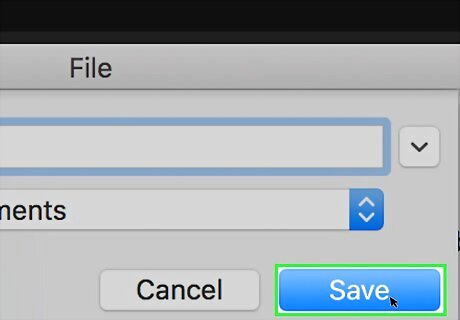
Click Save. It's a blue button at the bottom of the window. Doing so prompts iMovie to begin exporting your movie into a file in your selected save location. Depending on the movie's length, exporting a movie can take anywhere from several minutes to over an hour. Make sure your Mac is plugged into a power source, and keep your Mac's air vents unblocked.


Comments
0 comment