
Creating a Store
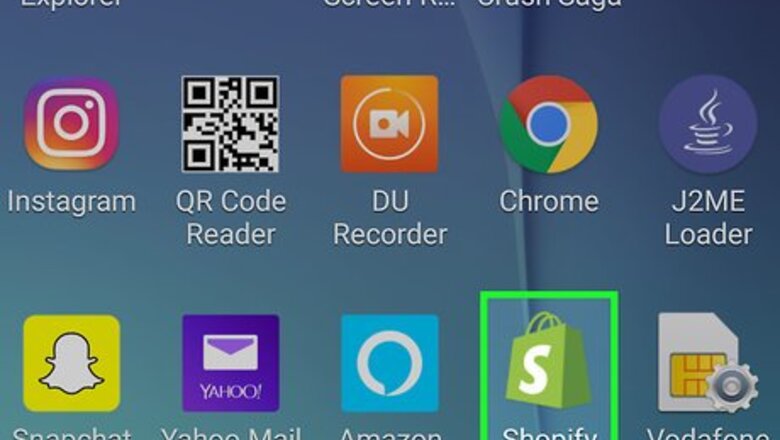
Open Shopify on your Android. It’s the white icon with a green money bag and a white dollar sign. You’ll usually find it in the app drawer or on the home screen. If you haven’t installed Shopify, download it now from the Play Store.
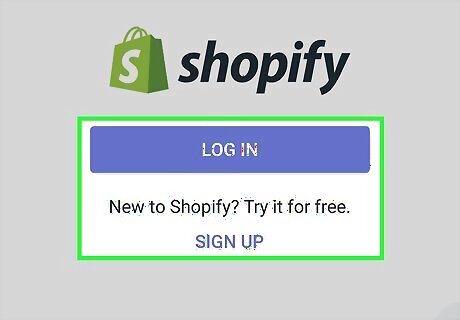
Sign in to your Shopify account. If you have an account, enter your login information and tap LOG IN to access your Shopify Home screen. To create a new account, tap SIGN UP beneath the login fields. You’ll need to provide your email address, a password, the Shopify store name, as well as other details (like address and contact number).
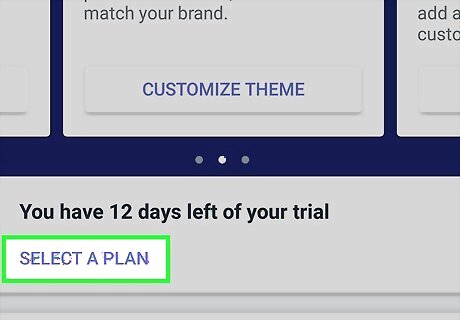
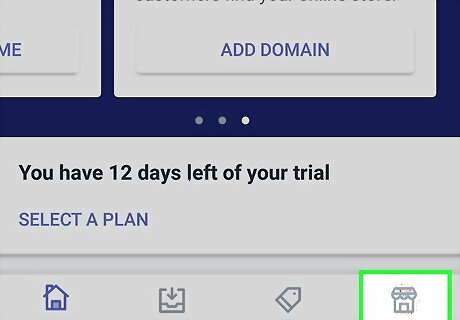
Tap SELECT A PLAN to choose a plan. You can test out Shopify for 14 days for free, no credit card necessary. To continue service, select one of the plans on this page.
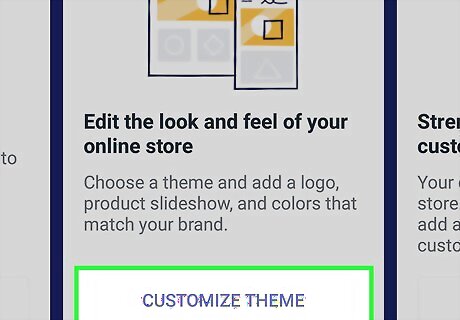
Tap CUSTOMIZE THEME to choose a look for your store. You can set different themes on different sections of the store. You’ll have the option to upload themes are select free options by Shopify designers.
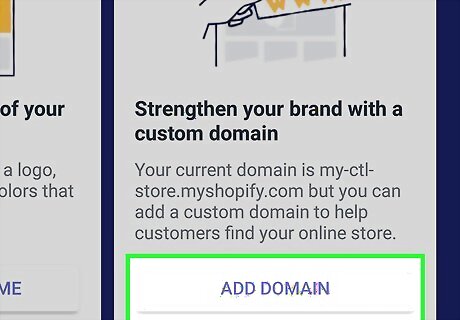
Tap ADD DOMAIN to link a domain name. You can create a new domain name or link an existing one to your Shopify store. If you don’t have a domain name (ex. ''Yourstore.com''), tap Buy new domain to purchase one from Shopify. If you already have a domain, tap Connect existing domain to link it to your store.
Adding and Managing Products
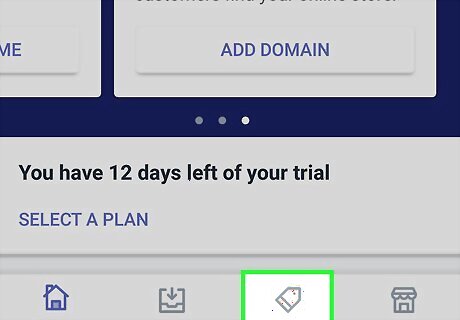
Tap the Products tab. It’s the price ticket icon at the bottom of Shopify. On this tab, you can manage all of the things you’ll be selling. If you’ve already added products, tap All products to see the full list.
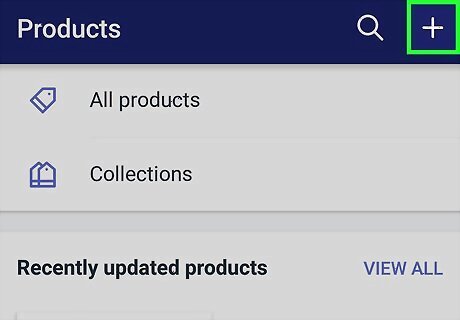
Tap + to add an item for sale. It’s at the top-right corner of the screen.
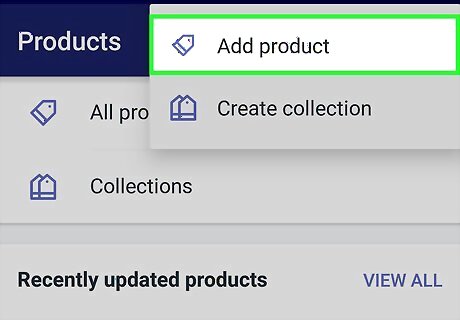
Tap Add product.
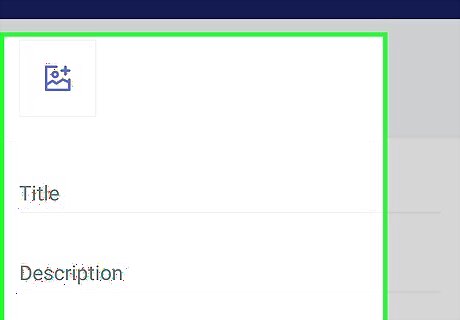
Enter your product’s details. Add all pertinent information about the product, including its name, price, and description
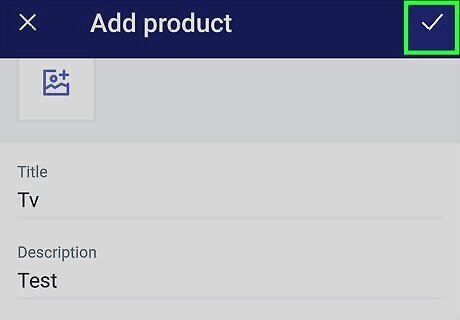
Tap Save. The product is now added to your store.
Accepting Payments

Tap the Store tab. It’s at the bottom-right corner of Shopify. Now that you’ve added products, you’ll need to get ready to accept payments. This involves adding a bank account to Shopify so the service knows where to send your money.
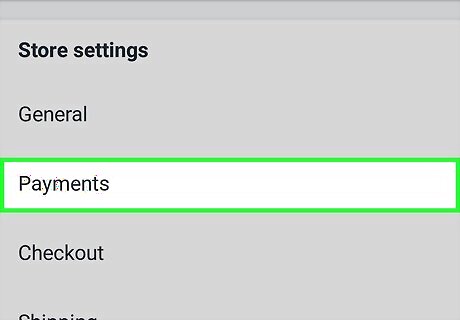
Tap Payments. It’s under the “Store Settings” header.
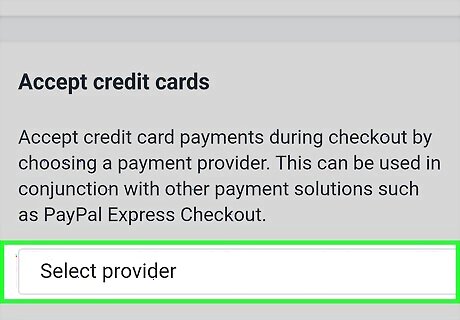
Tap Add a provider. It’s under the “Accept Credit Cards” header.
Tap Shopify Payments.
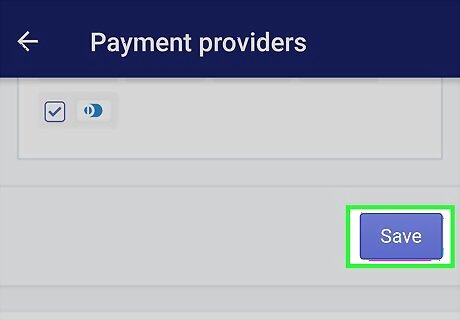
Tap Continue.
Tap Complete account setup.
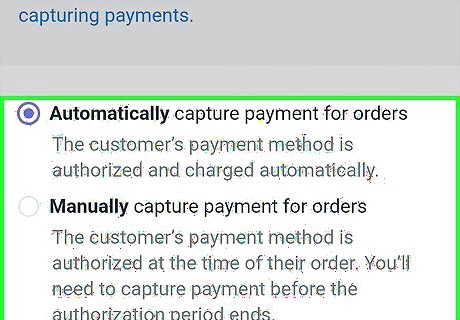
Enter your bank account details and tap Complete account setup. When shoppers make purchases at your store, their payments will be routed to this account.
Keeping Track of Orders
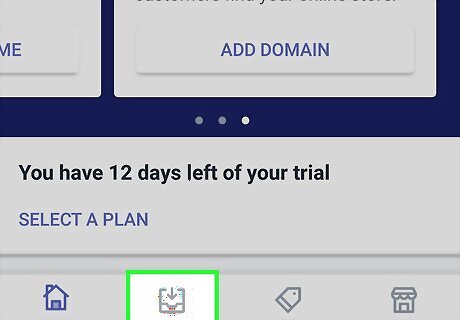
Tap the Orders tab. It’s the second icon at the bottom of Shopify. Once your store is up and running and you’re receiving orders, you’ll be able to view and fulfill them on this tab.
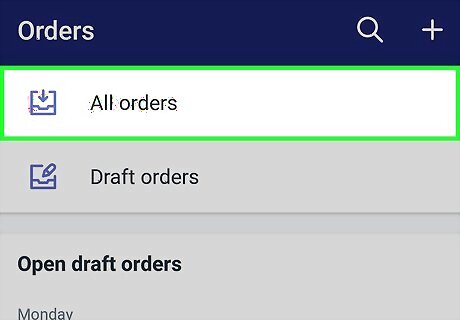
Tap View all beside to “Orders to fulfill”. If you have any outstanding orders, they’ll appear here.
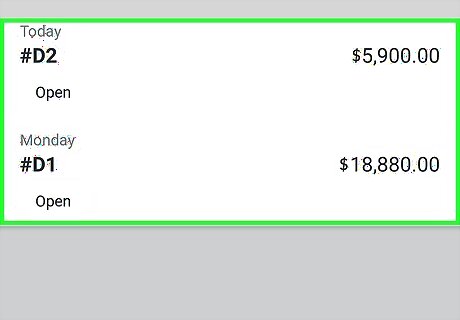
Mark an order as Fulfilled. Orders that haven’t yet been shipped/sent will be marked as “Unfulfilled.” To keep your records straight, mark each order as fulfilled upon sending or shipping. Here’s how to do it: Select an order. Tap Fulfill item(s). Tap each item you’re sending/shipping (if there’s more than one) and tap Continue. If applicable, enter a tracking number and other necessary details. Tap Mark fulfilled when the order is complete.
Monitoring Statistics
Tap the Store tab. It’s at the bottom-right corner of Shopify. After you’ve been running your store for a while, you may want to see how many people are visiting it, where they are coming from, and how many visits convert to sales. You can find this information on this tab.
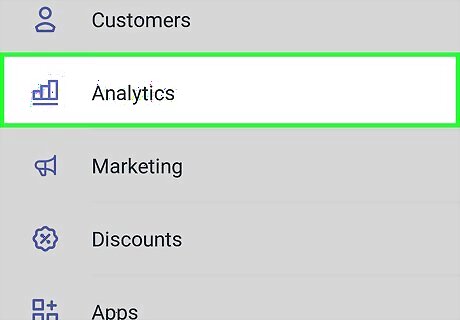
Tap Analytics. This opens the “Overview” screen, which is where you’ll find your most recent visitor statistics.
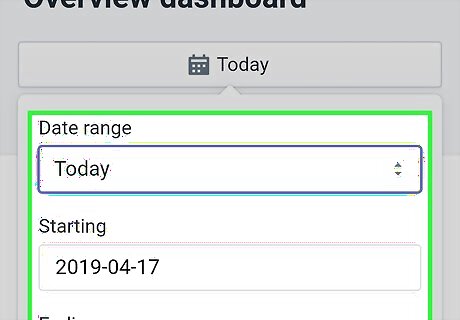
View statistics by date. To select a different date range, tap Date, then choose the dates for the time period. This updates the Overview dashboard with statistics for these dates.
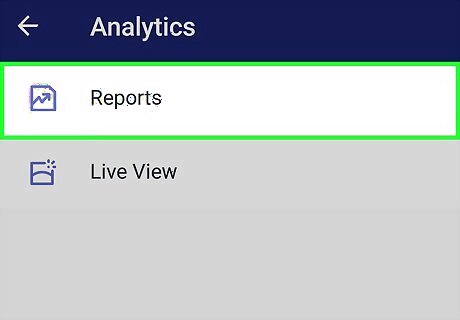
Check your reports. Also on the Analytics tab is a section for different reports. Tap Reports to see what’s available. To see sales for certain dates, tap Show All (“under the “Sales” header), then tap that date’s report. To view customer reports, select a report under the “Customers” header.
Managing Customers

Tap the Store tab. It’s the outline of a store at the bottom-right corner of the screen. In addition to analytics and products, you’ll also find information about your customers on this tab.
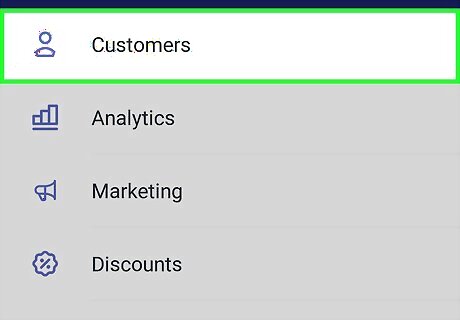
Tap Customers. It’s the first option on the screen. Any time a new customer buys something from your store, their information will be added to this screen.
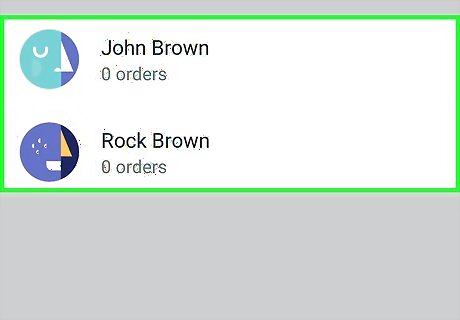
Tap a customer’s name to view or edit their information. If your store is set up so that customers can create profiles, you’ll see the information from their profiles on this screen. To update a customer’s information, simply edit the necessary fields, and then tap Save.
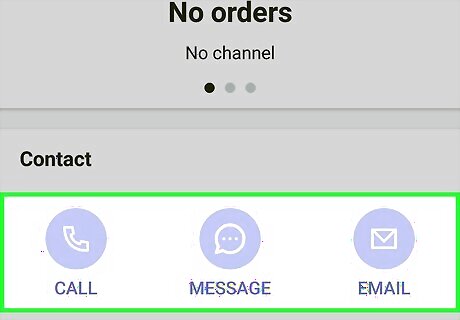
Send a message to a customer. To contact a customer about an order (or anything else store-related), tap their e-mail address on the Customers screen, then write your message. To send the message, tap Review email, then tap Send.
Setting Up Discount Codes

Tap the Store tab. It’s at the bottom-right corner of Shopify. To attract customers to your store, try advertising discount codes.
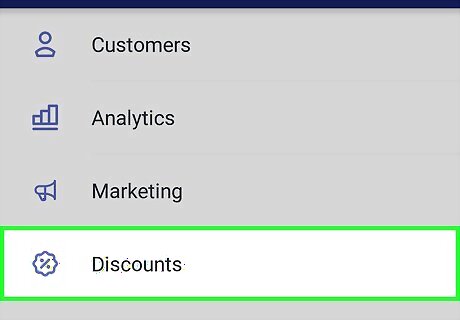
Tap Discounts. It’s the third option in the menu.
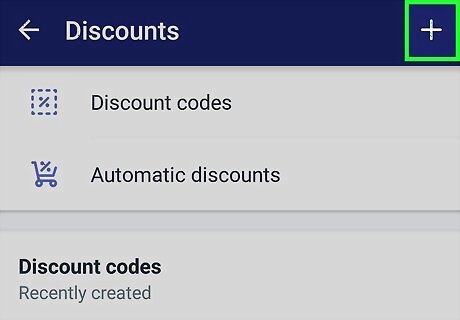
Tap +.
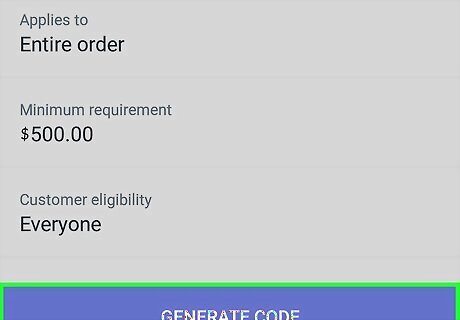
Type a code or tap Generate code. If you don’t have an idea for a code, Generate code will create a random one.
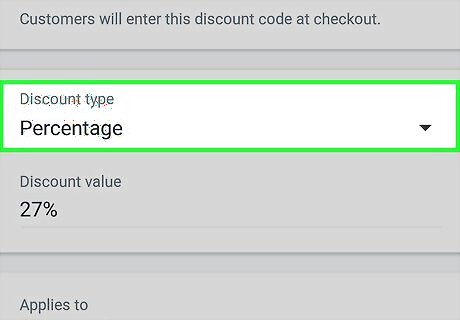
Set a discount percentage. This is how much shoppers will save when using the code. Select Percentage under “Discount type,” then tap the desired percentage.
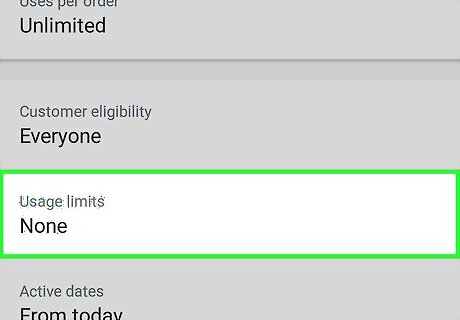
Add special rules to your discount. Scroll through the options to choose your preferences (such as items excluded from the discount). Select Usage Limits to limit the amount of times the code can be used. Tap Active dates to select when/if the discount code will expire.

Tap Save. The discount code is now active for the selected dates.
Managing your Settings

Tap the Store tab. It’s at the bottom-right corner of Shopify.

Tap Settings to update your settings. This is where you’ll find settings for the Shopify app (such as notifications and camera options), as well as general store settings (including checkout preferences, tax information, and shipping options).
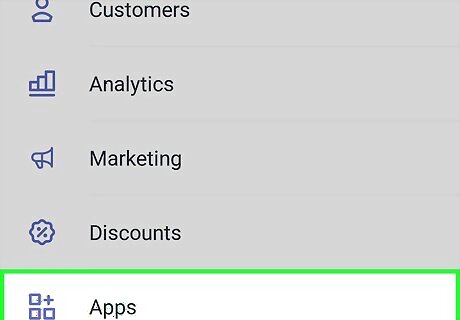
Tap Apps to view installed Shopify apps. If you’ve added Shopify Apps from the Shopify web store, they’ll appear in this section.
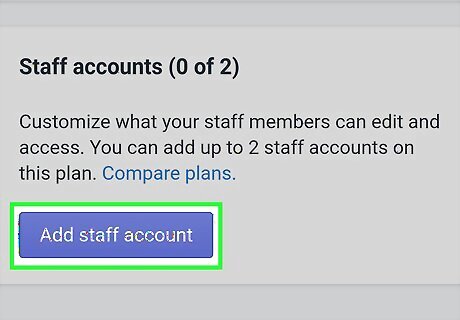
Add an account for a staff member. If you’re not the only person managing the store, you’ll want to create separate accounts for your staff for accountability purposes. Here’s how to create a new account: On the Settings screen of the Store tab, tap Accounts. Tap Accounts and permissions. It’s under the “Staff accounts” header. Enter the staff member’s email address and other necessary information. Tap Send invite. When the staff member receives their invitation, they can tap or click the link in the message to complete the setup process. To edit a staff account, tap the person’s name on the Accounts and permissions screen, then make any necessary changes.
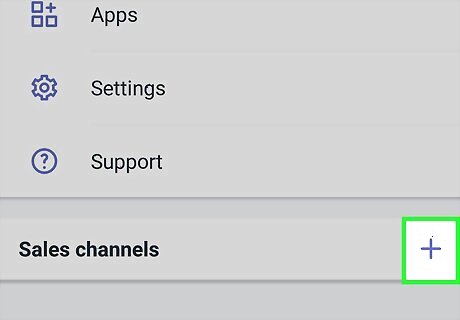
Add other sales channels. If you sell your products on other sites, you can add them to your Shopify store. To do so, scroll down and tap the + next to “Sales channels,” then follow the on-screen instructions to add the channel.
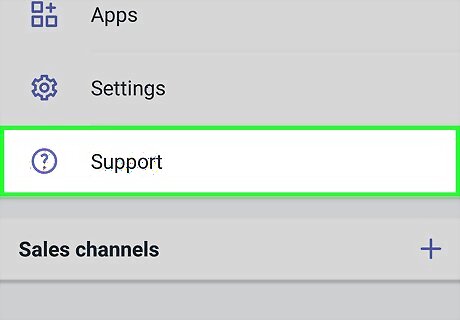
Tap Support for assistance. If you need help with your store or want to check out FAQs, you can find all of the information you need on this screen.


Comments
0 comment