views
Installing the Scope
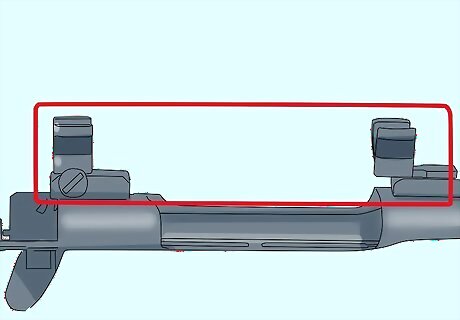
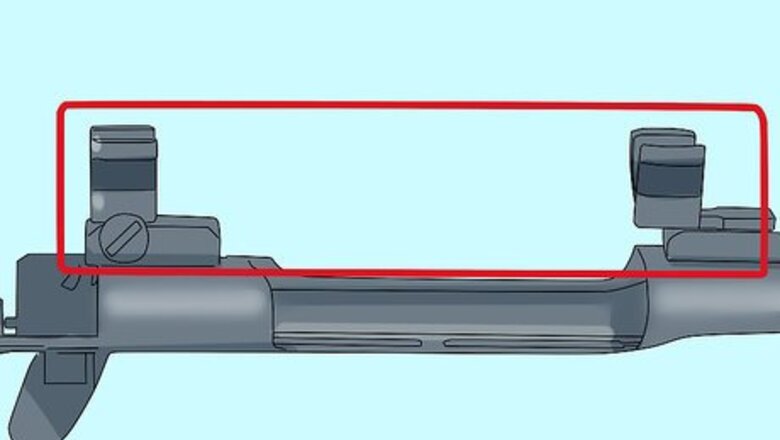
Mount the base and rings on the scope. Start with a good quality base mount and mounting rings to ensure that your scope will be held sturdy for years to come. It's often better to spend a little more on the mount than on the scope itself, so you won't have to continually adjust things when you've got it sighted in. To install the mount, you'll tighten the screws into the mounts according to the manufacturer directions. It's best to proceed in an X pattern, so that you are not pulling the scope one way or the other. Start the screws loosely at first, so you can make adjustments if necessary.
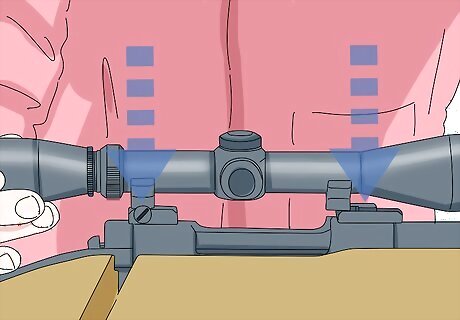
Mount the scope on the rifle. Lay the scope into the bracket, according to the manufacturer's directions, with the eyepiece oriented in the correct direction. Use a small torpedo level, laying it on the top of your scope to check for level, and tightening the rings firmly.
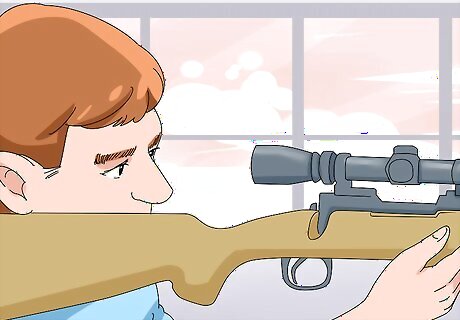
Position the eyepiece correctly. Set the distance to your shooting eye so the position is correct when in your shooting position. Your image should be sharp and clear when you look through the eyepiece, when this is achieved your know you are in the correct place.
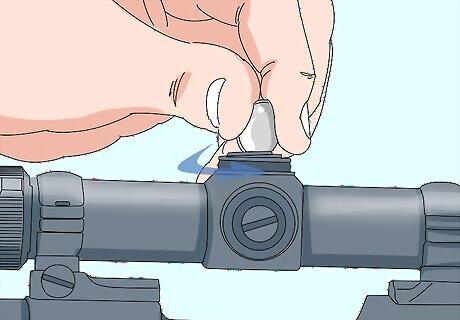
Level your cross-hair. Your rifle should be held in a steady position, mounted on a stand so that the rifle stock is level and square to the ground level. Start rotating the cross-hair so that the vertical cross-hair is at top dead center, or 12 o'clock. Imagine a line through the cross-hair that runs directly through the center of your rifle. You can make further adjustments later, but it's important to get the cross-hairs oriented in the correct position now, before you tighten it down.
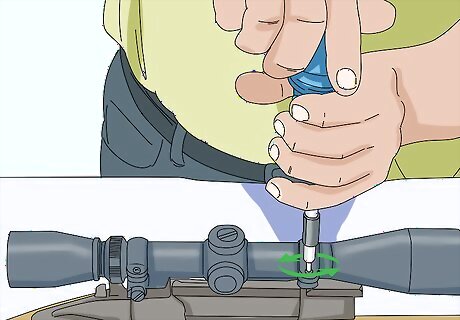
Tighten your mounting base securely. Make sure that the cross-hair remains top dead center, then gradually tighten your mounting rings. Tighten each screw only half a thread at a time constantly checking the cross-hair hasn't moved. Go slowly.
Setting Your Zero
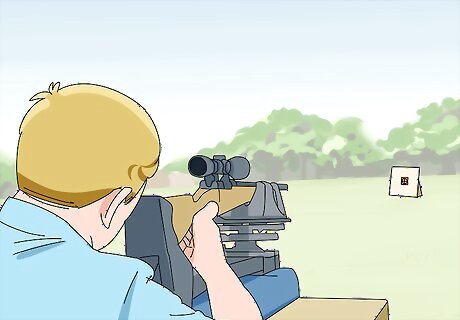
Head to the range. The only way to accurately sight-in a rifle scope is to shoot it from a variety of positions. The easiest way to do this is at the gun range, typically, where you can be sure of the distances and your backstops. As always, practice good gun safety while you're handling a firearm and bring eye protection and ear protection, as well as enough ammunition for a day of shooting. Use a bulls-eye target specifically for zeroing. These will typically have lots of measurements that will let you make accurate adjustments on the rifle. The more sure how "off" each hit is, the more accurately you'll be able to sight it in. Follow the specific regulations and rules at the range at which you're shooting.
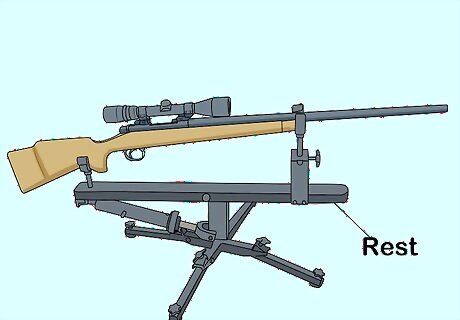
Mount the gun in a rest. When you're zeroing a rifle, you need to eliminate user-error from the equation as much as possible. In other words, you can't miss. To give yourself the most accurate zero, you need to mount your gun into a rest specifically for this purpose, which are available at all sporting goods outlets, and may be available at a gun club near you, which you can borrow. All the more reason to head to the range. If you don't have a solid gun rest, get in as solid a position for shooting as possible. Even just setting up a couple of steady books, or your boots, or your jacket, will help you to rest the gun on something and shoot more accurately. Just make sure whatever you're resting it on is clear of the bolt.
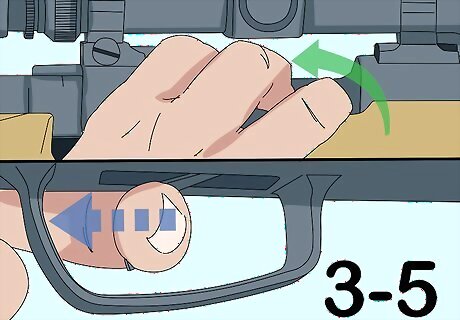
Load the gun and take three to five shots with the rifle. Wait for the signal that the range is hot, and look through your scope, training the sight on the bulls-eye. Using a proper stock to cheek weld and maintain the same sight picture as you usually do. Take the safety off the rifle. At the end of your exhale, hold for a split-second, then squeeze the trigger firmly without jerking it for the most accurate shot. Repeat 3-5 times for the most accurate first run.
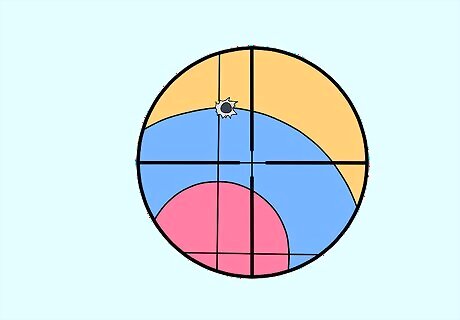
Examine your shot grouping. Wait for the signal that the range is cold, then safety and unload your rifle, checking it twice to be sure. Retrieve your target, or examine it through a range sight to get an accurate picture of your shots.
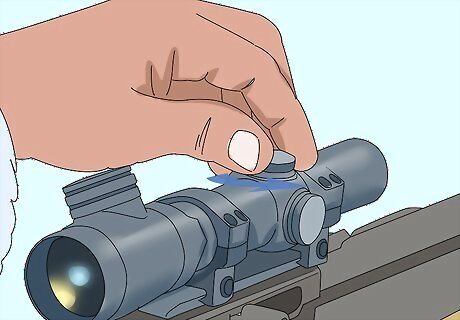
Make adjustments using the knobs, and recheck. Return to your rifle, and make adjustments using the adjustment knobs on the top and one side of the scope. Each scope will have a slightly different mechanism for making adjustments, but the principles are basically the same. For specific instructions about adjusting the zero, read the next section. Once you've made your adjustments, repeat this process. Fire a few more rounds, check the grouping, and readjust. That's the process. It's a good idea to mark the holes in the target that you've already made, so you don't get confused later, or to use a new target. Some targets come with four or five different bullseye, just for this process.
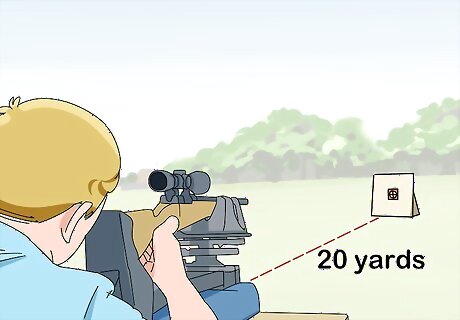
Set zero from multiple distances. Generally speaking, most marksmen will want to sight-in the rifle from a variety of different positions, focusing most on the distances at which you'll be likely to fire. The same basic process and adjustments can be made at each position, but you'll probably want to measure from at least two, and probably more like three or four distances. Start at 20 yards (18.3 m), then move out to about 75. Try not to move more than 50 yards (45.7 m) at a time, to keep yourself making little adjustments. If you have time and feel like you could still make more adjustments, you can move into the 200–300 yard (180–270 m) range and get ambitious. At that point, however, wind will be a big factor.
Making Adjustments
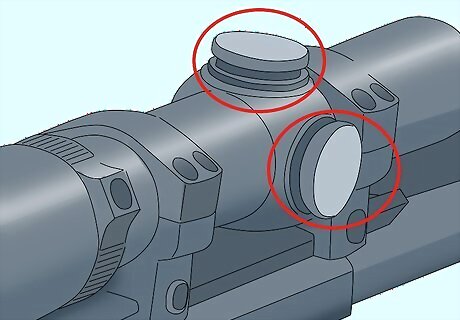
Examine the adjustment knobs. Most scopes should have two dials on it, one on the top and one on the side, which are used to adjust the scope and will allow you to zero it, so what you're seeing and where the rifle is aimed will be in line. The top knob is used to adjust the up and down of the cross-hairs, and the one on the side will adjust the scope left to right. On some older sights, you'll need to use a penny or a small key to turn the knobs gently, though on most sights you can just use your fingers to twist the knob, like a dial.
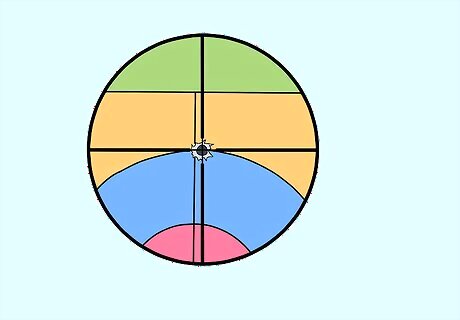
Move the sight toward the misses. If you missed high, adjust the scope to go higher. If you missed left, adjust the scope toward the left. Continue making the necessary adjustments until your secured and steady rifle is hitting bull's eye regularly, then move elsewhere on the range to try from another distance.
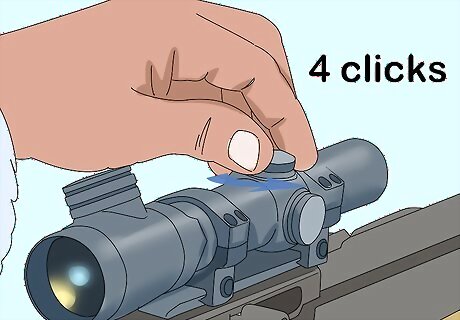
Make very small adjustments. On most scopes, each click you turn either dial that moves the zero 1/4", so four clicks of the knob would be about an inch. Read the user manual that came with your scope to be sure about adjustments, but always move little.
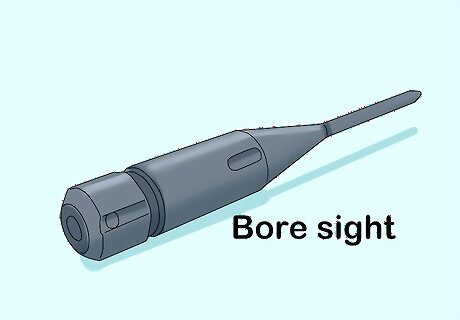
Use a bore sight for more adjustments, if necessary. If you have access to a laser bore sighter that will save you a lot of ammo and less wear on the shoulder. If not, take your rifle it to your local sporting goods dealer and have them bore sight it. It's a very inexpensive process that will result in a pretty accurate rifle. Once the gun has been bore sighted and is ready to shoot you should still test it yourself using these directions and make the necessary adjustments. Some difference will come from different user variables.




Comments
0 comment