views
Picture Hanging Strips
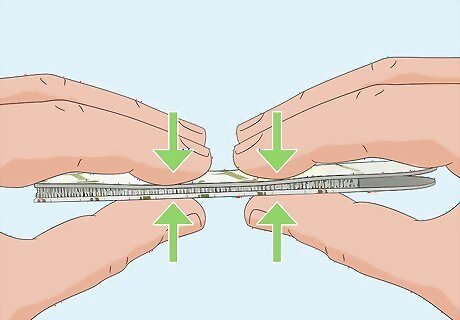
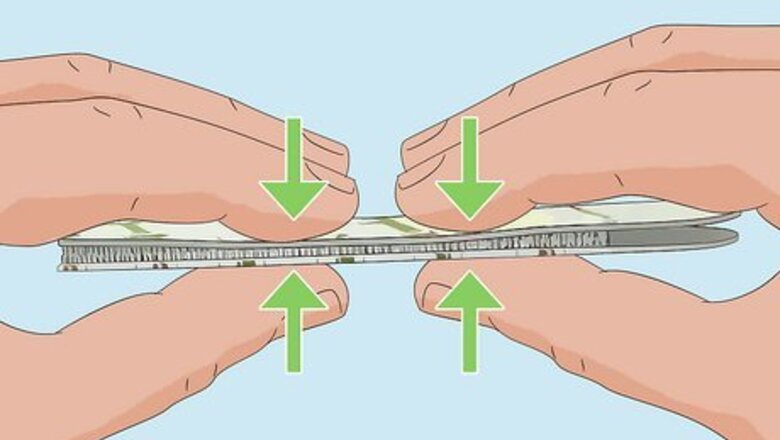
Press 2 strips together until you hear them click. Command Picture Hanging Strips come in 2 identical pieces that have an adhesive on one side and a Velcro-like fastener on the other. Separate the strips if they’re connected along the edge by pulling them apart slowly. Then, line up the fastener side of one strip with the other, and push the strips together until you hear a click. You’ll usually need 4 pairs of strips (8 strips total) to securely hang a picture, so prep a few additional strips as well. Picture Hanging Strips come in multiple sizes that each have different weight and size limits. Double-check the weight and size of the picture frame you’re hanging and choose the strips that match.
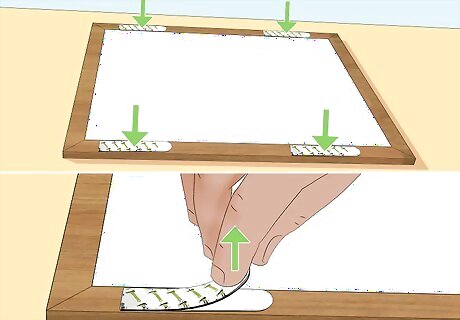
Attach the strips to the back of the picture frame. Peel off the liner covering the adhesive on one of the strips you’re using. Place the sticky side of the strip down on the back of the frame in the top corner, and press it down firmly so the rounded tab points down. Place another set of strips in the other top corner the same way. Place the 2 remaining sets of strips about ⅔ of the way down the picture frame on each side. If your picture frame already has hanging hardware on it, remove the pieces first to ensure it mounts flush with your wall. Avoid placing the strips on paper, fabric, or soft surfaces on the back of your picture frame because the adhesive may not form a strong bond or the material could tear. Avoid using Picture Hanging Strips to put up valuable items or clocks just in case the adhesive fails.
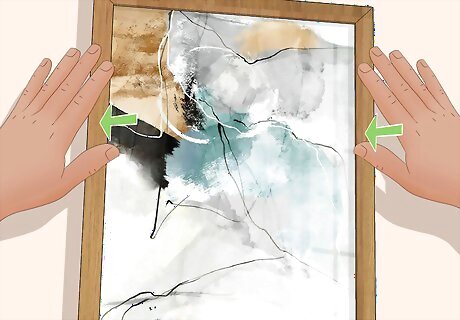
Remove the liners and press the frame on a clean wall. Take off the rest of the liners from the strips on the back of the frame. Wipe the wall with rubbing alcohol to clean off any residue first. Once the surface is dry, push the frame against the wall and hold it firmly in place for 30 seconds so the adhesive has time to bond. Command strips typically work best on smooth wall surfaces, like drywall, wood, tile, metal, glass, or laminate. However, they may not adhere properly to textured walls, vinyl, wallpaper, brick, fabric, or other rough surfaces. If you want to be precise about where you’re hanging your picture frame, measure and mark the wall beforehand. Command strips don't typically hold up well in humid environments, like bathrooms.
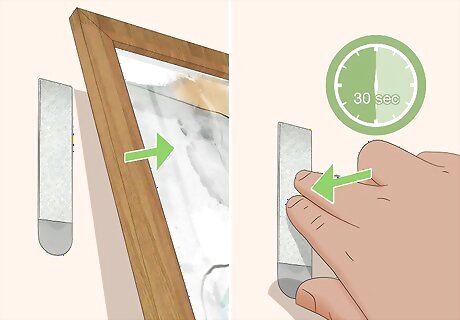
Remove the frame and press the strips again for better adhesion. Hold onto the bottom corners of the frame, and gently lift it up toward you to separate it from the strips on the wall. Then, press against each of the wall strips for another 30 seconds to help them stick to the surface even better. Avoid using a lot of force to remove the frame, or you may loosen the strips on the wall. Avoid hanging command strips directly above a heater since the heat could melt the adhesive and cause them to fall.

Let the strips cure for 1 hour before reattaching your frame. During the first hour after applying your Command strips, leave them alone so the adhesive can fully bond with the wall. After that, align the strips on the back of the frame with the ones on the wall. Push the frame firmly onto the wall strips until you hear the strips click together.
Indoor and Outdoor Hooks
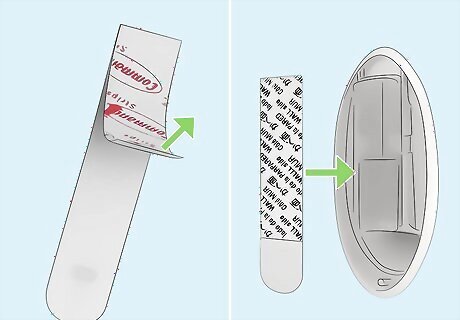
Attach the red side of the Command strip to the back of the hook. Look for the side of the Command strip that has the red liner over the adhesive and peel it off. Line up the strip’s adhesive with the flat rectangular plate on the backside of the hook so the rounded pull tab is on the bottom. Press firmly along the length of the strip from the top downwards to attach it to the hook. Indoor strips work well for temperatures between 50–105 °F (10–41 °C) while outdoor strips stay adhered between −20–105 °F (−29–41 °C) Command Hooks come in multiple sizes, and larger hooks have a higher weight limit. Check the weight limit of each hook and the item you plan on hanging from it to ensure it will hold properly.
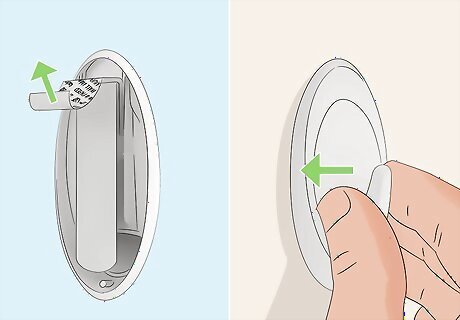
Remove the black adhesive liner and press it onto a clean wall. Peel the black liner off the strip to reveal the adhesive that attaches to your wall. Clean the wall off with rubbing alcohol to get rid of dirt or dust, and then press the hook firmly onto the surface once it's dry. Hold the hook against the surface for 30 seconds to help make the adhesive bond securely. Command Hooks work best on smooth surfaces, like drywall, wood, glass, or metal. Soft or irregular surfaces, like fabric, wallpaper, vinyl, and textured walls, could prevent the adhesive from sticking and cause the hook to fall down.
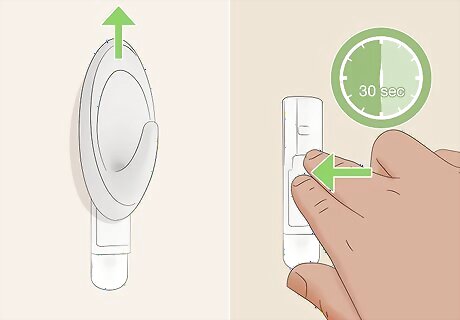
Slide the hook off the base and press it against the wall. Hold onto the hook and gently slide it straight up to separate it from the mounting base on your wall. Then, push against the base against the wall with firm pressure for another 30 seconds. Pressing the mounting base directly ensures that the adhesive will bond with maximum strength.
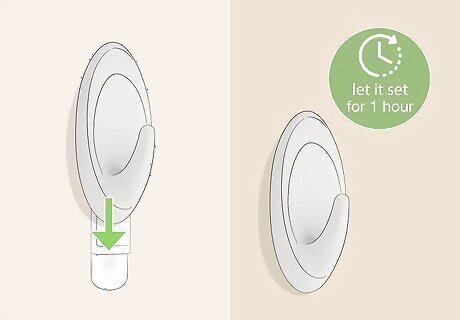
Reattach the hook and let the adhesive set for 1 hour. Position the hook above the mounting base, and slide it down to reconnect it. Leave the hook alone for about 1 hour so the adhesive can create a strong bond and support the full weight of the item you’re hanging up. If you’re worried about someone hanging an item by the hook before the adhesive sets, just wait until after an hour passes to reattach it to the base.
Clear Hooks
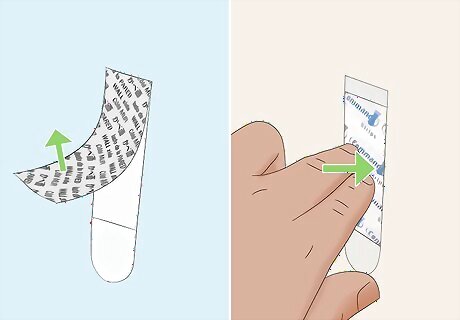
Peel off the black adhesive liner and press the strip onto a clean wall. Tear off one of the clear Command strips from the package. Clean the section of wall where you want to place the hook with rubbing alcohol to remove the dust and let it dry. Then, peel off the black liner labeled “Wall side” on the strip. Then, just press the strip against the wall firmly for about 30 seconds so the rounded pull tab points down. Clear hooks are transparent and have see-through strips so they’re less noticeable on your wall. Clear hooks work best on hard, flat surfaces, like drywall, wood, tile, or glass. They do not work well on textured or soft surfaces, like wallpaper, brick, or fabric. Choose strips and hooks that have a weight limit that fully supports the item that you want to hang up.
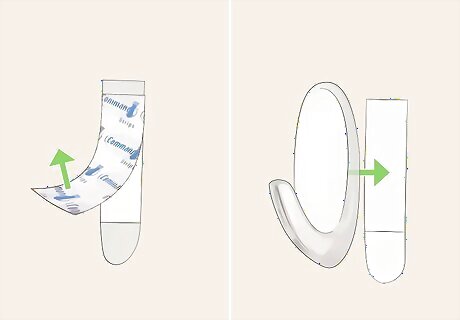
Remove the blue liner and attach the hook to the strip. Peel the blue liner off the front of the Command strip to expose the adhesive. Line up the rectangular plate on the back of the hook with the strip on your wall and press it down firmly. Keep applying pressure on the hook for about 30 seconds to help the adhesive bond more securely.
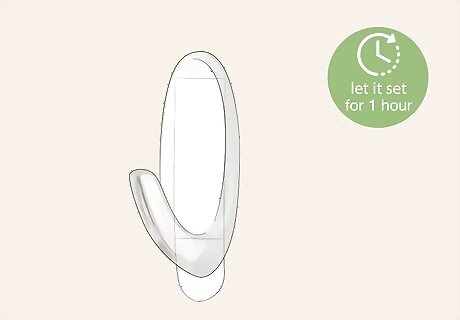
Let the adhesive cure for 1 hour before hanging items. The adhesive is still a little weak when you first apply the hook, so leave it alone for 1 hour so it has time to bond with the wall. The adhesive needs time to fully bond to the wall. After an hour passes, your hook is ready to use.
Adjustable Strips and Hooks
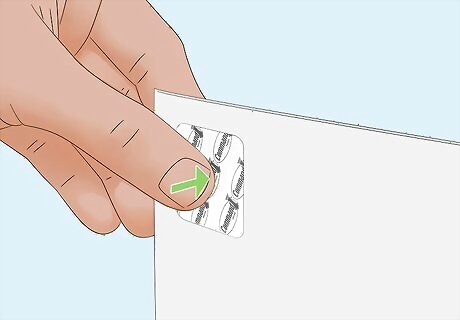
Attach strips to the back of the poster or object you’re hanging. Command Adjustables have workable adhesive that lets you reposition the strips a few times before they stick completely. Simply peel a strip off of the backing sheet and press it firmly for 5 seconds into the corner or along the edge of the object you’re hanging. Place a strip in each corner of the object for a more secure hold. Adjustables are made to hang lightweight objects, such as posters, string lights, or other small paper decorations that aren’t in frames. About 4 strips can support ⁄4 pound (110 g) of weight.
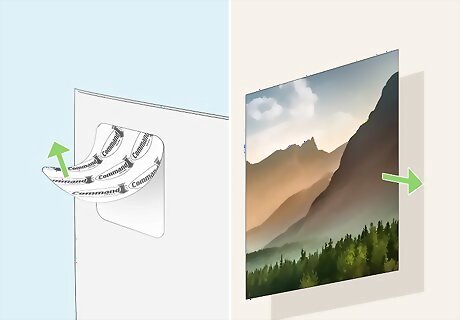
Remove the black liner and press it against a clean wall. Clean off the spot where you want to hang the Command strip with rubbing alcohol. Once it dries, peel off the black liner on the strip to expose the adhesive. Line up the object you’re hanging on the wall and gently press the strip against the wall so it stays in place. If you’re using Adjustables with hooks, then remove the purple liner on the strip and press the hook piece onto the adhesive first. Then, remove the strip from the backing paper and press it against the wall.
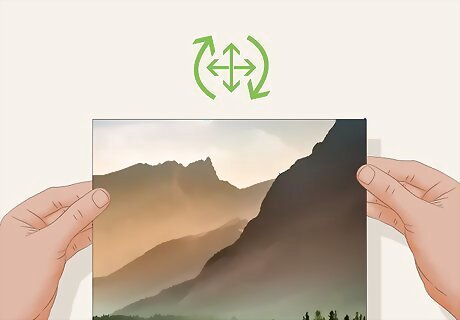
Adjust the position of the object on your wall up to 3 times. Adjustables have a light adhesive that forms a stronger bond after about 20 minutes. If you’re not happy with where you hung the picture or object at first, gently peel it off of your wall and place it in a different position. If you reposition the strips more than 3 times, the adhesives may start to wear out and not stick as well to the surface.

Press the strip firmly against the wall for 10 seconds to secure it. Once you’re happy with the position of the strips, press them down against the wall for at least 10 seconds to help the adhesive bond even more.




Comments
0 comment