views
It has been more than eight years since Sony’s PlayStation 4 was launched. So, if you are one of the early adopters of the gaming console series and you chose the 500 GB variant, you are probably deleting your games to make room for new ones. But if you do not want to delete your games to store more and buying a new console entirely is not on the table, you should consider upgrading your hard drive. It is a fairly simple and easy process. And yes, you can do it at home by yourself. Just follow a few simple steps carefully and you will easily upgrade your PS4.
Step 1: First of all, you need to backup your data to a backup drive. Plug in your backup drive that has enough free storage and on your PS4 device, go to Settings> System and scroll below to find and select “Back Up and Restore.”
Step 2: On the next screen, select the “Back Up PS4” option. Click on “OK.” On the next screen, you will see the file name and backup size. Click on “Back Up.” PS4 will restart and start backing up your data. It may take about an hour.
Step 3: Once the backup is done, fully power down your PS4 by long-pressing the power button. After that, disconnect the power and HDMI cables from the device.
Step 4: Once everything is disconnected, put both of your hands on the removable plate on the top and slide it outwards. Once it slides, stop and lift the plate off to put it aside.
Step 5: There will be a screw at the hard drive’s corner. Unscrew it and pull the hard drive out.
Step 6: Next, you need to unscrew the hard drive’s metal case. There will be four screws that you need to remove.
Step 7: Next, put the new hard drive that you have bought in the exact place and put all the four screws back so that the new hard drive is fixed in the metal casing.
Step 8: Put the hard drive in the metal casing back into its space in the PS4 device and put the corner screw back on.
Step 9: Put the lid plate back on.
Step 10: Now, you need to update your PS4’s software. Go to the PS4 System update website and download the update file.
Step 11: Transfer the update file to a USB drive and plug it into the PS4.
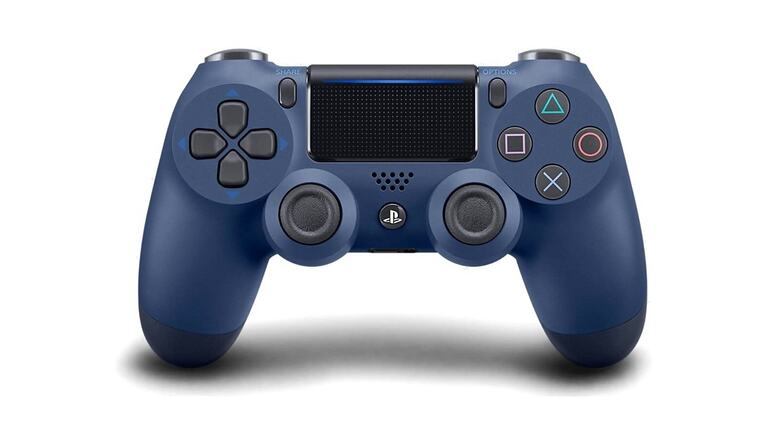
Step 12: Reconnect the cables and turn on the PS4 now. Now, connect the DUALSHOCK 4 using the USB cable and press the PS button.
Step 13: Now scroll down and click on the ‘Initialize PS4/Reinstall system software’ option. And affirm the further confirmations. Now, follow the onscreen instructions.
Step 14: Once the software is updated, you need to restore your backup. Plugin your backup drive. Go to Settings> System and select Restore PS4.
Step 15: Choose the restore file and confirm. The restoration process will take over an hour.
Once it is done, you will be able to access your old games on your new hard drive.
Read all the Latest Tech News here


Comments
0 comment