
Making Quick Adjustments

Tug on the loose end of the strap to tighten your overall straps. Feel beneath the main straps of your overalls for a small section of fabric or denim. If your straps keep slipping off your shoulders, pull on this section of denim to tighten your overalls into place. If your overalls continue to slip after you’ve adjusted the strap, you may need to purchase a set in a smaller size, or visit a tailor.

Pull down on the buckle to give your overalls more slack. Grip both sides of the adjustment buckle, which is the buckle located further up your overall strap. Pull and drag this buckle down, which increases the length of your straps and gives you more wiggle room. Most overalls have 2 buckles—1 for adjustment, which sits higher up on the strap, and 1 that attaches to the button portion of your lower garment.
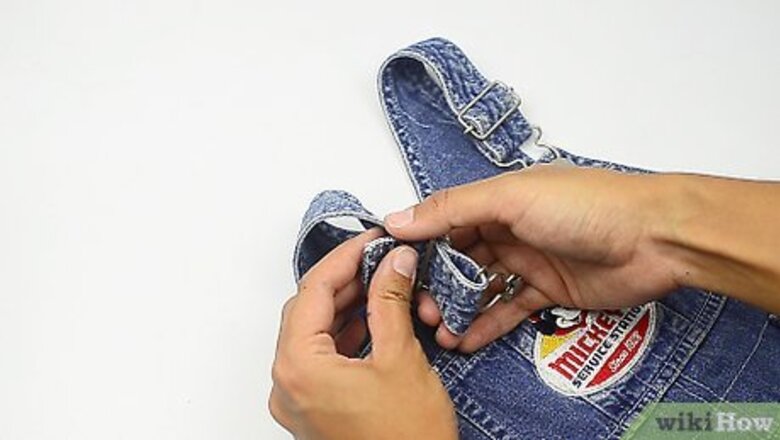
Remove the adjustment clip and circular buckle if your overalls are riding up. Twist your overall strap so you can see part of the adjustment clip, which helps you change the length of your. Then, take a pair of pliers and undo this latched wire beneath the adjustment wire, along with any latched wire beneath the lower, rounded buckle. Remove both the adjustment clip and the circular buckle from your strap, then rethread the connecting buckle back into place through the circular buckle. Oftentimes, these buckles are twisted and secured beneath the fabric strap, which helps hold the buckle mechanisms in place. Some overalls may have an adjustment buckle instead of an adjustment clip.
Rethread the strap through the circular buckle. Loosen the wires in the buckle and slide them through the bottom of your overall strap. Secure the latched wires back in place within the strap so it stays in place. Some buckles may not need to be adjusted with wires—you may just have to rethread the strap through your circular buckle. Alison Smith Alison Smith, Master Tailor Getting the right fit on your overalls is key for comfort when you wear them. If the straps are too loose, they'll slip down as you work. Start by finding the metal slider buckle a few inches below the top shoulder seam. Grip both sides and slide it up to tighten the straps so they hug your shoulders snugly. If still loose, remove the buckle completely, pull more strap through the loop, and reattach the buckle. For looser overalls, just slide the buckle downward. Well-fitted straps evenly distribute the overalls' weight across your shoulders.
Threading New Buckles
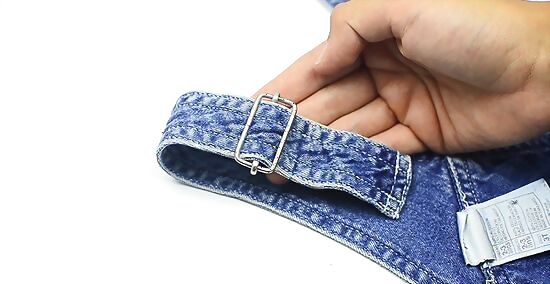
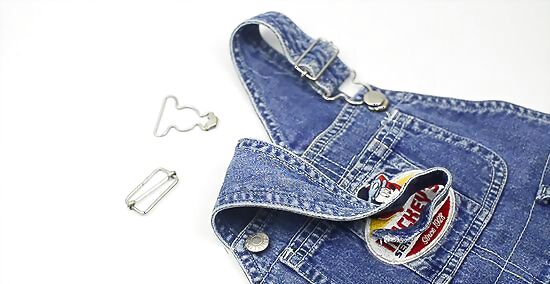
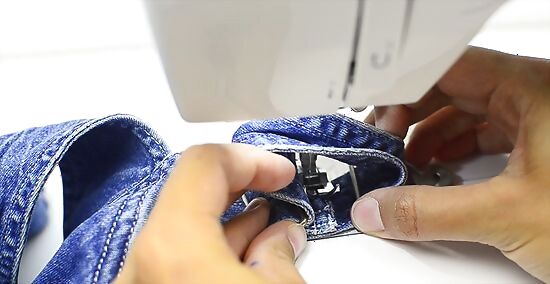
Loop your overall strap through a new buckle. Thread the strap over and under the adjustment strap, then drag the buckle along the fabric. Drag the buckle upwards so it’s at least 4 in (10 cm) above the bottom of the strap. You can find overall strap buckles online, or in some fabric stores.

Thread the second buckle onto your strap. Loop the end section of your overall strap over and under the bottom buckle, then thread the leftover fabric beneath the metal bar along the bottom of the buckle. The extra metal bar helps keep your straps secure.
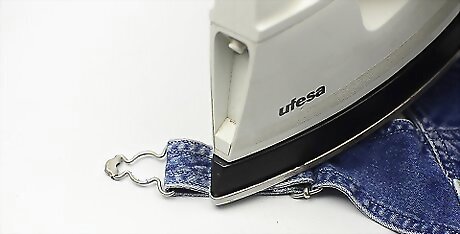
Fold and iron the bottom ⁄4 in (0.64 cm) of the strap in place. Find the bottom, loose end of your overall strap. Take the raw, loose edge and fold it along the back of the strap. Set your iron to high heat and go over the folded edge to hold it in place. Repeat this process on the other strap so they both look uniform.
Stitch the folded edge in place with your needle and thread. Sew along the bottom of the fold, then stitch across in a straight line. Take some time to sew both straps so your overalls look identical. It may be easier if you use a sewing machine for this.
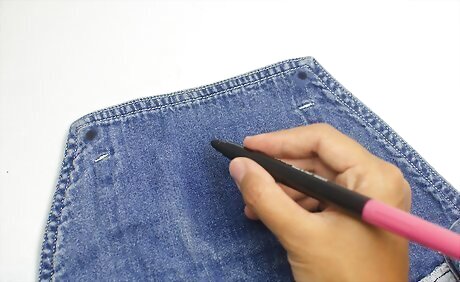
Place a dot in the top left and right corners of the overalls to mark where the buttons will go. Look along the upper left and right corners along the front of your overalls. Draw 2 dots or other small marks along both sides of the material with permanent marker, chalk, or some other writing tool. Check to make sure that both dots are mirror images of one another so your overalls aren’t uneven once you’ve finished sewing. If your overalls are really big, you can position the buttons a bit lower over your torso area.
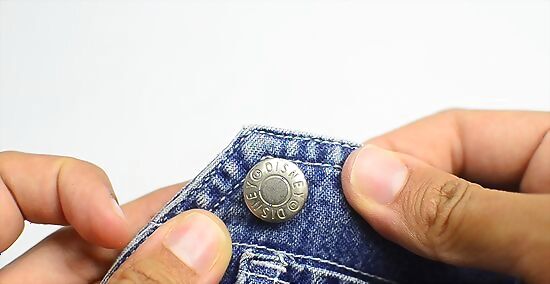
Stitch the metal buttons onto the pre-marked dots. Fold 2 long sections of thread in half and thread them into your needle. Sew the overall buttons into place along the pre-marked spot to secure them to your garment. You can find overall buttons online, or in most fabric stores. These have at least 1 opening that helps you thread the button to the fabric. If you’re experienced with a sewing machine, you may be able to adjust your settings and sew the button on in that way. Using more than 1 thread makes your stitching extra sturdy. You may also want to use a thread that’s naturally strong, like a denim thread.
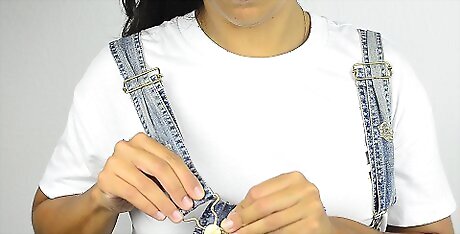
Put your overalls on and secure the clips around the buttons. Loop the metal circle of the buckle around the button that you’ve sewn in place. Check that both the button and buckle are sturdy and don’t shift as you wear the overalls. You’ll need to wear your overalls when you do this, so you can get an idea of how tight or loose your straps are.

Pull on the strap or buckle to tighten or adjust your strap length. Tug on the leftover strap fabric to make your straps hug your shoulders. If your straps are already too tight, pull on the adjustment buckle to give yourself more slack.


Comments
0 comment