
views
Adopting Good Form
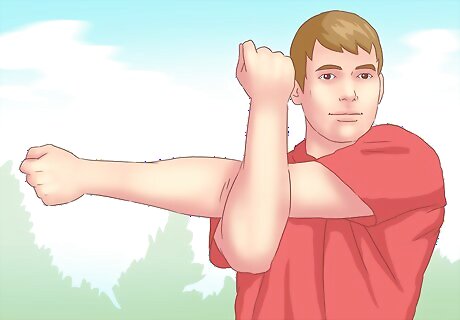
Warm up and relax. Tense muscles can interfere with shooting form, and produce less consistent shots. Think of it this way: it's tough to reproduce a precise level of tension each time, but a fully relaxed muscle is always in the same position. Encourage this consistency by warming up before each archery session, stretching your shoulders, upper back, neck, or anything else that feels tense. Check your muscles again before releasing an arrow. Relaxing your forearm is one of the most important steps for consistent, accurate shooting. Tense your tricep instead.
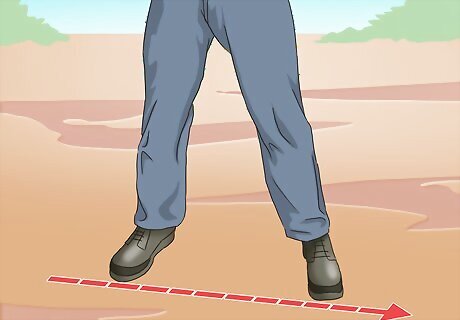
Adopt a shooting stance. Stand with your feet shoulder width apart, at a 90º angle to the target. Step a couple inches (few centimeters) forward with your lead foot and turn it outward. Balance your weight evenly between your two feet, without leaning in any direction. If you catch yourself leaning or having balance issues, adjust your stance to be a little more open (facing the target).
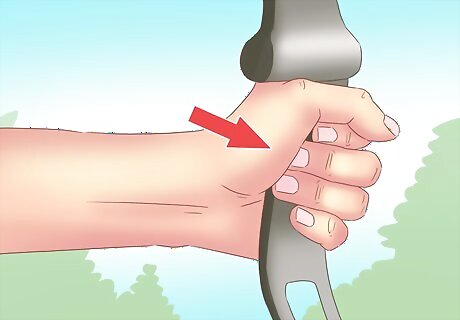
Grasp the bow in a natural position. When holding the bow handle, most of the pressure should rest on the lower part of your thumb, about an inch (2.5cm) below the joint. Rotate your hand slightly so your palm and fingers are relaxed, not pushing against the bow. This natural hand position is easy to maintain and prevents you from twisting the bow with your palm as you shoot. Some archers use other holds, but these tend to be less forgiving. If your wrist is not in a natural position, you will need to exert strength to keep it in that position during shooting.
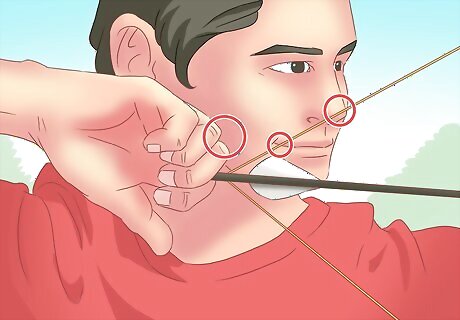
Draw the bow to your anchor points. Nock the arrow onto your bowstring and draw it back, keeping your wrist straight and relaxed. As you bring the string to your face, look for "anchor points" where parts of the bow meet your face. The more natural your anchor points feel, and the easier it is to locate them, the more consistent your shooting will be. Pick two or three of the following to use as anchor points, or invent your own that work well for you: Point where your hand touches your face. This is a specific point on your jaw, cheek, neck, or under your ear, depending on draw length and release type. Point where the string lightly touches your nose (only if convenient). Point where a "kisser button" on your string touches your mouth. (Some archers do not recommend a kisser button if you are using a peep sight.)
Sighting the Shot
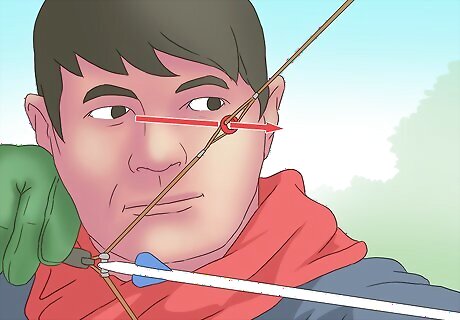
Look through the peep sight. Most compound bows are set up with a peep sight attached to the string. This is simply a ring you look through to help you aim. The sight should be attached somewhere you can easily look through it with your bow drawn to your anchor points. If you don't have a peep sight, buy one online or at an archery store. A small peep sight lets you focus on targets across a wider range of distances, but make sure it is large enough to view your entire forward sight. Large sights are more useful in low-light conditions.
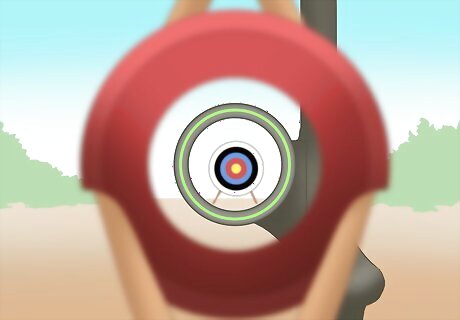
Sight the target through the forward sight. The forward sight is attached to the front of your bow. Align the bow so the forward sight and target are visible through the peep sight. The longer the distance between the peep sight and forward sight, the more accurate your aim will be. Target archers sometimes extend their forward sight several inches in front of the bow.
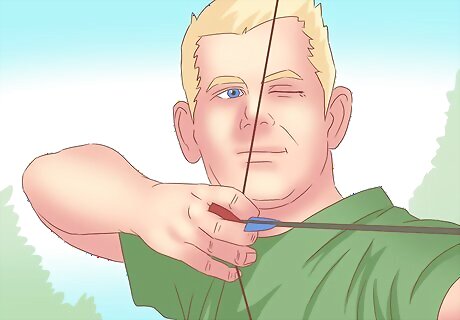
Close one eye (optional). Archers often close one eye, so it is easier to focus through the sight. This is usually a good tactic for beginners, and plenty of experienced archers do it as well. There are advantages to leaving both eyes open, however. Two eyes provide depth perception and a more complete view of the target. They are also better at tracking the arrow in flight, so you can see whether it flew too high, too wobbly, or so on. If you shoot with both eyes open, it helps to use a bow built for your dominant eye (for instance, a bow drawn with the right hand for a right-eye dominant person). If you use the other type of bow, you'll need to learn to make side-to-side aiming compensations when shooting with both eyes open. You can determine your dominant eye with simple home tests.
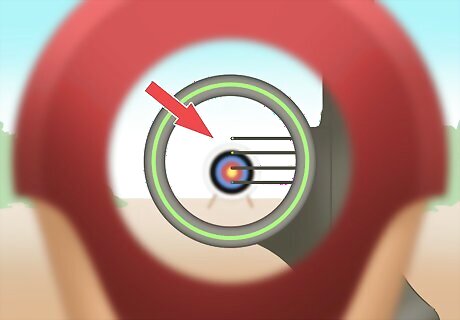
Align the correct pin with your target. A typical compound bow's forward sight has several pins lined up inside. These usually mark 20 yards (the topmost pin), 30 yards, 40 yards, and 50 yards. Choose the pin that best matches your distance to the target, and move your bow so that pin is directly in front of the target. If you're not sure which distance the pins represent, find out by trial and error. Measure 20 yards to a target and sight through each pin until you discover one that lets you hit consistently. Some bows use one or more adjustable "slider" pins. In order to set them to different distances quickly, use software that prints out a custom "sight tape" for your bow.
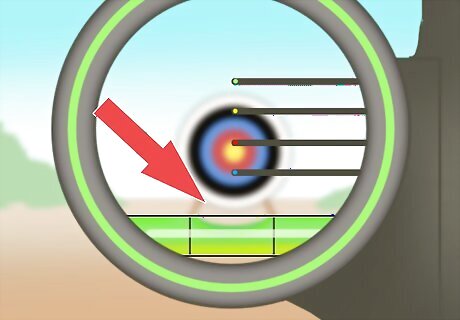
Check the bubble level. Most forward sights also have a bubble level. If the bubble is not in the center of the level, tilt the bow left or right until it is.
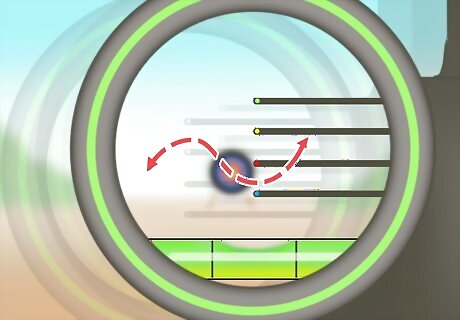
Float the pin (optional). Many beginners shoot as soon as the pin lines up with the target. Surprisingly, you can get more consistent results by letting the pin "float" off target before you shoot. Focusing on getting your pin 100% perfect can lead to tension or bad form. Let the pin drift small distances back and forth or around your target instead, and release when you are relaxed.
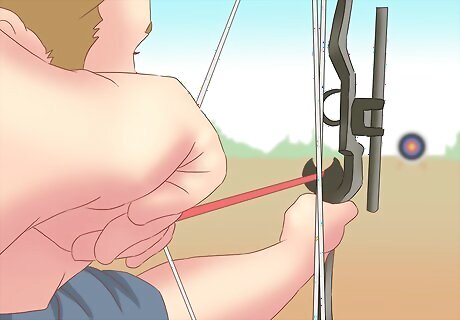
Try focusing on the target (optional). The peep sight and pins are a great way to turn aiming into a precise, focused task. Some archers, however, prefer to focus on the target instead. By focusing farther away, minor movements do not make as big a difference in their sight. Some archers also find this tactic reduces anxiety. Ideally, you can still use the blurry sight as a rough guide as it "floats" across your target, but it takes practice to get this to a subconscious level.



Comments
0 comment