views
Measure and mark the perimeter.
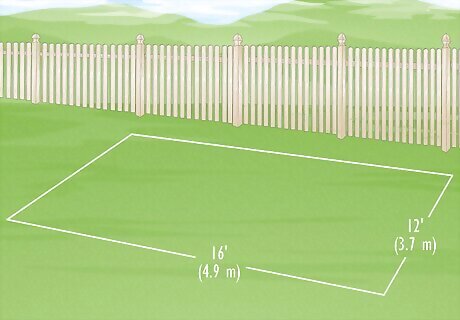
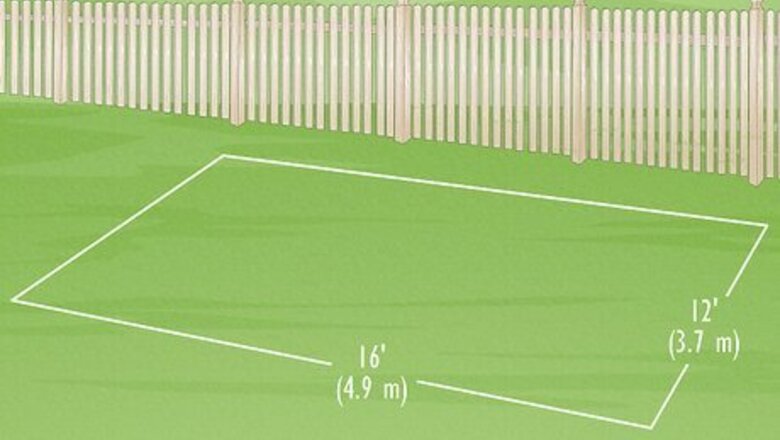
Plot a rectangle at least 16 feet (4.9 m) long and 12 feet (3.7 m) wide. For a single carport, measure a space that's 16 feet (4.9 m) long and 12 feet (3.7 m) wide for a standard vehicle. It requires six posts, one on each corner of the length. Double carports are ideal for two or one standard vehicle and other items. They range from 18 feet (5.5 m) to 24 feet (7.3 m) wide. Triple carports can store up to three standard vehicles or a large boat house or tractor. They range from 26 feet (7.9 m) to 30 feet (9.1 m) wide. Consider using a pre-fabricated metal or lumber carport kit with the necessary materials and installation instructions.
Prepare the ground.
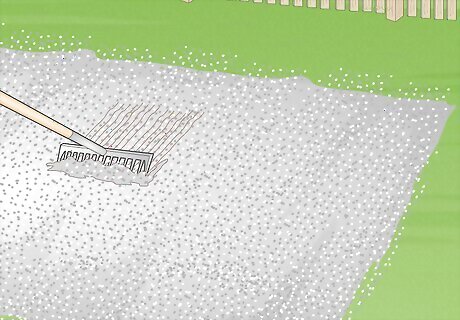
Level and pour ground cover, if necessary. To level the ground, remove any grass in layers with a shovel, raking over the underlayers with a metal rake. Tamp the rank with foot pressure. Add a layer of crushed granite or dark weed matting over bare ground to avoid tracking dirt into the house. The best idea would be to pour concrete, or build on a pre-existing concrete slab. This will give your carport the most life and durability. You can skip this step if you build a carport on a concrete pad or at the end of a paved driveway. Instead, measure the dimensions of your concrete pad and shape the structure to the ground.
Dig holes for posts.
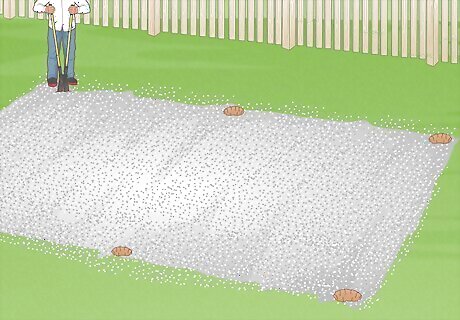
Space six holes around the perimeter of your measured outline. Using post-hole diggers, make a hole at least 2 feet (0.6 m) deep. If you live in a high-wind climate or an area that receives lots of heavy snowfall, dig a hole at least 4 feet (1.2 m) for a more stable structure.
Pour the concrete and set a post in each hole.
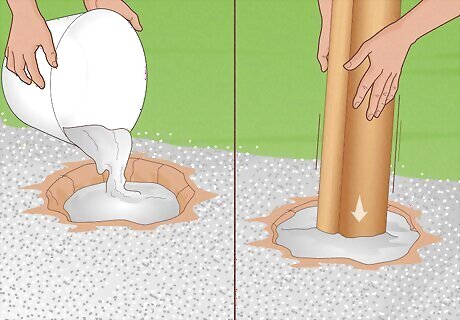
Pour concrete 6 inches (15.2 cm) deep into the post hole. For a simple structure, use heavy-duty posts at least 9 feet (2.7 m) high on one side of the carport and 11 feet (3.4 m) high on the other. Pour concrete into the hole, then plant the post to rest on the bottom. Fill the hole with soil and tamp in the layers. Pour more concrete until the hole is filled. Use a level to make adjustments as the concrete is hardening to ensure the post is vertical. Allow the concrete to harden for at least one full day before nailing on the beams.
Install support beams.

Fasten 2x6 pieces of wood with screws to the top of each post. To make the frame for your carport, use screws to secure the beams to the top of your six support posts. Place a level on top of each post to ensure they're even. If the posts are wobbly, use stones or wooden braces to support them while you work.
Secure the walls with nails.
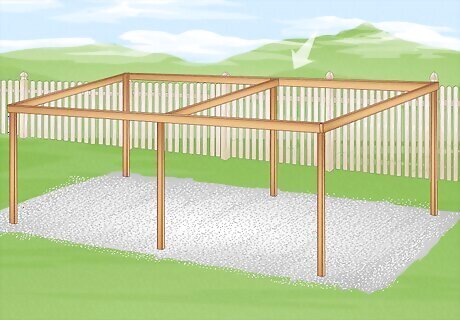
Build a simple rectangular box to secure the walls of the carport. Fasten the front and back beams first to create a rectangular box 16 feet (4.9 m) long, 9 feet (2.7 m) wide, and 7 feet (2.1 m) high. Secure two supporting crossbeams flat on the top of the shortened corner posts and extend to the higher corner posts about 2 feet (0.6 m) down from their tops. Next, nail them to the higher posts using T-shape hangers. Then, fasten the side beams by nailing crossbeams across your posts. The beam on the lower side should be nailed on top of the front and back beams. If necessary, try to connect them by nailing on top of the middle post on the lower side, making the beam level across all three posts.
Fasten the rafters.
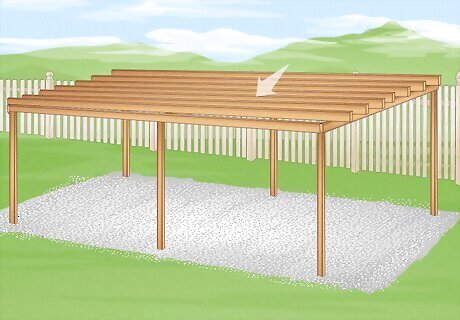
Secure the front and back rafters to the front and back beams. To secure them, use the notch method. Put the front rafter in position, marking where it comes into contact with the side beams with a pencil mark. Then, take a circular saw so the rafter sinks about ⅓ of the way into the beam. Use this rafter as a template to notch the five others. Opt for the hanging method if you need the beam to be flush. Use 25-degree metal joist hangers and rest them on top of the beams. The nails will go through the hanger into the rafter and the beam.
Attach the roof.
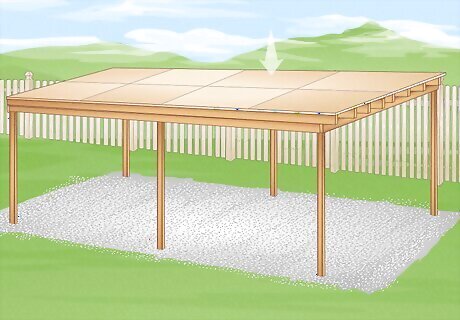
Arrange the plywood sheets side by side to build a roof. Purchase 1.5 inches (3.8 cm) plywood sheets as large as possible. The fewer the seams, the less potential for water leakage. The plywood should produce a 6 inches (15.2 cm) overhand on the front and back of the carport. For example, if your plywood sheets are 8x4, you’d need to buy 6 sheets. Then, cut two pieces down to size.
Caulk the seams in the plywood.
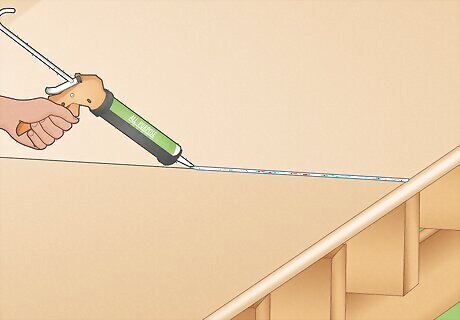
Use a caulking gun to fill the roof's seams. To keep the elements out, cover the roof with tar paper or synthetic paper and create as waterproof a surface as possible before shingling over it. There's no sense in creating a carport to keep your car out of the rain if it leaks. Would it be smarter to insulate the structure? Maybe, but not cost-effective. Remember, you're not building an addition to your house; you're building a simple structure to keep junk off your car.
Nail shingles to the roof.
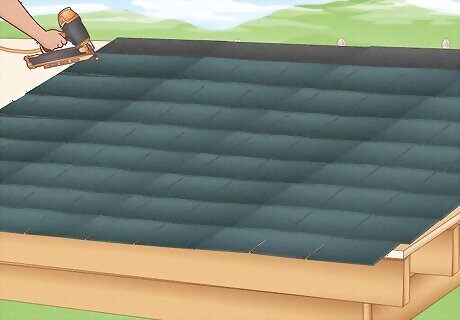
Install three-tab shingles over the plywood. Nail a layer of weather sheeting over the plywood for an extra lay of protection. Then, go in with enough three-tab shingles to cover the entire roof. These can be nailed in with a hammer or a nail gun to create a waterproof barrier between your carport and the elements. Alternatively, use a slanted aluminum roof instead if you don't want to shingle the roof.
Reinforce the joints.
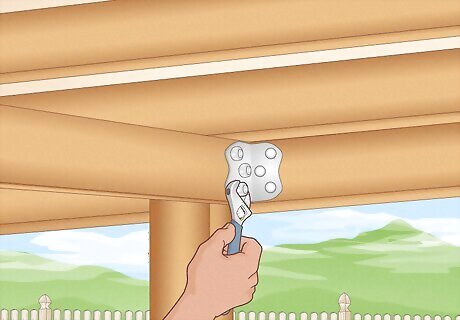
Use metal plates to make the carport more stable. Select metal plates that can be nailed onto the various joints in the structural composition of the carport, especially where the posts meet the beams, where the beams meet the rafters, and so on. This will keep the structure from collapsing on your valuables.
Protect the wooden beams.
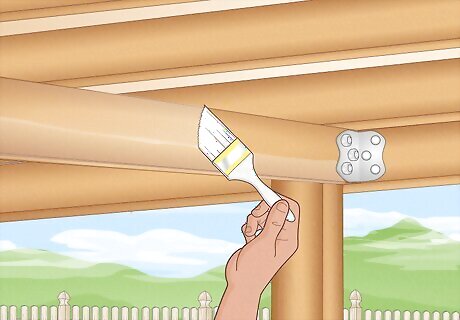
Apply a layer of wood stain to protect the beams. Since you've gone to all the work, treating the exposed wood is a good idea. Use a paint brush and waterproof wood stain and coat the exposed wood following the manufacturer's instructions. This will increase the life of the wood and keep you from having to repeat the project in a few years. It's a good idea to re-stain regularly to keep the structure's life up. Revisit your work periodically to catch up with repairs before they become a major problem.
Test the structure.
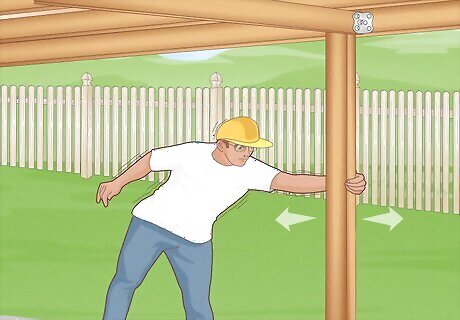
Apply weight or friction against the wooden beams and roof. Before you park your car beneath your new structure, check its stability. Apply your body weight to the posts first. If the structure is wobbling, do not get on the roof. Instead, add stability braces on the outside of the structure to reinforce it.


Comments
0 comment