views
Preparing to Burn
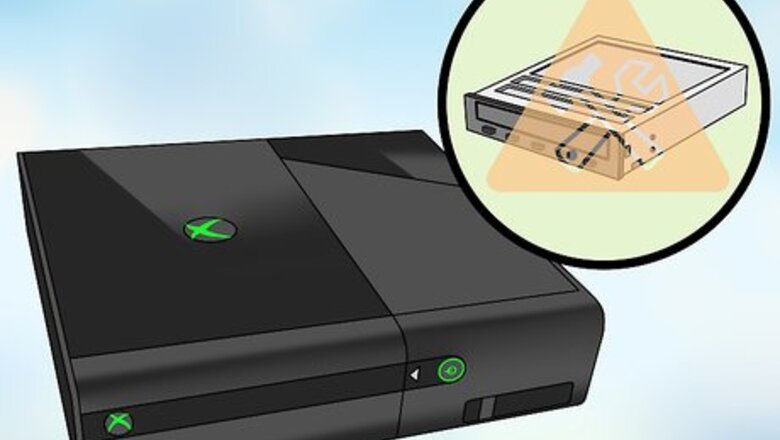
Flash your Xbox 360. You can either do this yourself or find someone to do it for a fee. It involves opening the Xbox, identifying the DVD drive manufacturer, connecting the DVD drive to your PC, and then installing software onto the drive. This will allow your Xbox to play backup DVDs.
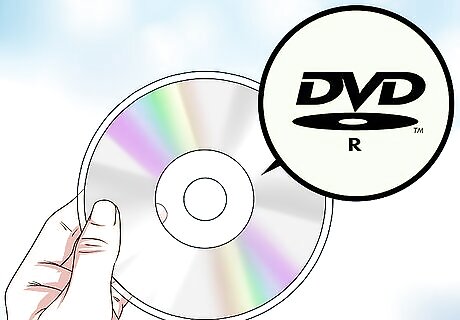
Buy supported DVDs. You will need a DVD+R DL disc. Regular DVDs won't work due to limited storage space. Several companies such as Verbatim create DVD+R DL discs. These discs hold up to 8.5 gigabytes of space. If your game takes up more space than that, you will need multiple DVDs.
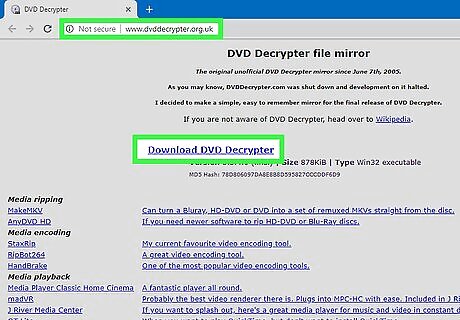
Download and install DVD Decrypter. You'll be able to make a copy of the Xbox 360 game using this. To download and install: Go to http://www.dvddecrypter.org.uk/ Click Download DVD Decrypter Double-click the setup file. Click Yes when prompted. Click through the setup.

Download and install ABGX360. This program patches your game to make it playable on your Xbox 360 and on Xbox LIVE. To download and install: Go to abgx360.xecuter.com/download.php Click the TX link below the "Installer" heading in the "Windows" section. Double-click the setup file. Click Yes when prompted. Click Next Click Install Click Close when prompted.
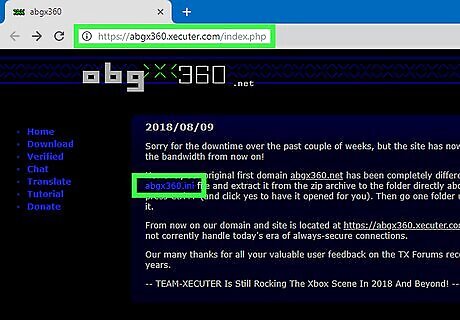
Download the ABGX360 patch file. Go to abgx360.xecuter.com/index.php and click the abgx360.ini link in the "2014/10/02" section near the top of the page. This file will allow you to connect to the ABGX360 server, which is necessary for patching your ISO file later.
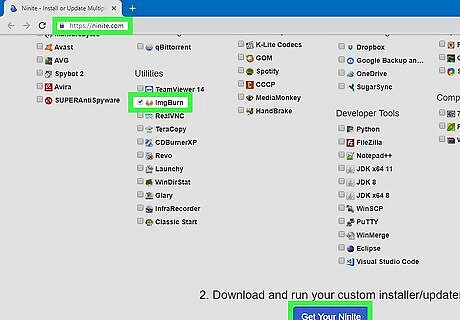
Download and install ImgBurn. You'll use this program to burn the Xbox 360 game onto a supported DVD. To download and install: Go to https://ninite.com/ Scroll down and check "ImgBurn" below the "Utilities" heading. Click Get Your Ninite Double-click the installer. Click Yes when prompted. Click Close when prompted.
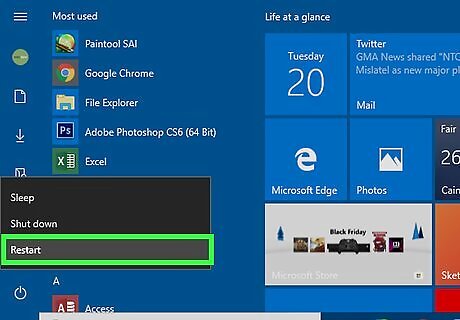
Restart your computer. Click Start Windows Start, click Power Windows Power, and click Restart. Once your computer finishes restarting, you can log back in and begin the ISO creation process.
Creating an Xbox 360 ISO File

Insert the Xbox 360 disc into your computer's DVD drive. Make sure that the label is facing up when you do this. If any AutoPlay windows open when you do this, close them.
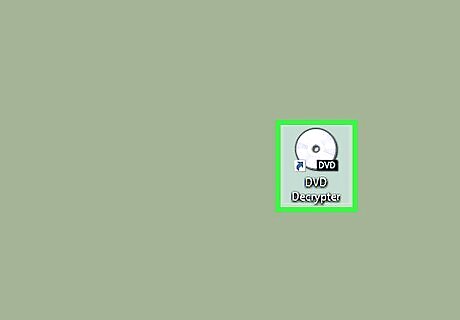
Open DVD Decrypter. Double-click the DVD Decrypter icon, which resembles a CD or DVD, on your desktop. If you left the "Open DVD Decrypter" option checked when you installed DVD Decrypter, it may already be open.
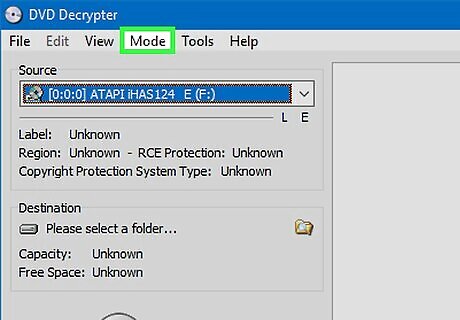
Click the Mode tab. It's at the top of the DVD Decrypter window. A drop-down menu will appear.
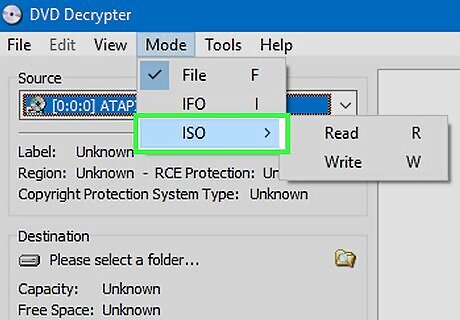
Select ISO. This option is at the bottom of the drop-down menu. You'll see a pop-out window appear.
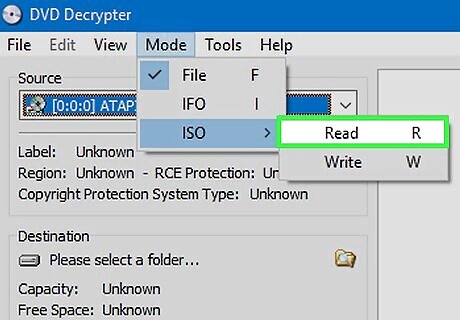
Click Read. It's at the top of the pop-up window. Doing so will set DVD Decrypter to rip the ISO file from your Xbox 360 disc.

Click the folder icon. It's in the middle of the page, to the right of the DVD's name. Doing so will open a destination window.
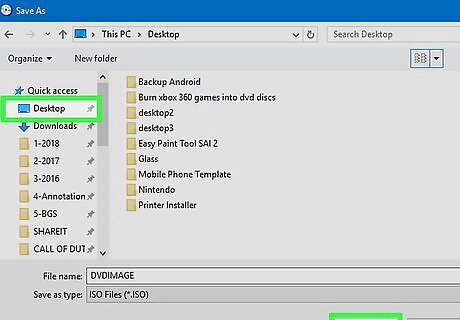
Click Desktop, then click OK. This means that your Xbox 360's game file will save to your computer's desktop.
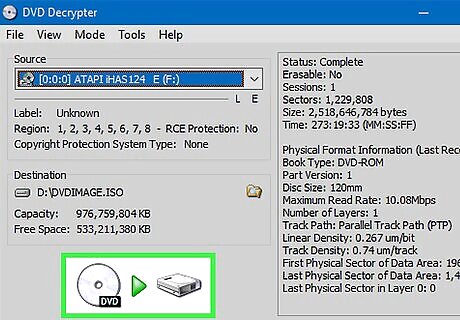
Click the green "Play" button. This is in the lower-left side of the window. DVD Decrypter will begin ripping the ISO file from the Xbox 360 disc.

Wait for your game to finish ripping. Depending on the size of your game, this can take anywhere from a few minutes to an hour or more.
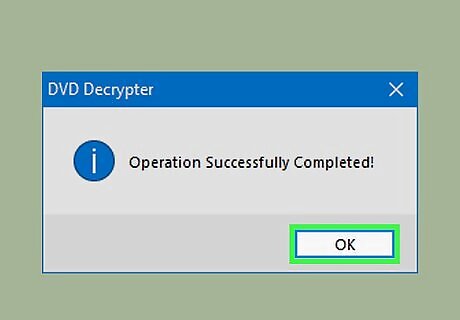
Click OK when prompted. Your game's ISO file should now be on your desktop.
Patching the ISO File
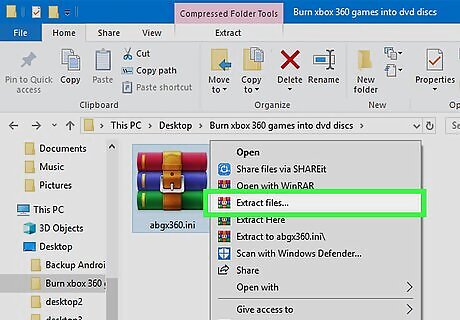
Extract the abgx360.ini folder. This is the folder that you downloaded after downloading ABGX360. To do so: Double-click the abgx360.ini ZIP folder. Click the Extract tab at the top of the window. Click Extract all Click Extract when prompted.
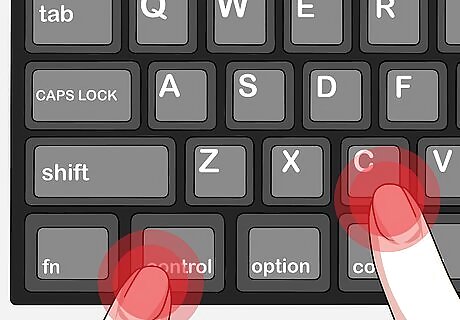
Copy the "abgx360" file. Click the white abgx360 file, then press Ctrl+C.

Open Start Windows Start. Click the Windows logo in the bottom-left corner of the screen. You can skip this entire part if you aren't going to update or use this game while online.
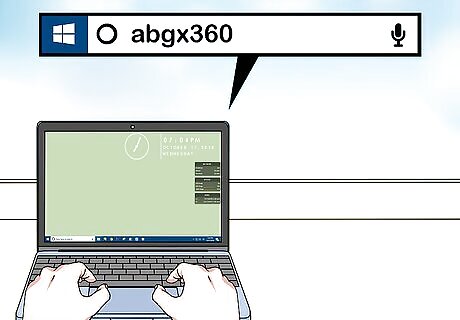
Type abgx360 into Start. Doing so will search for the ABGX360 program.
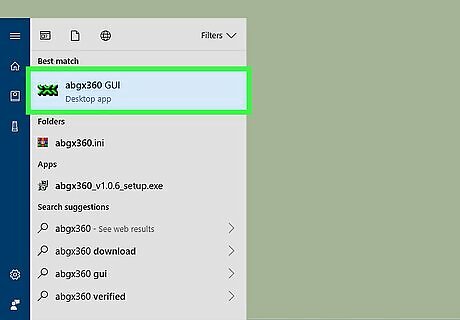
Click abgx360 GUI. It's at the top of the Start window. ABGX360 will open.

Click Help. This tab is at the top of the ABGX360 window.
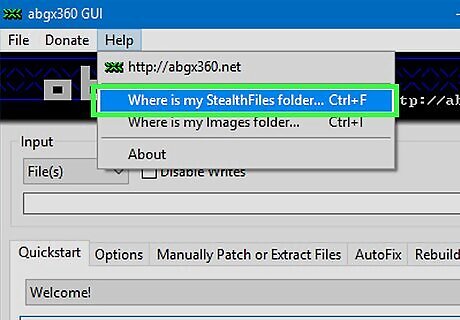
Click Where is my StealthFiles folder…. It's near the top of the Help drop-down menu.

Click Yes when prompted. Doing so will open the folder for your ABGX360 program.
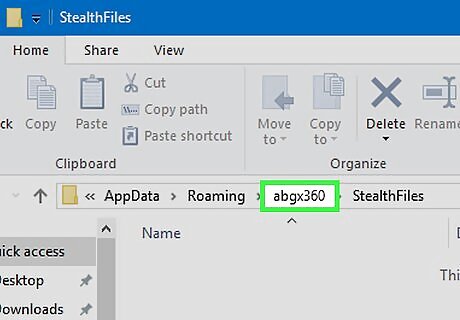
Click abgx360. It's in the address bar at the top of the folder's window. This will move you up one folder.
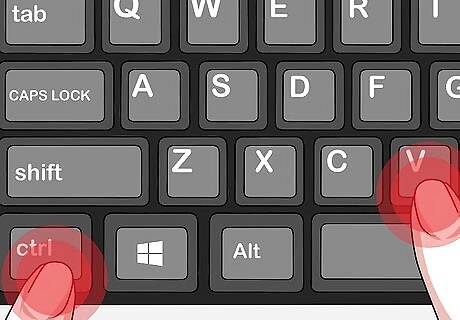
Paste the file into the "abgx360" folder. Press Ctrl+V. The file will appear in the folder.

Close the window. You should now be back at the ABGX360 program window.
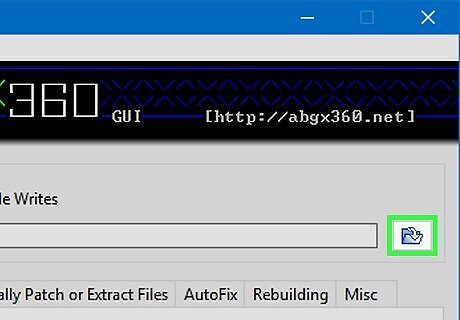
Click the folder icon. You'll find this near the top-right corner of the ABGX 360 window.
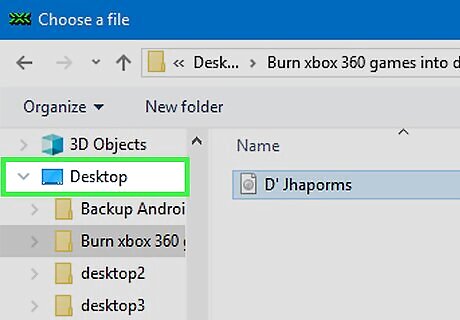
Click Desktop. It's on the left side of the window.
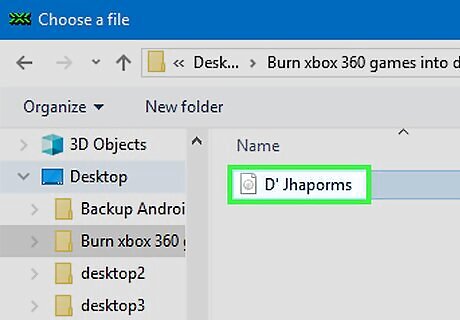
Select your ISO file. Click the ripped ISO file to select it.

Click Open. This is at the bottom of the window.
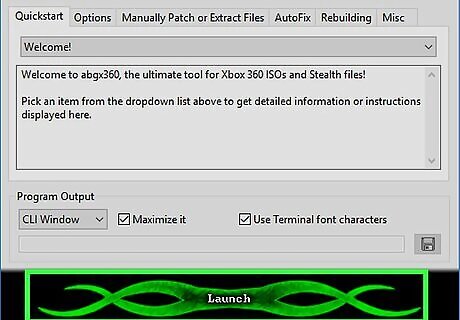
Click Launch. It's at the bottom of the window. This will prompt ABGX 360 to begin patching your game's ISO file to be compatible with updates and online play. Keep in mind that playing online with a copy of an Xbox 360 game may prompt Microsoft to ban your Xbox LIVE account.

Complete the patching process. It may take several minutes for the patching to finish up. Once you see the text "Press any key to continue", you can press a key on your keyboard to create a verified and patched version of the ISO file on your desktop. You're now ready to burn the file onto a DVD. This file will have a .DVD extension, not a .ISO extension. You can also click Launch again to improve the chances of the game not being detected.
Burning the ISO File to DVD
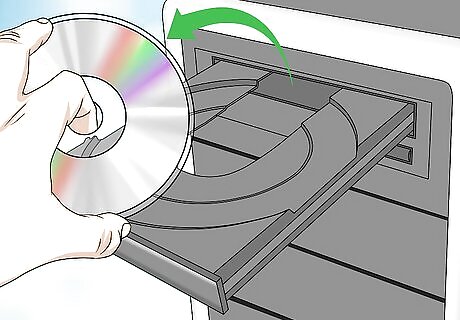
Remove your Xbox 360 disc from your computer, then insert a DVD. The DVD that you use must be a DVD+R DL.
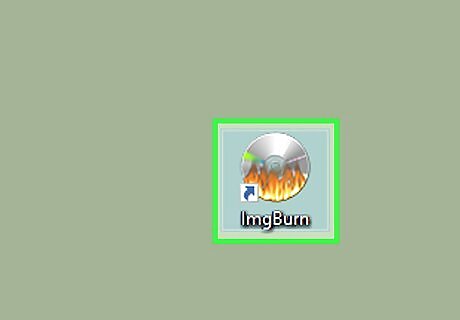
Open ImgBurn. Double-click the ImgBurn app icon, which resembles a CD on fire. ImgBurn will open.
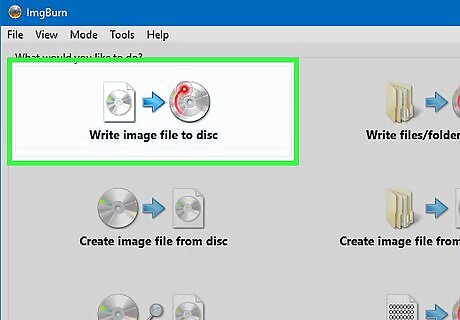
Click Write Image File to Disc. It's near the top of the window.

Click the folder icon. It's at the top of the window and to the right of the "Please select a file..." heading here. A window will open.

Select the DVD version of the ISO file. There will be two versions of the ISO file here: the original one that you ripped with DVD Decrypter, and the .DVD version that was verified by ABGX360. Click the .DVD version to select it. If you click the .ISO version, the game will not be playable.
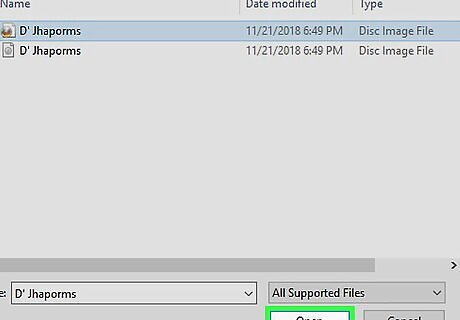
Click Open. This will import the DVD file into ImgBurn.
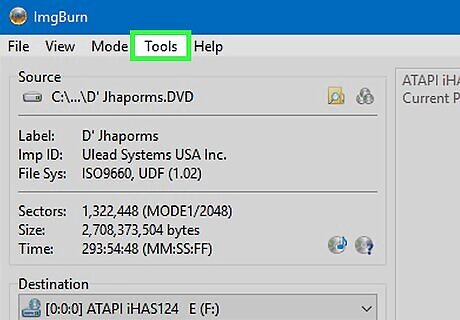
Click the Tools tab. It's at the top of the window. A drop-down menu will appear.
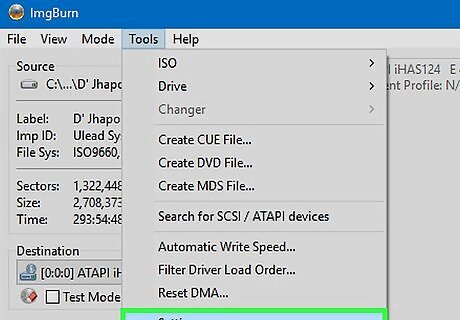
Click Settings…. This option is at the bottom of the Tools drop-down menu.

Click the Write tab. It's at the top of the window.
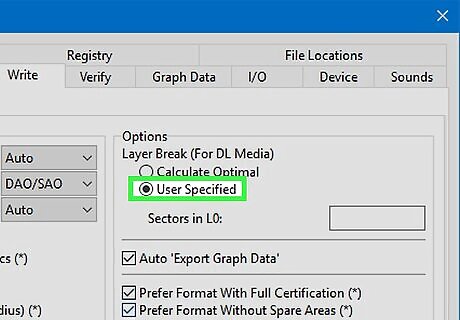
Check the "User specified" option. It's below the "Layer Break" heading in the "Options" section that's in the top-right side of the window. A text field will become available below this option.
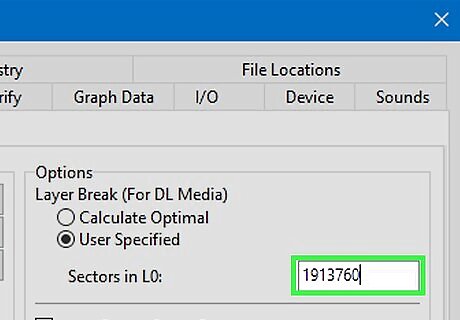
Type 1913760 into the text field. This will ensure that your DVDs burn evenly.

Click the I/O tab. This step and the following two steps are optional, but will help with discs that have previously not burned.

Click the Page 2 tab. It's in the upper-left side of the window.
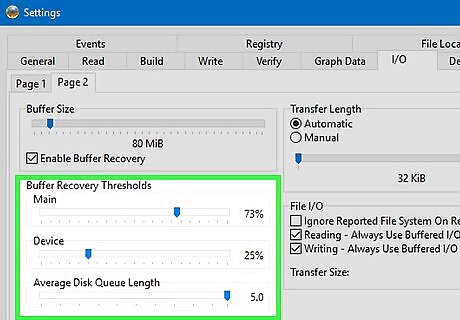
Adjust the sliders in the Buffer Recovery Thresholds section. This section is on the lower-left side of the window. To do so: Click and drag the "Main" slider right until it reads "73%" Click and drag the "Device" slider left until it reads "25%". Click and drag the "Average Disk Queue Length" slider right until it reads "5.0".
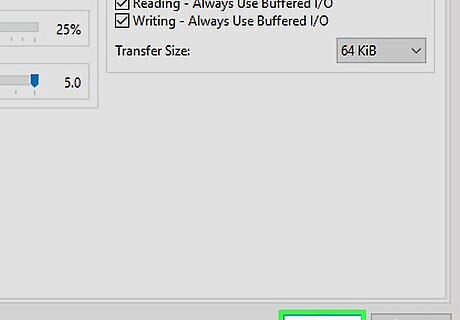
Click OK. This button is at the bottom of the page. You should now be back at the main ImgBurn window.

Click the blue arrow. It's in the lower-left side of the window. Doing so will prompt the game to begin burning onto the DVD. Once the process is complete, ImgBurn will eject the DVD for you, allowing you to proceed with playing your game on your Xbox 360 like usual.




Comments
0 comment