views
- Remove all the strings and use a craft knife to score around the nut. Rest a wood block against the nut and gently tap the block with a hammer to remove the nut.
- Place a new, pre-slotted guitar nut where the old nut sat. If it’s too tall or the edges stick out from the neck, sand it down to size with 800- or 1000-grit sandpaper.
- Secure the new nut with wood glue and let it dry for 24 hours. Then restring your guitar.
Removing the Old Nut
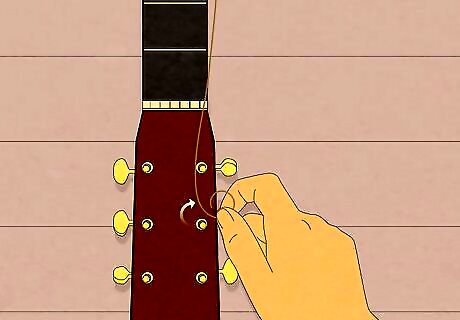
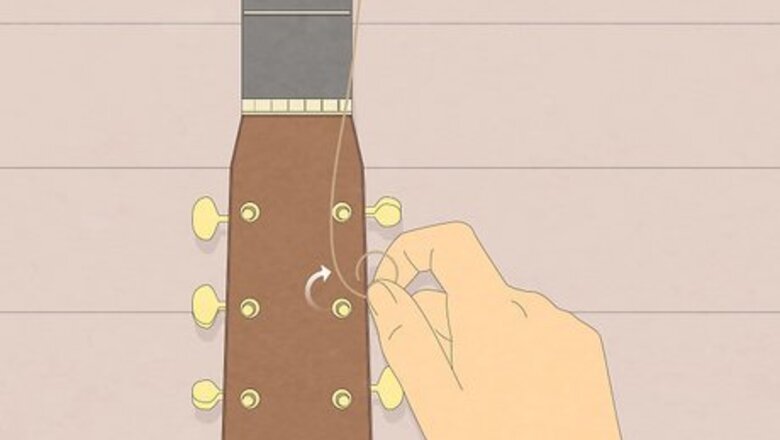
Remove all the guitar strings so you can access the guitar nut. Loosen the tension of each string with the tuning keys and unwind each string from its tuning post. Pull out each bridge pin that holds the strings to the bridge at the bottom of the guitar with needle-nose pliers, then pull each string out. Remove the strings and set them aside.Tip: Before removing your strings, use a ruler to measure the height of the strings above the first fret. Note this measurement for later. After installing the new nut, you can adjust your guitar’s truss rod to make the strings the same height as they were with the original nut, thus giving you the same playing action. If your guitar strings are old or need replacement, use this opportunity to replace them with new ones.
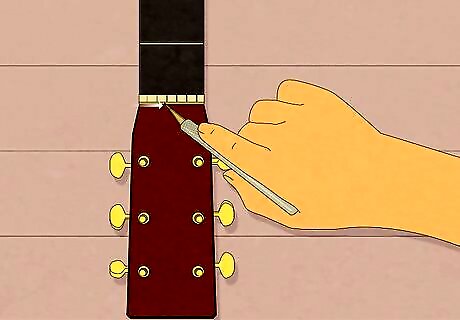
Use a craft knife with a fresh, sharp blade to score around the guitar nut. Trace the finish around all the edges of the nut with the tip of the craft knife to prevent the guitar’s lacquer coating from sticking to the nut when you knock it loose. Trace around each edge of the nut where it meets the wood of the headstock 2-3 times. Scoring helps free the nut from the glue that’s holding it down. It also prevents chipping and breaking of the wood when you remove the nut in the next steps. Work slowly and carefully so you don't cut yourself. The craft knife’s blade is extremely sharp.
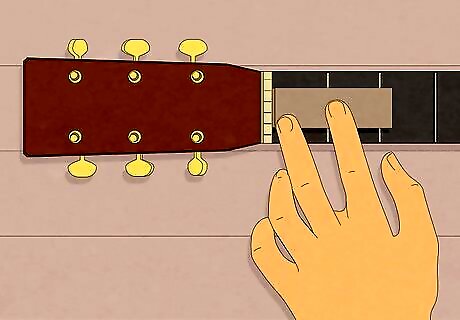
Place a small wooden block against the long back edge of the nut. Use a wooden block approximately the width of the guitar nut and thick enough that you can hit the back edge with a hammer. Place it on top of the fingerboard against the long edge of the nut where it meets the wood of the fingerboard. The wooden block distributes the pressure of your hammer blows, preventing damage to the wood around the nut.
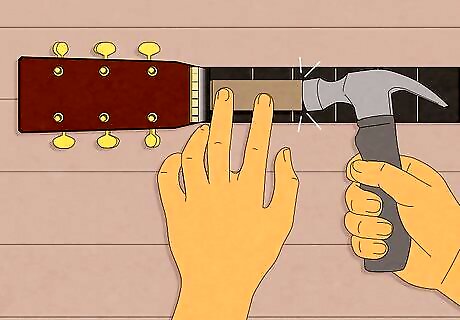
Tap the back edge of the block lightly with a hammer to knock the nut loose. Hold the wooden block in place against the long edge of the nut with 1-2 fingers of your non-dominant hand. Carefully wield a hammer with your dominant hand and gently tap the back edge of the wooden block to knock the nut free from the wood of the fingerboard.Tip: If the nut is a “Strat-type” nut that’s situated in a groove, use a hammer and flathead screwdriver to force it out of the groove sideways. Hold the tip of the flathead screwdriver against one side of the nut and hit the back of the screwdriver lightly with your hammer. The nut should slide out, perpendicular to the neck. In most cases, the nut will come loose after 1-2 light taps. If it won’t budge, score around the edges of the nut a few more times with your craft knife, then tap it with your hammer and wood block a few more times. Avoid swinging the hammer harder to force the nut to come off. This can damage your guitar.
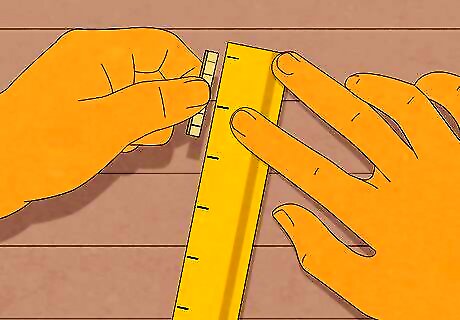
Use a ruler to measure the nut’s exact height, width, and length. Note the shape of the nut as well. The top surface of the guitar nut may be curved or straight, depending on the brand and type of guitar. Some nuts also have curved bottoms. Your replacement nut should be the same shape as the original nut, and as close as possible to the original's dimensions. It's better to choose one that's slightly too big since you'll be able to sand it down later.
Shaping & Installing the New Nut
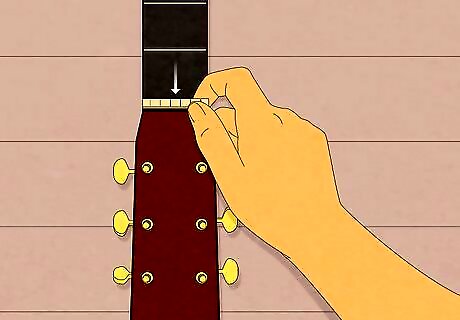
Test how your new guitar nut fits where the old nut was. Place a new, pre-slotted drop-in nut where the old nut sat against the wood of the fingerboard. Look closely at how it fits. If the edges of the new nut stick out slightly from the guitar’s neck, the nut is too wide. You’ll need to sand its edges down in the next steps. Purchase a pre-slotted drop-in guitar nut online or from a local music shop. Choose a new nut that matches the shape of the old one, and that is as close to the same size as possible. Guitar nuts can be made from wood, ivory, plastic, graphite, metal, and other materials. Plastic nuts are inexpensive but will make your instrument sound duller, while ivory is expensive but gives your instrument a richer sound.
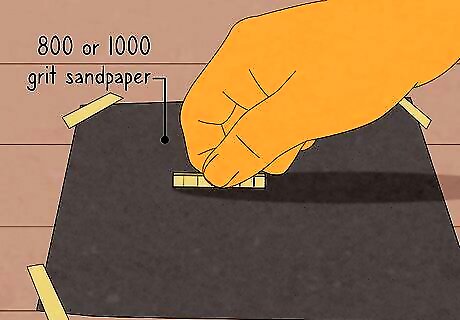
Sand down the new guitar nut with 800- or 1000-grit sandpaper until it fits. Place a piece of fine sandpaper on a flat work surface and secure it with masking tape. Sand the bottom and sides of the nut a little bit at a time, testing its shape as you go by placing it on your guitar. Stop sanding when the new nut is the same height as the old one, and when its edges no longer stick out from the guitar’s neck. Remove only a small amount of material at a time from the nut. If you sand it too much, the slots of the guitar nut will be too close to the wood of the fingerboard and the strings will be too close to the first fret.
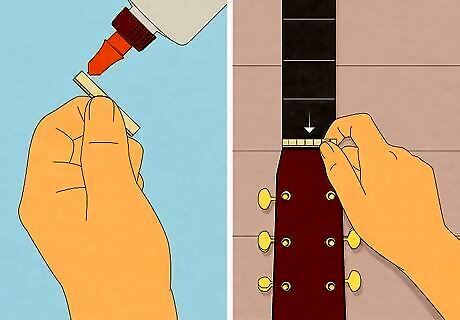
Secure the new nut in place with wood glue when you are happy with the fit. Squeeze out 2 small dabs of wood glue onto the underside of the nut. Fit it carefully into the slot and press it firmly into place. Leave it to dry for 24 hours. Avoid using permanent glue, such as super glue. These glues will make it difficult to remove the nut in the future.
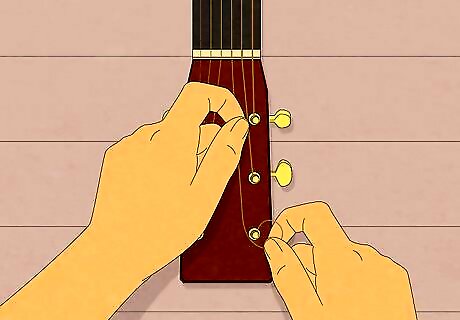
Restring the guitar with the old strings or new ones once the glue dries. Put the bottom ends of the strings back into the bridge, secure them with the bridge pins, and wind the top ends around the tuning posts. Tighten the tension of the strings using the tuning posts and tune the strings to the correct pitches. Use a graphite pencil to color in the string slots on the nut before restringing. This makes the slots easier to see and helps you guide the strings into their correct slots. If you are reinstalling the old strings, make sure to clean them first. Once you’ve finished restringing your guitar, check the height of the strings by pressing down on the third fret of the top string. There should be a tiny gap (roughly 0.25 mm, or 0.01 in.) between the string and the first fret.


Comments
0 comment